This setup assumes you already have Azure SAML with conditional access configured for NetScaler Gateway external access. This post will modify that existing setup to allow access to an internal Sharepoint site via Clientless VPN. NetScaler 13 and StoreFront 1912 are used in the examples.
Category: Citrix
Download Citrix MCS Plugin for Nutanix
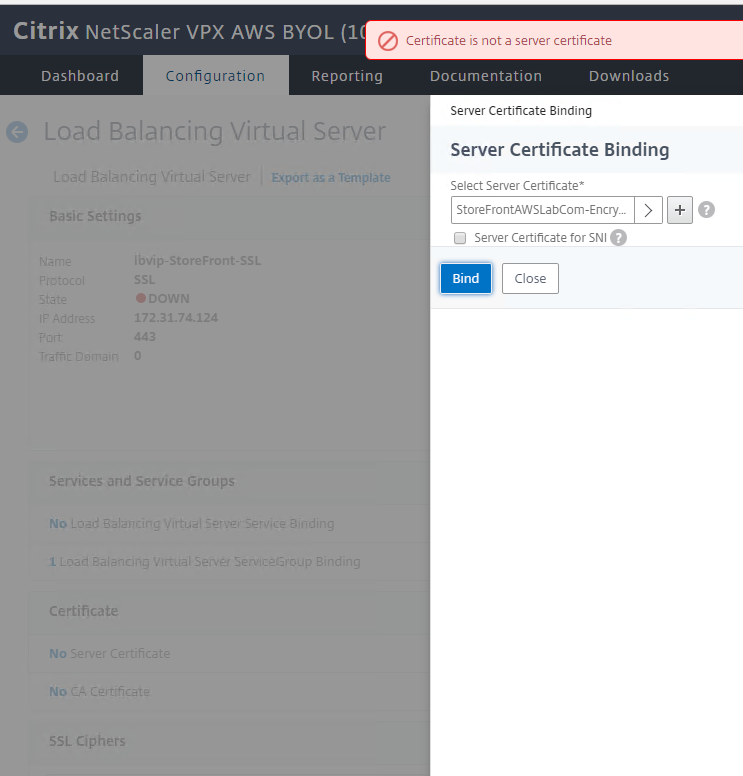
Issue: You are attempting to attach server SSL certificates for Load-Balancing VIPs or NetScaler Gateways VIPs on AWS NetScalers on the latest build (NS12.1 48.13.nc) but get the error “Certificate is not a server certificate”.
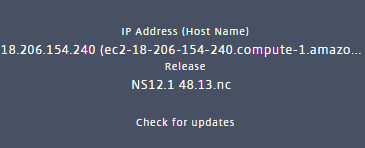
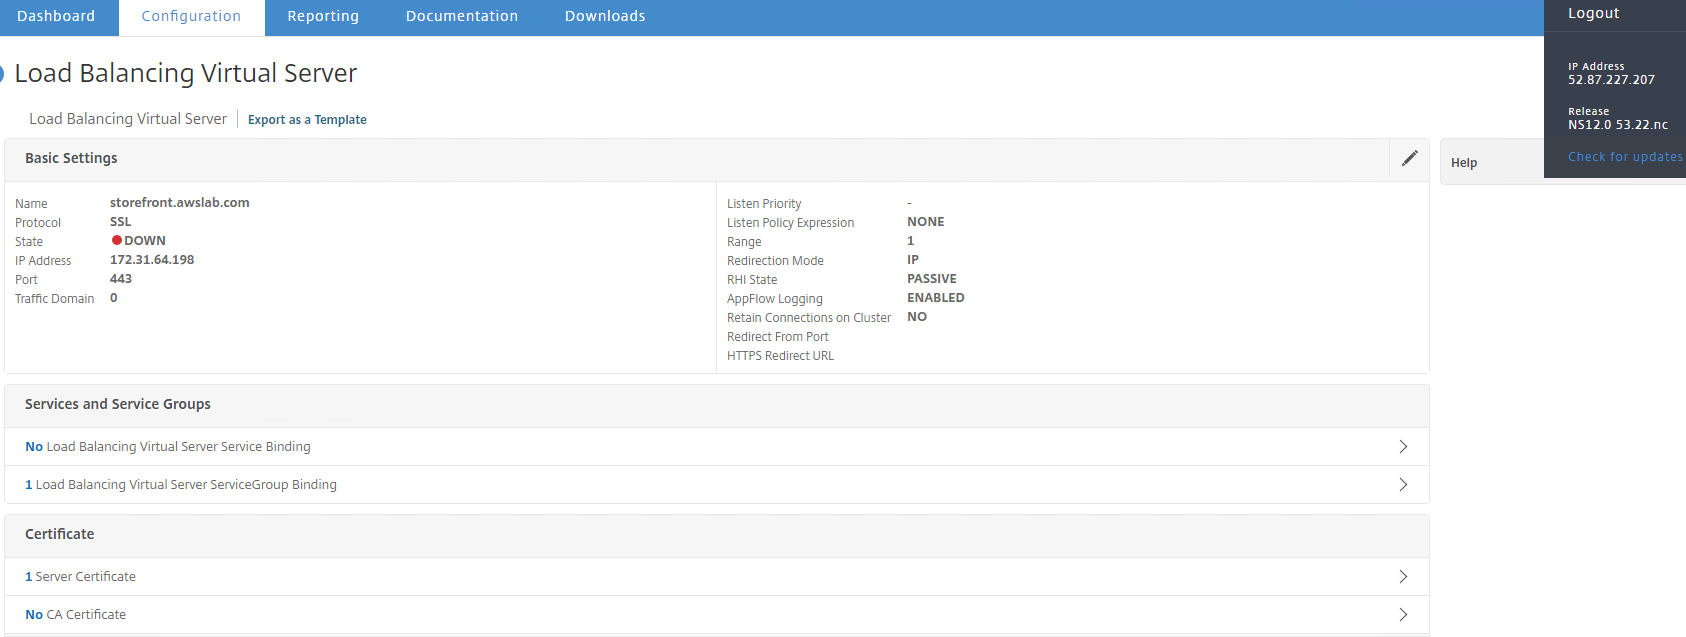
Workaround: Releases on NS12.0 53.22.nc or earlier seem to work fine for AWS Cloud NetScalers. Have not tested non-cloud VPXs at this time.
To launch different NS versions on AWS:
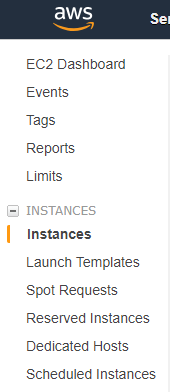
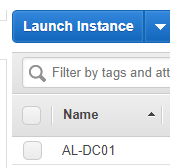
Navigate to AWS EC2>Instances
Select ‘Launch Instance’
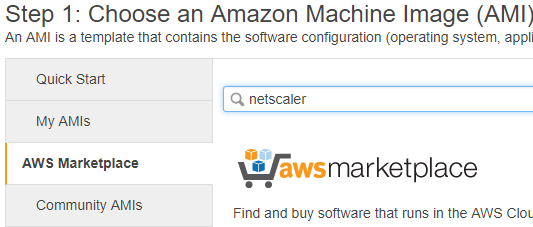
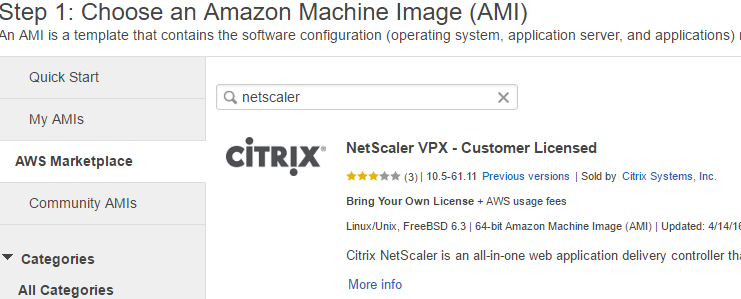
Navigate to the AWS Marketplace. Search ‘netscaler’
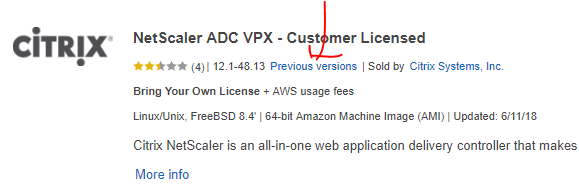
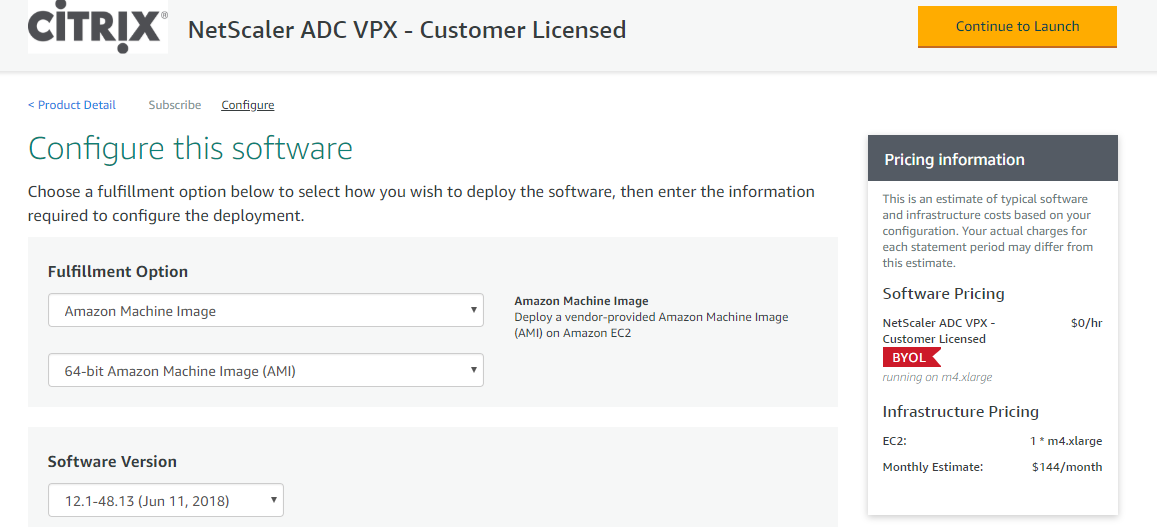
Scroll down to ‘NetScaler ADC VPX – Customer Licensed’. Select ‘Previous versions’
Select ‘Continue to Configuration’

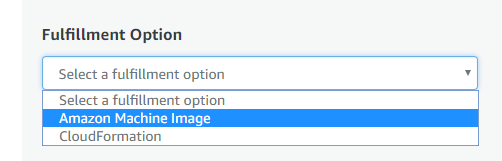
Under Fulfillment Option, choose ‘Amazon Machine Image’
Choose your NS firmware version.
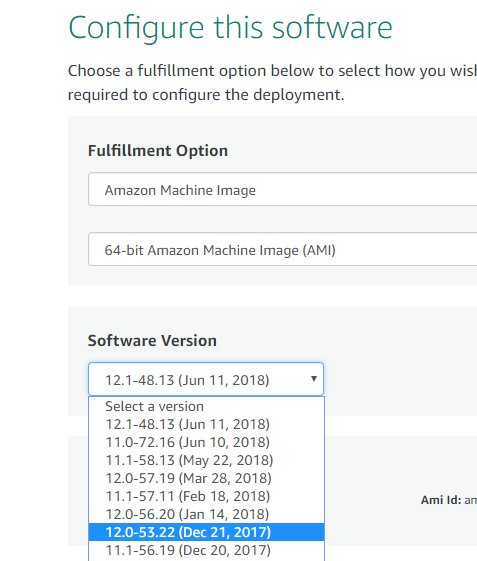
Click ‘Continue to Launch’
Under the Choose Action menu, choose to ‘Launch through EC2’. Click ‘Launch’
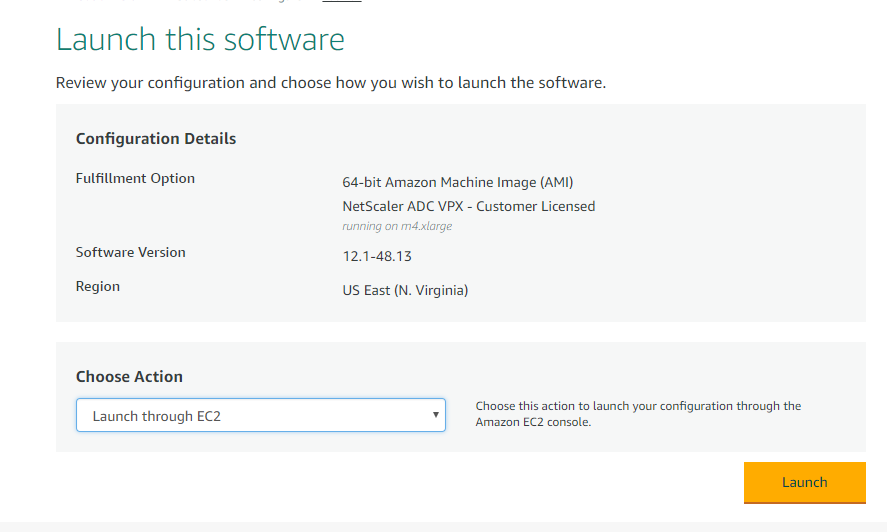
From here you will be able to choose your instance type, configure subnets, add storage, configure security groups as normal.
Part 5 of setting up a Citrix XA/XD 7.13 POC on AWS.
Background:
Background: I will be setting up a small proof-of-concept Citrix Environment on Amazon Web Services for testing purposes. This particular POC will be completely on AWS and utilize a combination of free tier and paid on-demand instances. Eventually, I hope to integrate additional features such as autoscaling, a XenMobile component, and integrating it with an on-premises infrastructure for a hybrid environment. I will be breaking up this article into different parts. This article covers configuration of the AD infrastructure in our POC: Domain Controller setup, RDS licensing setup, Certificate Services setup.
AL-DC01.awslab.com – t2.micro – Domain Controller, DNS, RDS Licensing, Certificate Services
AL-DDC01.awslab.com – t2.medium – Delivery Controller, StoreFront, SQL Server Express, VDA for publishing apps and desktops, Citrix Licensing
NS1.awslab.com – m4.large – NetScaler VPX for external access
- Part 1: Intro and AWS Staging
- Part 2: Configuring Microsoft infrastructure
- Part 3: Installing Citrix Components
- Part 4: Configuring Citrix Components
- Part 5: Configuring External Access
If you plan on setting up your own testbed on AWS, please be mindful of your budget and the AWS free-tier limitations. You can reference the AWS free-tier at https://aws.amazon.com/free/.
Infrastructure:
Part 4 of the Citrix XA/XD 7.9 POC on AWS, configuring the remaining Citrix components.
Background: In this part, we will configure settings for the Delivery Controller and StoreFront.
Prerequisites:
- Amazon EC2 instances provisioned via Part 1 of the series
- Microsoft Infrastructure configured via Part 2 of the series
- Citrix Infrastructure installed via Part 3 of the series
Steps:
Part 3 of the Citrix XA/XD 7.9 POC on AWS stand-up.
Amazon EC2 Instances provisioned via Part 1 of the series
Microsoft Infrastructure configured via Part 2 of the series
Citrix XenApp/XenDesktop 7.9 installation media (available from www.citrix.com)
Citrix Licensing Server 11.13.1.2 installation files (available from www.citrix.com)
Background:
This will be the installation of the Citrix components on our all-in-one t2.medium EC2 instance. The instance will host the Desktop Delivery controller, StoreFront, SQL Express, and Citrix Licensing.
Prerequisites:
XenApp/XenDesktop 7.5 Services
Citrix AD Identity Service – This service is responsible for managing all Active Directory accounts required for virtual machines if using XD published desktops. This service is used heavily if Machine Creation Services is used. If the service is stopped, you will no longer be able to create or remove desktops through MCS.
Citrix Broker Service – This service manages connections from endpoint devices (users) to published desktops and applications. If this service is stopped, users won’t be able to launch their applications.
Citrix Configuration Logging Service – This service logs admin activity and configuration changes done to the environment. If the service is stopped, you will no longer see updates in the “Logging” pane in Citrix Studio. You will, however, still see updates up to the point that the service was stopped.
CItrix Configuration Service – This service stores configuration information on the other Citrix Services. If the service is stopped, Citrix Studio becomes unresponsive and no longer displays information (spinning wheel is displayed when browsing Studio tabs).
Citrix Delegated Administration Service – Manages admin permissions within Citrix Studio. If the service is stopped, users can still launch applications and desktops but administrators will lose administrative access to the site.
Citrix Diagnostic Facility COM Server – This service manages Citrix diagnostic trace sessions. If working with Citrix Technical Support, this service needs to be started in order to collect and upload traces using CDFControl.
Citrix Environment Test Service – Manages test for evaluating the state of a XenDesktop site. If this service is stopped, you will won’t be able to run functions such as “Test Site” or “Test Delivery Group” in Citrix Studio.
CItrix Host Service – This service communicates with the hypervisor when using XD Desktops. If stopped, you won’t be able to perform functions such as creating, removing, shutdown, restart, etc… of your XD Desktops in Citrix Studio.
Citrix Machine Creation Service – This service allows your to create new VM’s through MCS. If stopped, you will be unable to create a Master Image and produce VM’s with it.
Citrix Monitor Service – Provides historical information about sessions and connections which can be queried (through PowerShell or Citrix Director for example). If the service is stopped, Citrix Director will no longer display monitoring information.
Citrix StoreFront Service – This service manages deployment of StoreFront. If this service is stopped, you will no longer be able to manage your StoreFront deployment through the “StoreFront” tab in Citrix Studio.
Delivery Controller:
Background: I will be setting up a small proof-of-concept Citrix Environment on Amazon Web Services for testing purposes. This particular POC will be completely on AWS and utilize a combination of free tier and paid on-demand instances. Eventually, I hope to integrate additional features such as autoscaling, a XenMobile component, and integrating it with an on-premises infrastructure for a hybrid environment. I will be breaking up this article into different parts:
- Part 1: Intro and AWS Staging
- Part 2: Configuring Microsoft infrastructure
- Part 3: Installing Citrix Components
- Part 4: Configuring Citrix Components
- Part 5: Configuring External Access
If you plan on setting up your own testbed on AWS, please be mindful of your budget and the AWS free-tier limitations. You can reference the AWS free-tier at https://aws.amazon.com/free/.
Infrastructure:
- AL-DC01.awslab.com – t2.micro – Domain Controller, DNS, RDS Licensing
- AL-DDC01.awslab.com – t2.medium – Delivery Controller, StoreFront, SQL Server Express, VDA for publishing apps and desktops, Citrix Licensing
- NS1.awslab.com – m4.large – NetScaler VPX for external access
Steps:
AL-DC01 – t2.micro
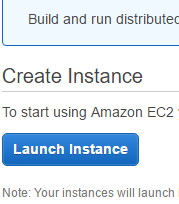
- Log into AWS console
- Select EC2
- Choose to Launch Instance
- Under the 1. Choose AMI tab, select the Free tier Microsoft windows Server 2012 R2 Base – ami-79dc1b14

- Under 2. Choose Instance Type tab, leave the default of the Free tier eligible t2.micro
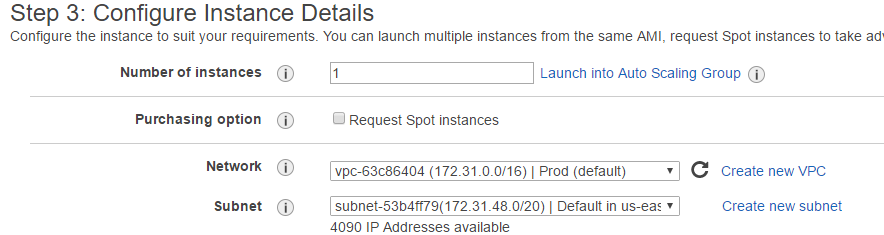
- Under 3. Configure Instance, specify your instance details. I’m going to use the defaults.
- Under 4. Add Storage, leave the defaults. Note if you changed the default size to more than 30 gb or the Volume Type to Provisioned IOPS, you will incur additional charges.

- Under 5. Tag Instance, add a tag if you wish. Tags serve the same purpose as labels in vSphere or XenServer and are mostly for descriptive purposes.

- Under 6. Configure Security Group, select a security group. This is used to control the traffic to your instance. The default security group allows unrestricted communication between instances in your VPC. However you will need to create a new Security Group so that you can RDP to your instances from your home or wherever you are performing your testing.
- In the EC2 Dashboard, navigate to Network & Security>Security Groups.
- Choose to Create Security Group
- Give your Security Group a name and description.
- Under the Inbound tab, choose Custom TCP Rule, Port 3389 and specify source IP. If you want to be able to access your AWS instances from anywhere, choose the Anywhere option under Source. Otherwise you can select My IP and it will fill in your public IP. I plan on only accessing this lab from home so I will choose My IP.
- Navigate back to Instances in the EC2 Dashboard.
- Right-click your instance and choose Networking>Change Security Groups
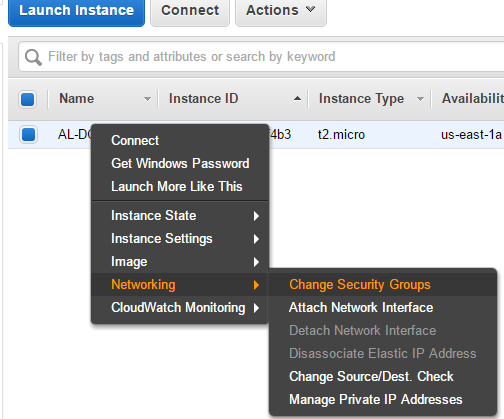
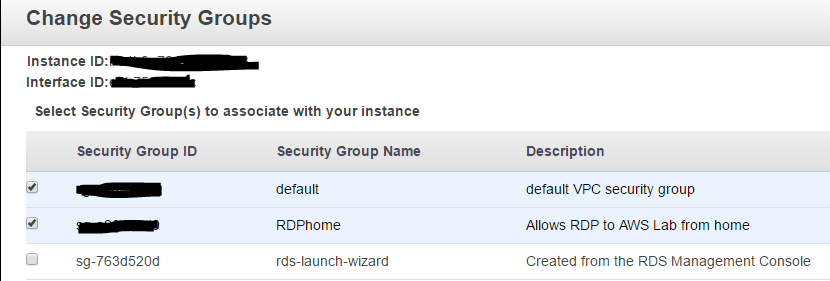
- Add the RDP Security group to your instance.
- Under 7. Review, double-check your settings and click Launch to create your instance.
- AWS will provision your instance and after a short waiting period, you can access your instance.
- To access your instance, right-click it from the EC2 dashboard and choose Connect.
- You will be provided with the Public DNS name, user name, and password for you instance. Note you will need access to your AWS account key pair to get the password.
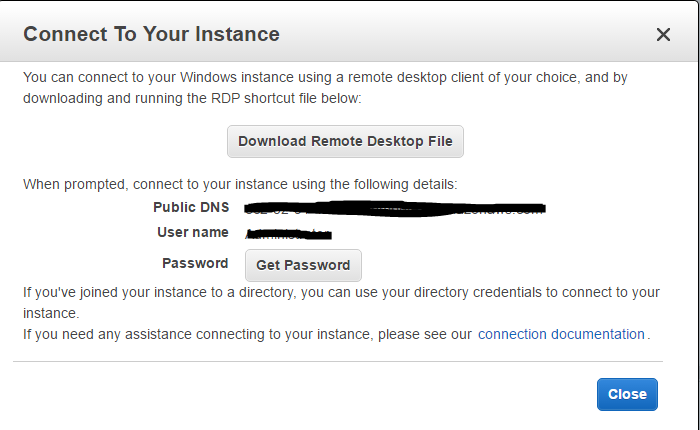
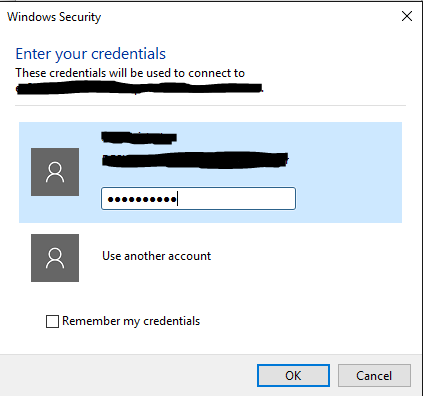
- Once you have this information, use it with your RDP client of choice to connect to your instance.
AL-DDC01 – t2.medium
- Launching the second instance will be a similar process to the first.
- Navigate to the EC2 Dashboard and choose to Launch Instance
- For 1. Choose AMI, select the Microsoft Windows Server 2012 R2 Base – ami-79dc1b14
- For 2. Choose Instance Type, select t2.medium. This is (as of June 2016) the cheapest option with at least 2 vCPU and 4 gb ram. Please check Amazon’s instance pricing regularly at https://aws.amazon.com/ec2/pricing/. A 3rd party tool is also provided on http://www.ec2instances.info/ that displays the instance types along with their pricing information in a sortable spreadsheet.
- For 3. Configure Instance, select the same Network and Subnet options you selected for the previous instance.
- For 4. Add Storage, I will be using 60 gb of General Purpose SSD (GP2).
- For 5. Tag Instance, add tags if you wish.
- For 6. Configure Security Group, add your default Security Group and the RDP Security Group created previously for the 1st instance. The default Security Group will allow the servers in your VPC to communicate with eachother. The RDP Security Group will allow you to access your instances via Remote Desktop from your home or wherever you need.
- For 7. Review. You will be notified that this instance is not eligible for the Free Usage Tier. I am willing to accept this so I click Launch.

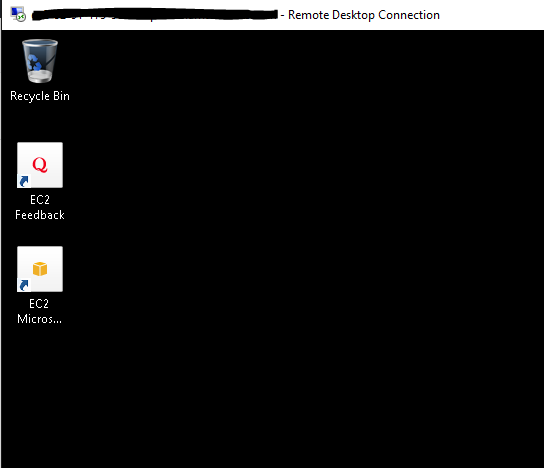
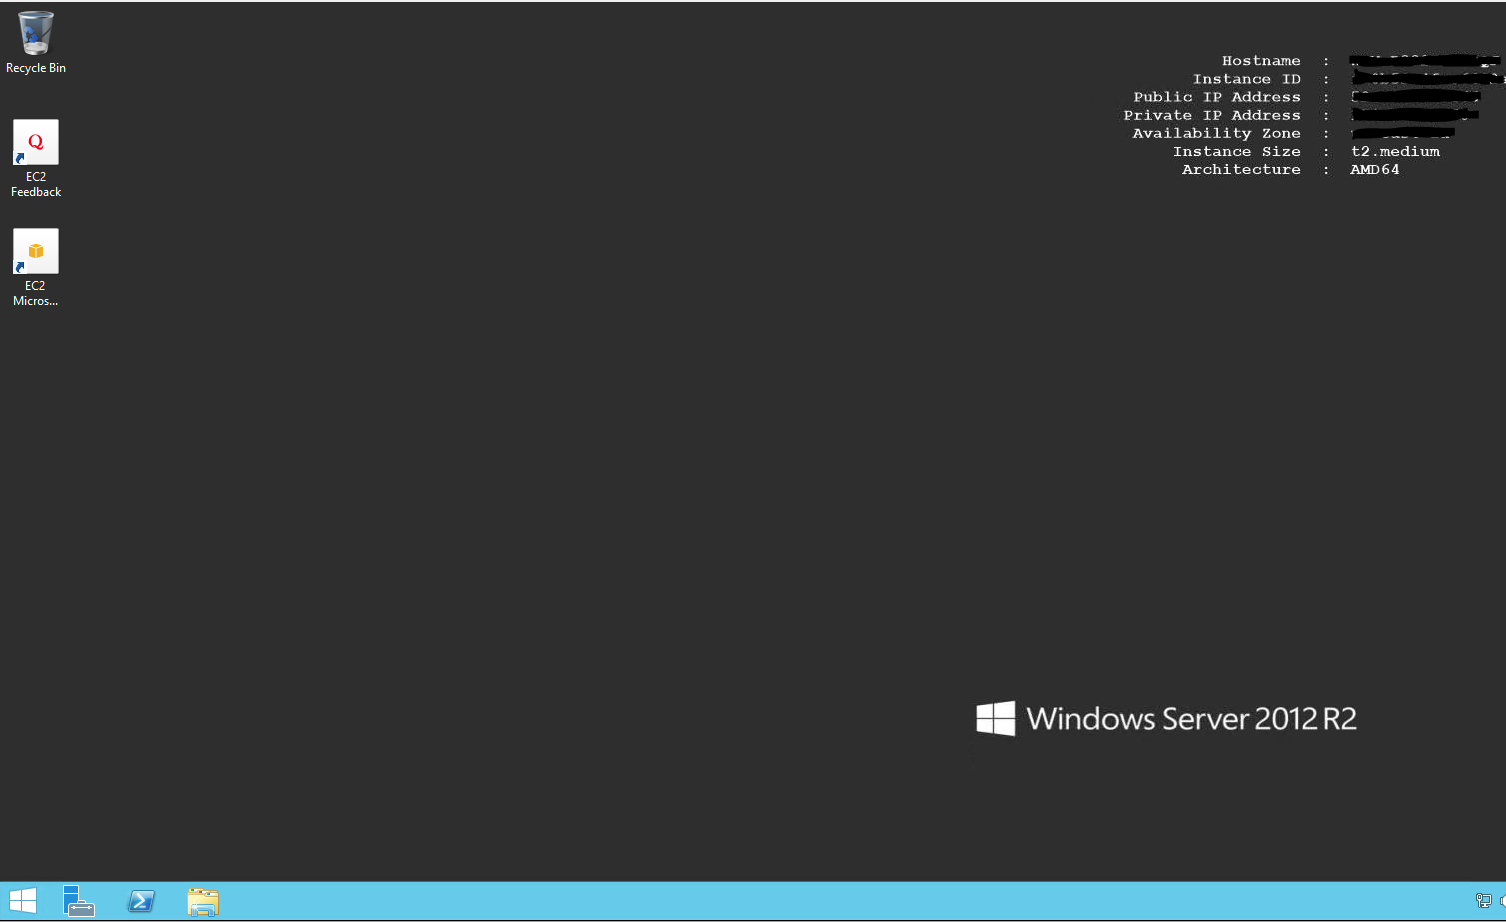
- Test the instance by logging in.
NS1
Navigate to the EC2 Dashboard and choose Launch Instance
For 1. Choose AMI Navigate to AWS Marketplace and search for netscaler.
Select NetScaler VPX – Customer Licensed (we will be using our own trial license from Citrix)
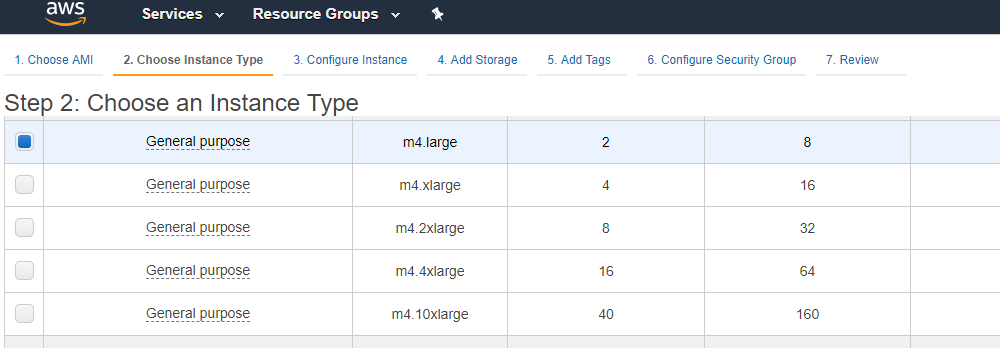
For 2. Choose Instance Type, the NetScaler is limited to certain instance types (unavailable instance types will be greyed out). The m4.large is our cheapest option at $0.12 USD per hour (as of June 2016) per https://aws.amazon.com/ec2/pricing/ so this will be my selection.
![]()
For 3. Configure Instance, I will be using the same Network and Subnet as the other 2 instances.
For 4. Add Storage, I will be leaving the defaults.
For 5. Tag Instance, label your instance with tags if you wish.
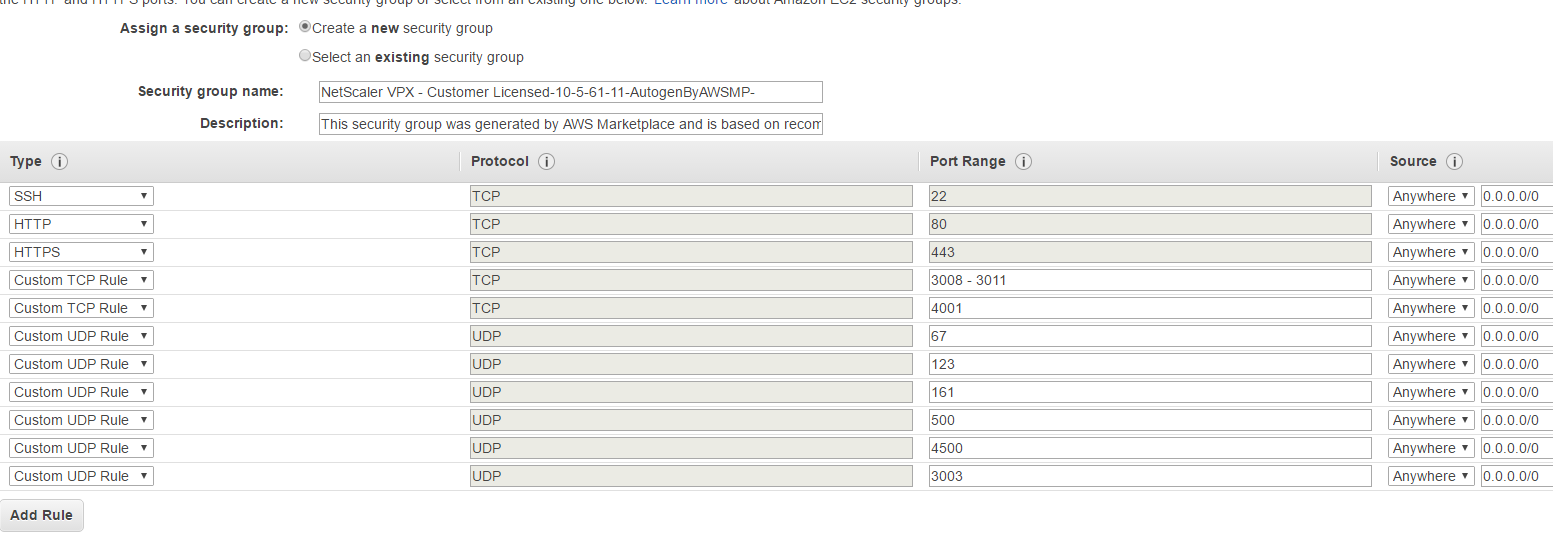
For 6. Configure Security Group, AWS auto-creates a new Security Group that opens the needed ports for you. We will use this Security Group for now and create some additional rules later on if needed. Note that using this Security Group opens the SSH, HTTP, HTTPS ports needed to access the NetScaler appliance for configuration, this is the most important thing for us at the moment. The other ports can be closed for the time being if you don’t intend to use them. For a list of Citrix ports and their functions, please refer to http://support.citrix.com/content/dam/supportWS/kA460000000Cc9tCAC/Ports_Used_by_Citrix.pdf.
For 7. Review, review your settings and click Launch
After the NetScaler instance has been provisioned, ensure you can access it via an SSH client. Steps for accessing the NSVPX instance via SSH are outlined on this AWS article:
https://docs.aws.amazon.com/AWSEC2/latest/UserGuide/putty.html?icmpid=docs_ec2_console
Background: The scenario is you are changing the URL that clients will use for external access to your Citrix environment. Perhaps the environment has an SSL certificate for 1 website but is changing the name (ie. from storefront.contoso.com to go.contoso.com) or upgrading to a wildcard certificate. In any case, here are the general steps you can follow for this process:
Administrative access to NetScaler device that provides external access for your environment (also required if you plan on creating your CSR from the NetScaler)
Adminstrative access to StoreFront server
Access to an IIS server (I will be performing CSR from here)
- Create a Certificate Signing Request (CSR)
- Submit CSR to CA
- Download new certificate from CA
- Update External Gateway SSL Cert on NetScaler
- Update Certificate Links on NetScaler
- Update NetScaler Gateway settings on StoreFront
- Test
Pre-requisites: