This setup assumes you already have Azure SAML with conditional access configured for NetScaler Gateway external access. This post will modify that existing setup to allow access to an internal Sharepoint site via Clientless VPN. NetScaler 13 and StoreFront 1912 are used in the examples.
Create StoreFront Store
Create a new store if needed. Right-click the store and choose Manage Authentication Methods.

Select User name and password and Pass-through from Citrix Gateway.
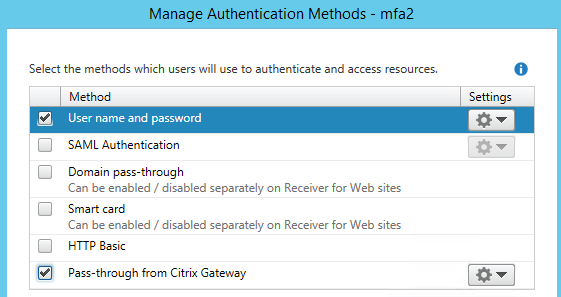
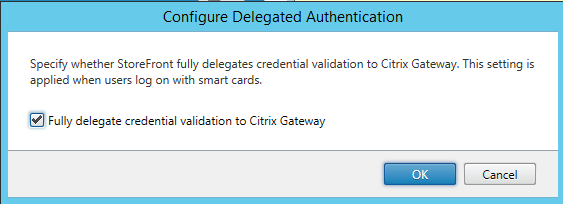
Click the gear icon for Pass-through from NetScaler Gateway. Choose Configure Delegated Authentication. Check the box for Fully delegate credential validation to Citrix Gateway.
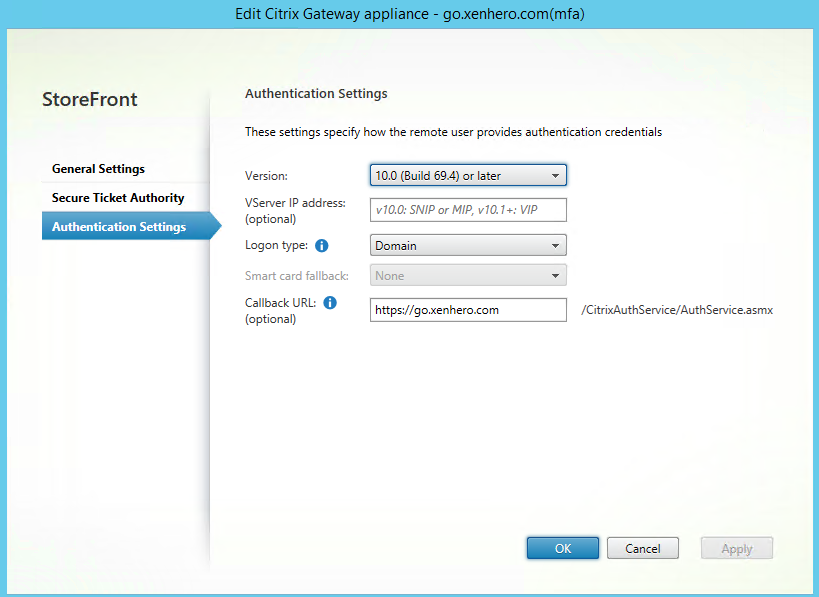
Configure NetScaler Gateway if this hasn’t been done yet.
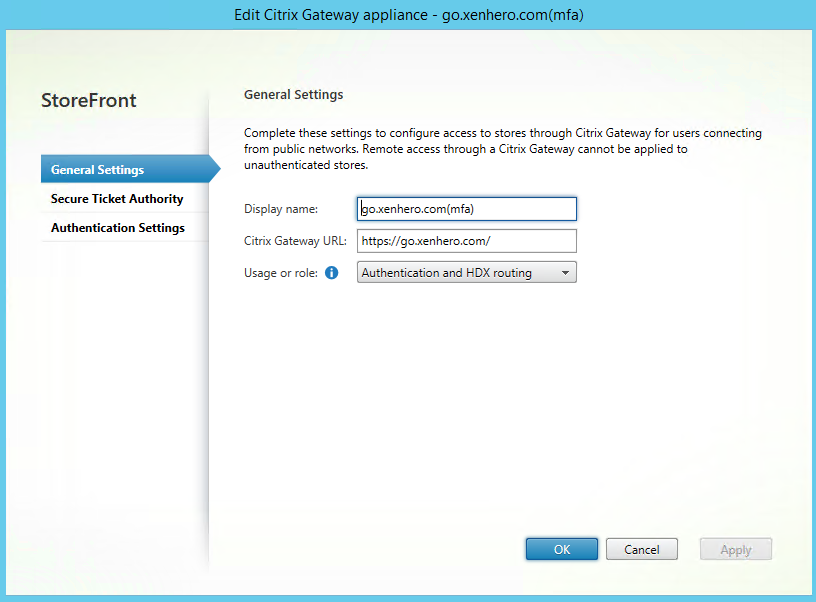
The most important setting is the Callback URL. This should be the internal URL of the of the Gateway Virtual Server. The vServer IP address is not needed.
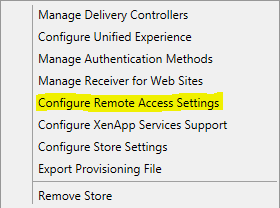
Next right-click the store and select Configure Remote Access Settings.
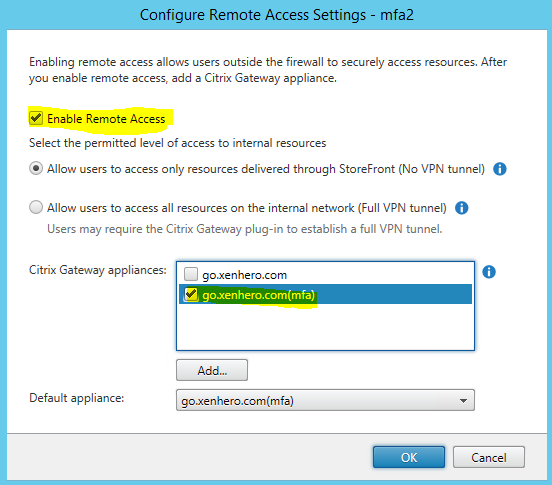
Check the box for Enable Remote Access. Select your MFA enabled Citrix Gateway appliance.
Configure Session Policy/Profile
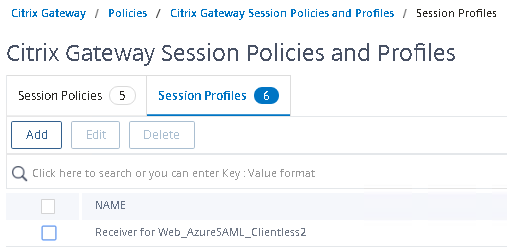
In NetScaler navigate to Citrix Gateway>Policies>Session. Select the Session Profiles tab. Click Add to create a new Session Profile.
For Client Experience configure the following settings. Clientless Access: ON, Clientless Access URL Encoding: Clear, Advanced Clientless VPN Mode: DISABLED, Plug-in Type: WIndows/MAC OS X, Single Sign-on to Web Applications: Off.
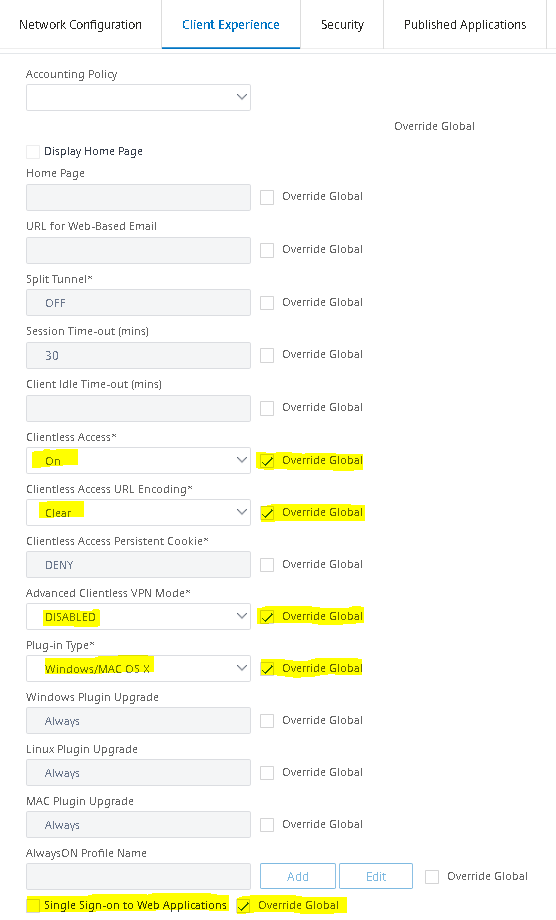
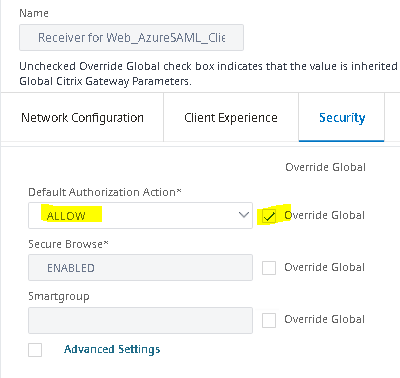
For Security tab configure the following settings. Default Authorization Action: ALLOW.
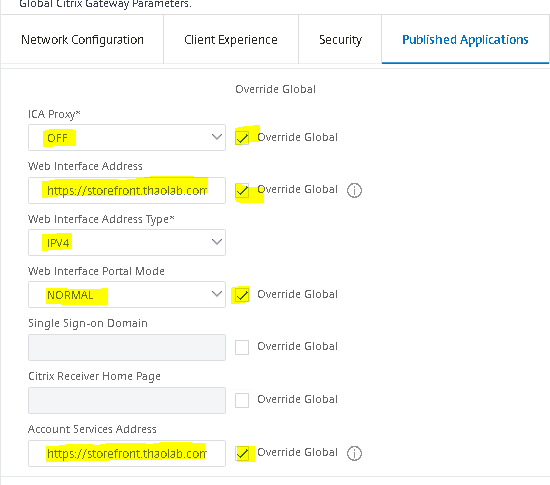
For Published Applications tab, configure the following settings: ICA Proxy: OFF, Web Interface Address: https://storefront.domain.com/Citrix/storeWeb, Web Interface Portal Mode: NORMAL, Account Services Address: https://storefront.domain.com
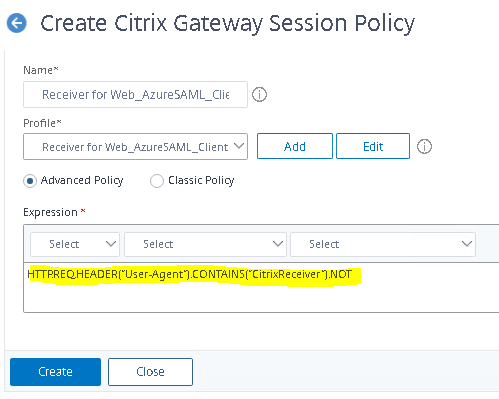
Click OK when finished to create the Session Profile. Go back to Citrix Gateway>Policies>Session and choose the Session Policies tab.
Create a Session Policy using the Session Profile that you previously created. The Advanced Policy Expression should read HTTP.REQ.HEADER(“User-Agent”).CONTAINS(“CitrixReceiver”).NOT
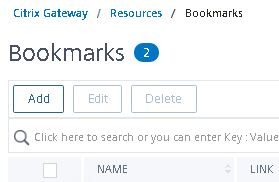
Create Bookmarks
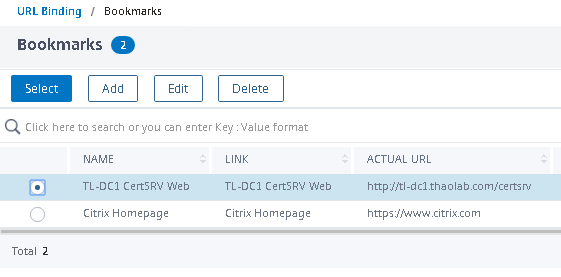
Navigate to Citrix Gateway>Resources>Bookmarks. Click Add.
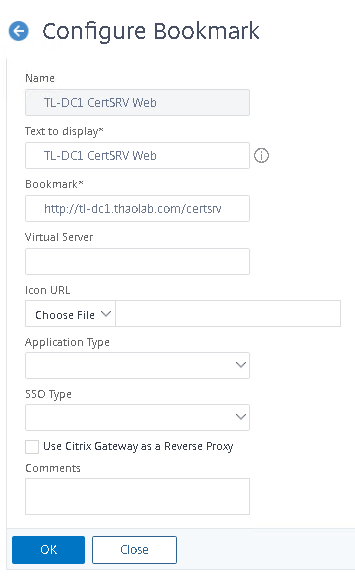
In this example we will provide CVPN access to an intranet site. Configure the name as it will appear on the CVPN splash page. For Bookmark enter the intranet site url. Click OK when finished.
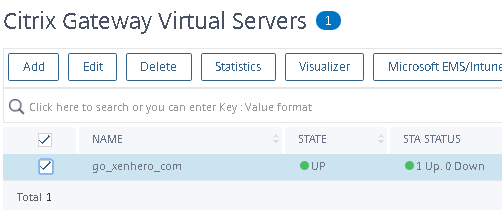
Bind Bookmarks to NetScaler Gateway Virtual Server
Navigate to Citrix Gateway>Virtual Servers. Select your Gateway Virtual Server.
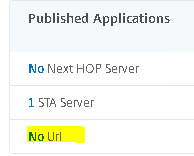
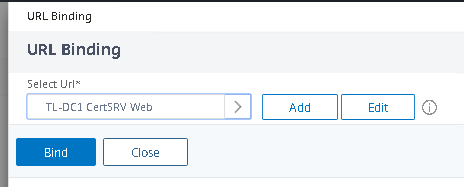
Navigate down to Published Applications. Select No Url.
Click your Bookmark. Click Select.
Click Bind.
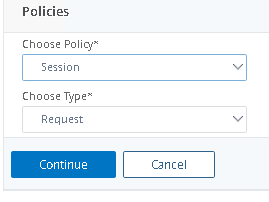
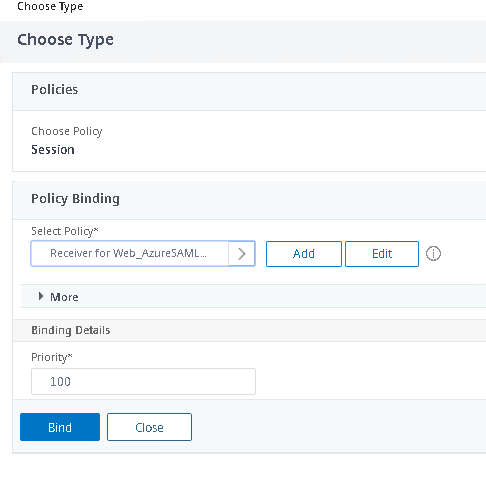
Bind your Session Policy. Navigate down to Policies. Click the + symbol on the right.

Choose Session Request policy. Click Continue.
Choose your Session Policy. Click Select.
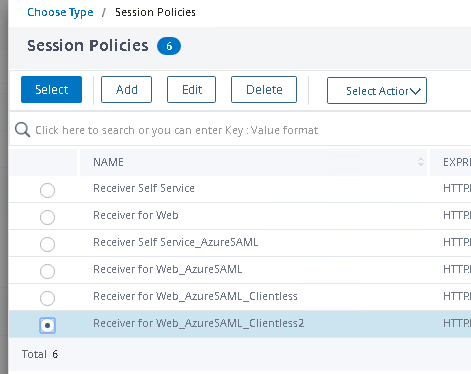
Click Bind.
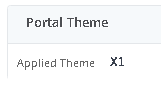
If preferred choose X1 as your portal theme for a somewhat more aesthetically pleasing CVPN splash page.
User Logon Experience
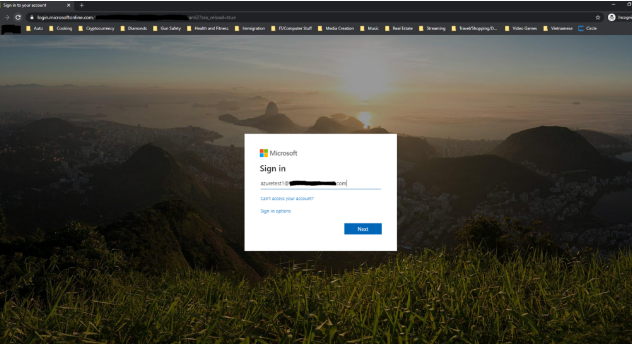
User navigates to Gateway External URL and enters credentials.
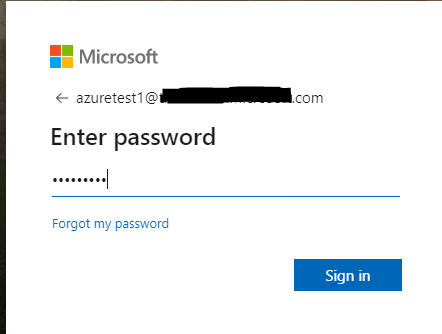
User enters password.
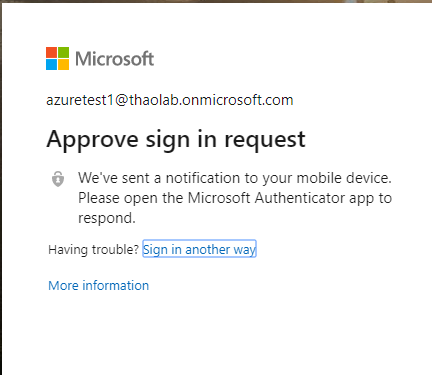
If SAML is configured with conditional access using MFA, user will be prompted to approve login with two-factor.
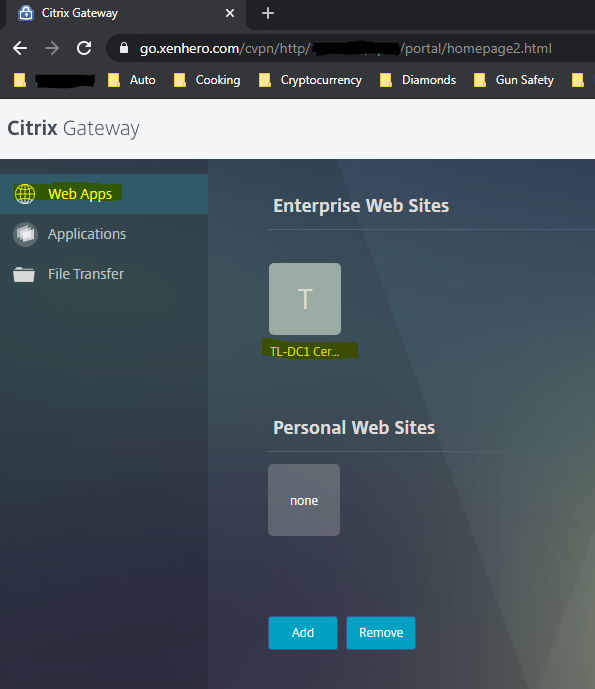
User is prevented with the CVPN splash. Under Web Apps will be Intranet resource that we deployed as a Bookmark resource earlier.
Clicking the site will launch the Intranet Site as a new browser tab.
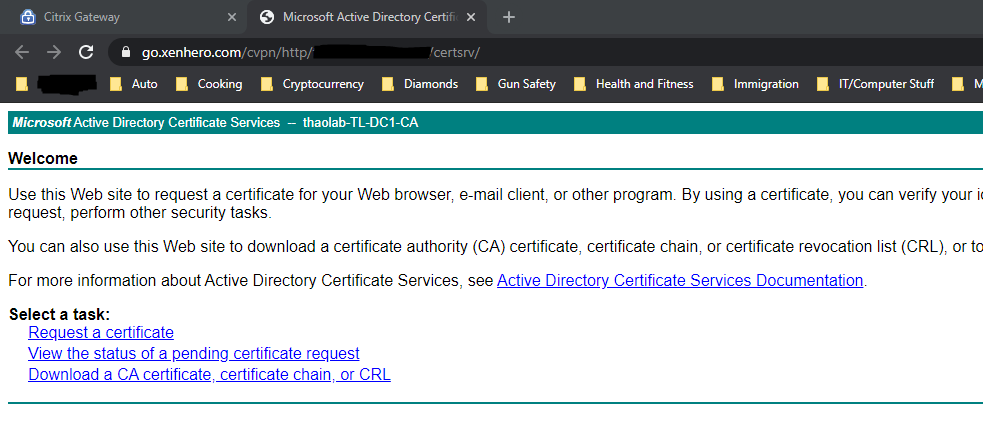
We are able to launch an intranet site using Clientless VPN with Azure SAML authentication.
Integrate StoreFront into Clientless Access Frame (Optional)
To make published apps and desktops available through the CVPN splash there are some additional requirements if trying to get this to work with SAML.
- FAS server configured.
- SSO configured in Session Policies
- StoreFront web.config modified so that Published Desktops and Apps will appear under Applications tab in the CVPN splash page.
We will cover these steps in the next blog post!