Part 5 of setting up a Citrix XA/XD 7.13 POC on AWS.
Background: This article will cover setting up external access on our proof of concept via StoreFront and our NetScaler EC2 instance.
Prerequisites:
- Amazon EC2 instances provisioned via Part 1 of the series
- Microsoft Infrastructure configured via Part 2 of the series
- Citrix Infrastructure installed via Part 3 of the series
- Citrix components configured via Part 4 of the series
Steps:
- Configure AWS Security Groups
- We will use 2 security groups. One will be the pre-configured group initially created by AWS when the NetScaler instance was deployed. The second will be the default security group. By default AWS instances (more specifically the Network Interfaces) associated with a security group can’t talk to each other unless rules are added to allow it. The default security group comes pre-configured to allow inbound traffic from instances in the same security group, which will allow our NetScaler instance to communicate with our backend servers. For more clarification, please reference http://docs.aws.amazon.com/AmazonVPC/latest/UserGuide/VPC_SecurityGroups.html.
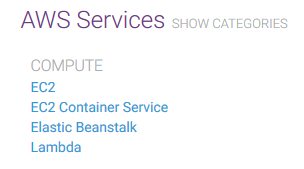
- Logon to AWS console and navigate to the EC2 Dashboard.

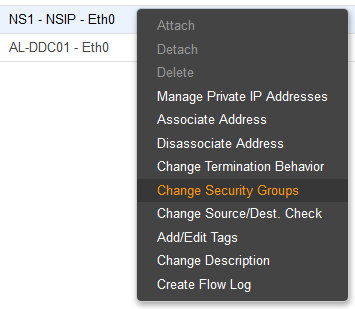
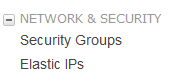
- Navigate to Network & Security>Network Interfaces
- Right click the Network Interface for your NSIP and choose Change Security Groups.
- Select the “default” and the pre-configured “NetScaler VPX – Customer Licensed” Security Groups.
-
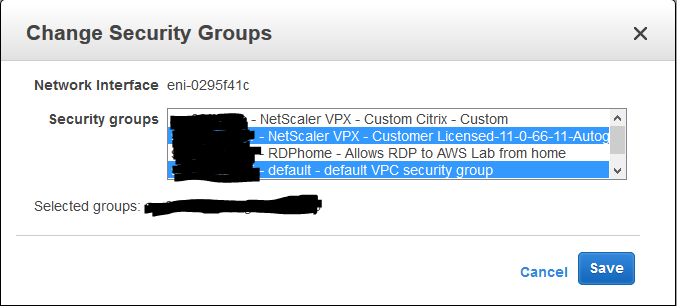
- Click Save
- Configure Elastic IP for AWS NetScaler VPX
- To ease configuration, an elastic IP will be assigned to the NSIP of our NSVPX instance. Alternately, you can launch an SSH client or web browser from a server within your VPC (jump-server) to run configuration tasks.
- Logon to the AWS console and enter the EC2 Dashboard.
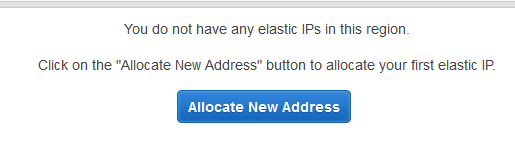
- Click Elastic IPs under the Network & Security tab
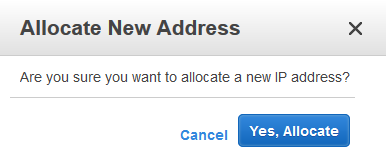
- Choose to Allocate New Address
- The console will ask to confirm your selection. Choose Yes, Allocate
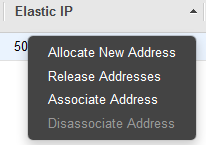
- Right click your new Elastic IP and select Associate Address
- Click in the field next to Instance. A drop-down menu will appear with a list of your available instances. Select your NetScaler VPX instance.
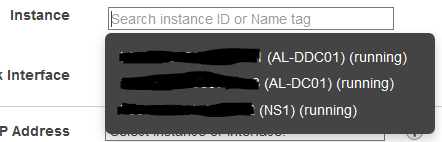
- Click Associate. Your NetScaler VPX’s public IP will now be locked into the Elastic IP.
- Be aware that a charge is incurred if your Elastic IP is not assigned to an instance or if it assigned to an instance that is shutdown. Be sure to review the costs of using an Elastic IP on the AWS Documentation page: http://docs.aws.amazon.com/AWSEC2/latest/UserGuide/elastic-ip-addresses-eip.html
- Add Subnet IP, SF Load Balancing VIP, and NetScaler Gateway VIP.
- Navigate to AWS console.
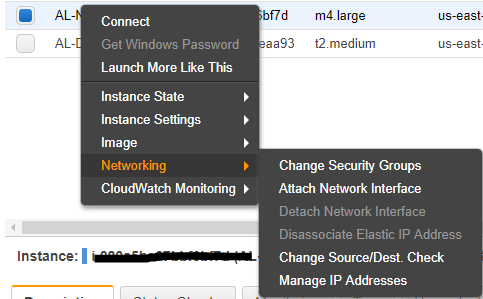
- Right-click NetScaler instance and select ‘Networking>Manage IP Address’
-
-
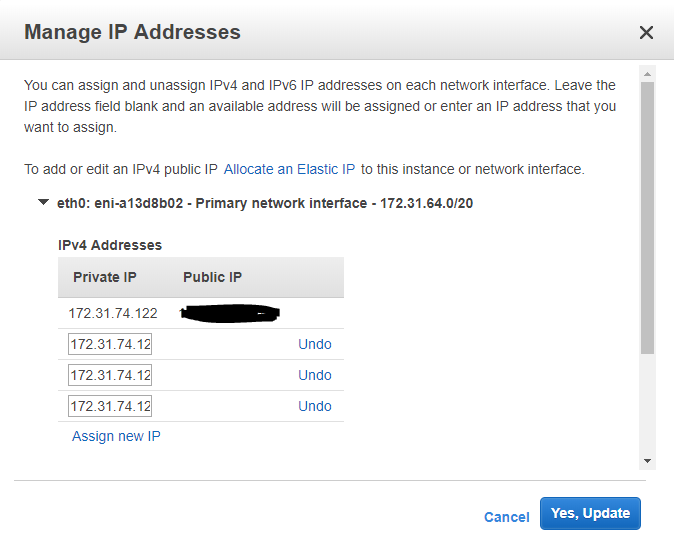
- Click ‘Assign New Ip Address’ and add in your SNIP, SF Load Balancing VIP, and NetScaler Gateway VIP. Click ‘Yes, Update’ to lock in your new IPs.
-
- Configure NetScaler settings – First, Citrix has an excellent and detailed guide for stepping through the NSVPX setup on AWS here: http://docs.citrix.com/content/dam/docs/en-us/workspace-cloud/downloads/NetScaler-VPX-in-AWS-Deployment-Guide.pdf. Our configuration will follow the guidelines in the Citrix guide but will be abridged since our goal is to launch a desktop as quickly as possible for the proof-of-concept.
- Configure SNIP
- Configure Licensing
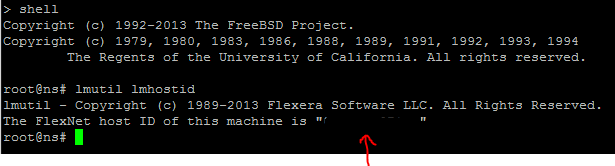
- Obtain the host id of your AWS NSVPX instance via an SSH client. More information on how to connect here: https://docs.aws.amazon.com/AWSEC2/latest/UserGuide/putty.html?icmpid=docs_ec2_console. Use the lmutil lmhostid command in CLI Shell. Alternatively you can retrieve the host id by logging into the NetScaler Web console on Configuration>System>System Information tab.
- Obtain a trial license (NSPVX Express License) from www.citrix.com. You will need the mac address that you just obtained.
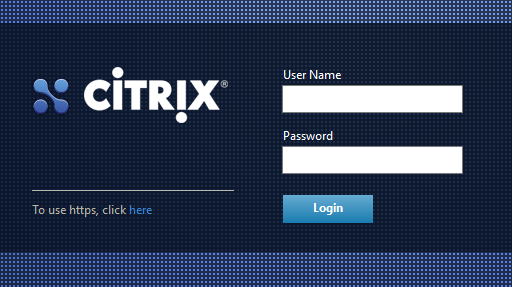
- Log into your NSVPX instance. The default username / password is nsroot / NS AWS instance-id.
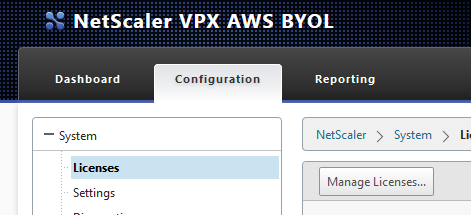
- Navigate to System>Licenses. Select the Manage Licenses button.
- Add your NetScaler VPX Express license by choosing the option to Upload license files from a local computer.
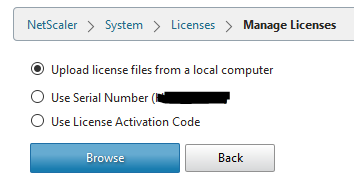
- Browse to your license file and upload it.
- Reboot the NetScaler instance afterwards.
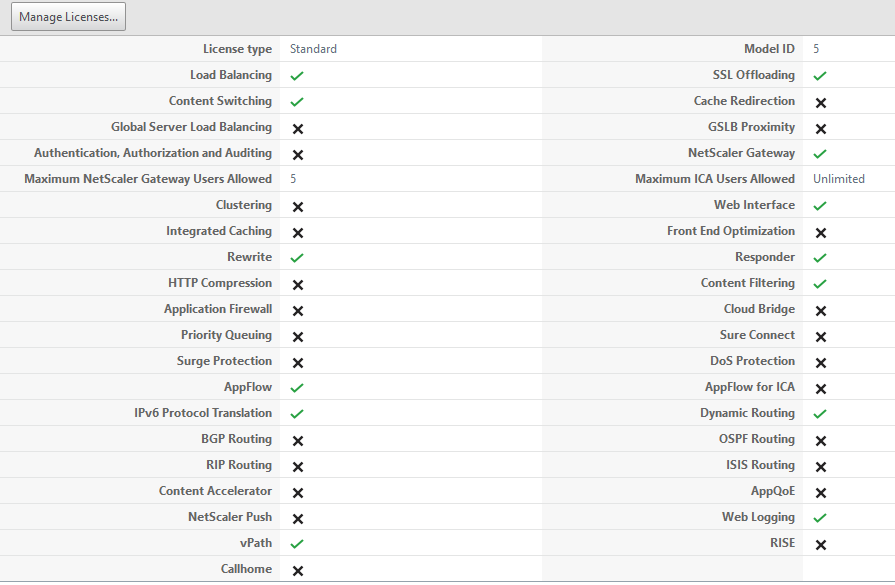
- Verify your NSVPX Express license features afterwards
- Obtain the host id of your AWS NSVPX instance via an SSH client. More information on how to connect here: https://docs.aws.amazon.com/AWSEC2/latest/UserGuide/putty.html?icmpid=docs_ec2_console. Use the lmutil lmhostid command in CLI Shell. Alternatively you can retrieve the host id by logging into the NetScaler Web console on Configuration>System>System Information tab.
- Configure Subnet IP
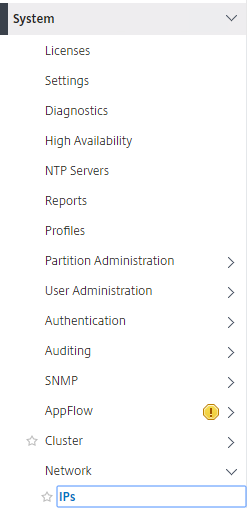
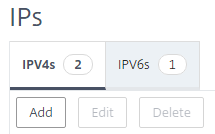
- Navigate to System>Network>IPs
-
-
- Under IPV4 category, click ‘Add’
-
-
-
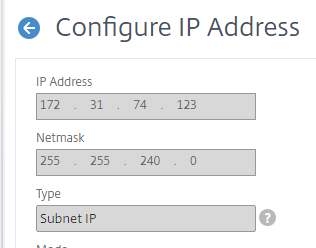
- Enter in the IP Address and Subnet mask for your SNIP. This should be one of the three IP addresses you added to the NetScaler instance in the prerequisite network setup above.
-
-
-
- Click Create
-
-
- Configure LDAP Authentication
- Configure LDAP authentication on your NSVPX per Citrix best practices. This is needed so that we can logon via a testuser account to launch our resources. There are several good guides on how to do this so I won’t go into detail on how to do it here.
- Configure Certificates
- Obtain and install an SSL cert for the NetScaler External Gateway address
- Obtain and install hosting provider’s (GoDaddy, Digicert, etc…) root or intermediate certificate
- Install internal StoreFront SSL cert
- Install internal CA SSL cert (https://support.microsoft.com/en-us/kb/555252)
- Create Session Profiles and Session Policies
- Configure StoreFront Load Balancing VIP
- Configure NetScaler Gateway
- Bind Certs
- Bind Authentication Policy
- Bind Session Policies
- Configure STA(s)
- Verify SSL Settings
- Configure SSL Redirect (optional)
- Configure AWS Network Interface
- Foward SSL Traffic to External Gateway VIP
- In an on-premise environment, you would forward SSL Traffic (port 443) to your NS External Gateway VIP. In the AWS Cloud, this is easier as you will only need to create a new Elastic IP and than assign this to the AWS Network Interface of your VIP. You will then need a public A record to point to this Elastic IP. The AWS Security Group assigned to to the Network Interface that is the VIP is on should also have an inbound rule for traffic from 443. The AWS pre-configured NetScaler Security Group does have this so we won’t need to add it to the Security Group.
- Ensure DNS is working
- Configure LDAP Authentication
- Configure StoreFront settings
References:
- http://docs.aws.amazon.com/AWSEC2/latest/UserGuide/elastic-ip-addresses-eip.html
- http://docs.citrix.com/content/dam/docs/en-us/workspace-cloud/downloads/NetScaler-VPX-in-AWS-Deployment-Guide.pdf
- http://docs.aws.amazon.com/AmazonVPC/latest/UserGuide/VPC_SecurityGroups.html
- https://support.microsoft.com/en-us/kb/555252