Background: I will be setting up a small proof-of-concept Citrix Environment on Amazon Web Services for testing purposes. This particular POC will be completely on AWS and utilize a combination of free tier and paid on-demand instances. Eventually, I hope to integrate additional features such as autoscaling, a XenMobile component, and integrating it with an on-premises infrastructure for a hybrid environment. I will be breaking up this article into different parts. This article covers configuration of the AD infrastructure in our POC: Domain Controller setup, RDS licensing setup, Certificate Services setup.
- Part 1: Intro and AWS Staging
- Part 2: Configuring Microsoft infrastructure
- Part 3: Installing Citrix Components
- Part 4: Configuring Citrix Components
- Part 5: Configuring External Access
If you plan on setting up your own testbed on AWS, please be mindful of your budget and the AWS free-tier limitations. You can reference the AWS free-tier at https://aws.amazon.com/free/.
Infrastructure:
- AL-DC01.awslab.com – t2.micro – Domain Controller, DNS, RDS Licensing, Certificate Services
- AL-DDC01.awslab.com – t2.medium – Delivery Controller, StoreFront, SQL Server Express, VDA for publishing apps and desktops, Citrix Licensing
- NS1.awslab.com – m4.large – NetScaler VPX for external access
Steps:
Install Domain Controller Role
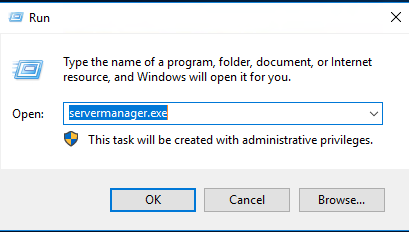
Launch Server Manager (servermanager.exe).
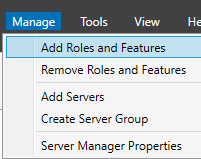
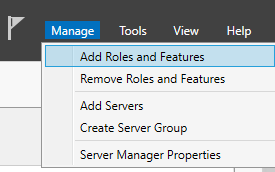
Navigate to Manage>Add Roles and Features
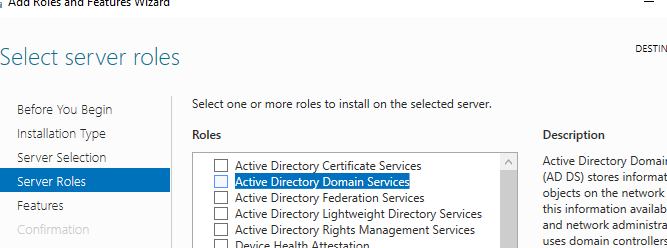
Select Active Directory Domain Services
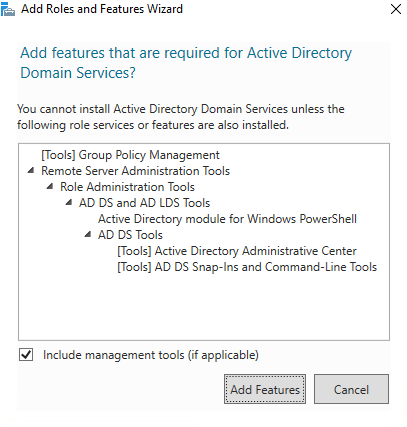
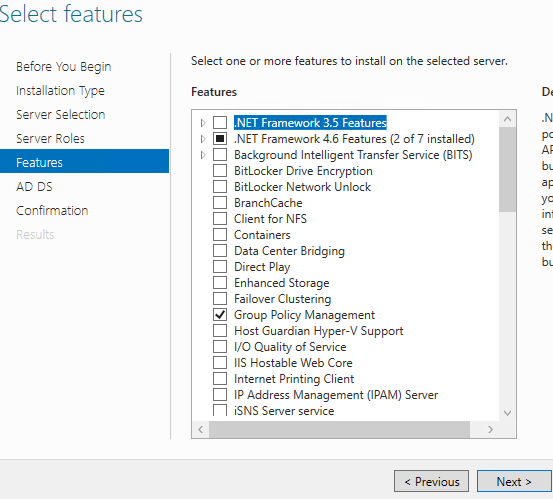
Click Add Features to add any additional features needed.
Click Next.
Click Next to add any additional features needed.
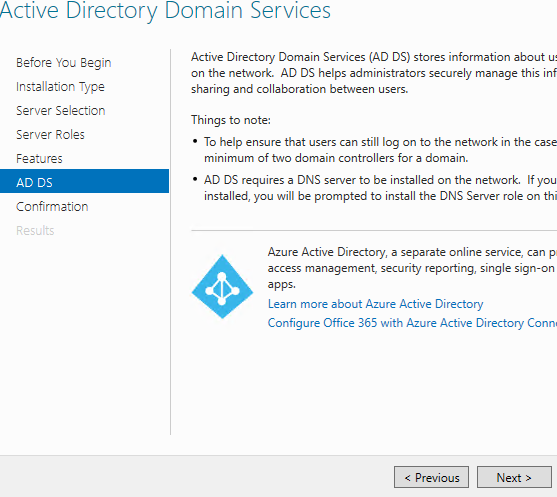
The wizard will give a brief summary of AD Domain Services. on the next screen. Click Next to continue.
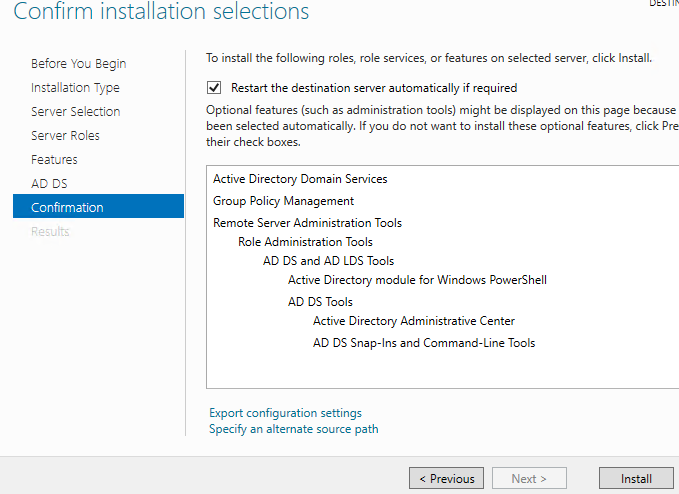
Review installation selections on the final page. Click Install to proceed.
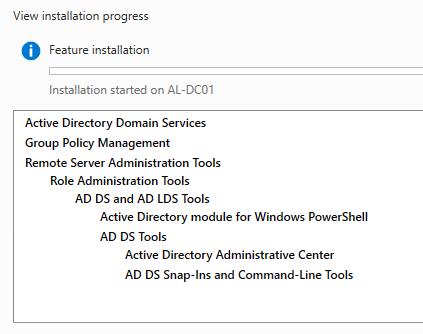
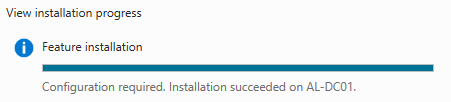
Installation progress will be displayed.
Once installation finishes, you will be prompted to perform some additional configurations. Click Close.
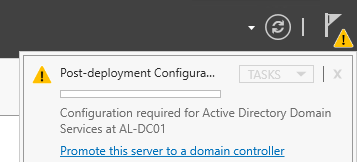
Click the Flag in the top right corner. Click Promote this server to a domain controller.
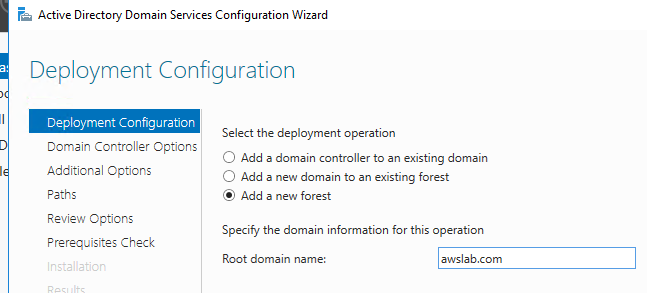
In the Deployment Configuration wizard, select Add a new forest. Specify your domain name in the Root domain name: field. Click Next.
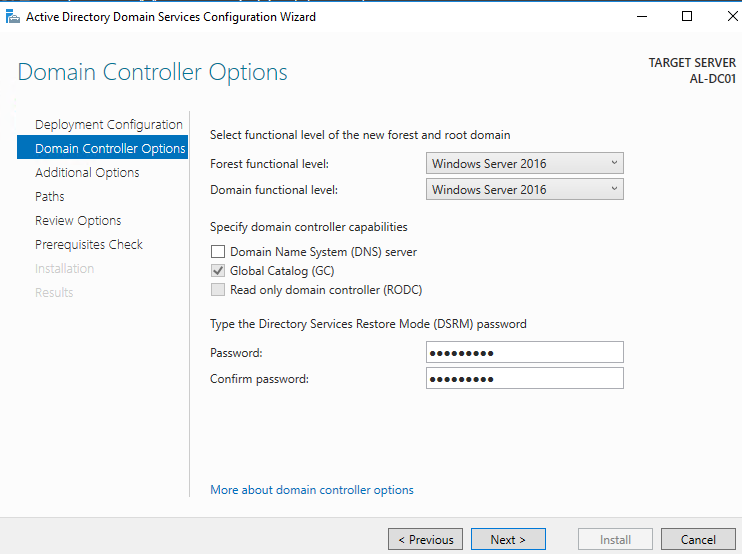
For Domain Controller Options, select your Forest and Domain Functional level. Specify your DSRM password. Click Next.
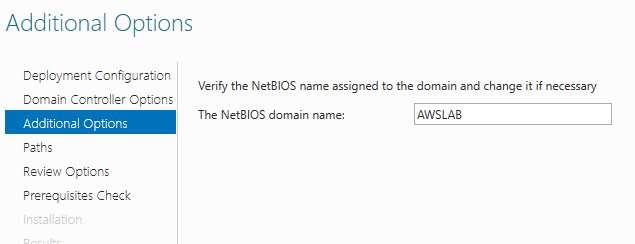
Leave the default NetBIOS domain name. Click Next.
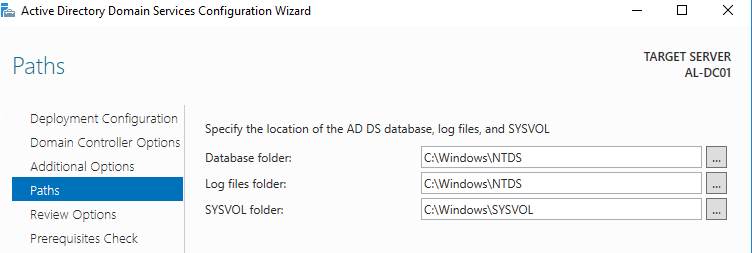
Leave the default paths for the Database, Log files, and SYSVOL. Click Next.
Review installation options. Click Next.

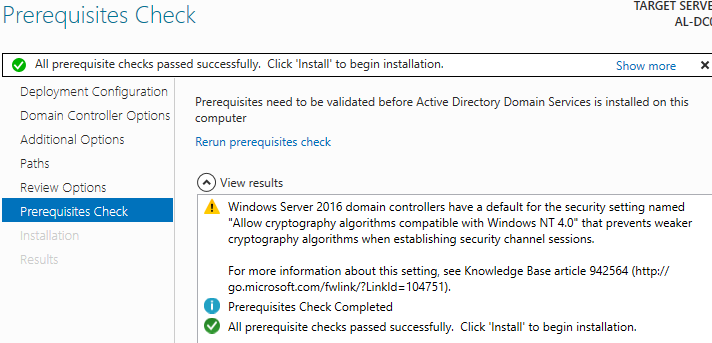
The wizard will run a prerequisites check. If all prerequisite checks pass, click Install. Otherwise go back and fix any problems.
Installation will proceed.

Once installation is finished, reboot the server.
Install RDS Licensing Role
Launch Server Manager (servermanager.exe).
Navigate to Manager>Add Roles and Features.
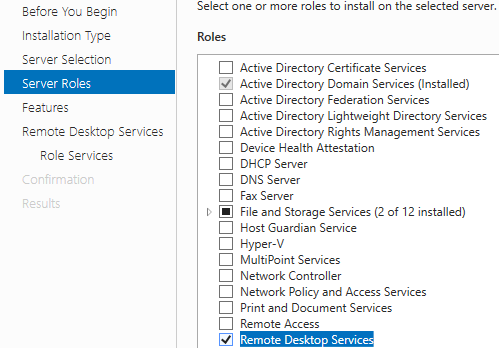
In the Server Roles tab, select the Remote Desktop Services role. Click Next.
Any needed features will be selected. Click Next.
A brief description of Remote Desktop Services will be provided. Click Next.
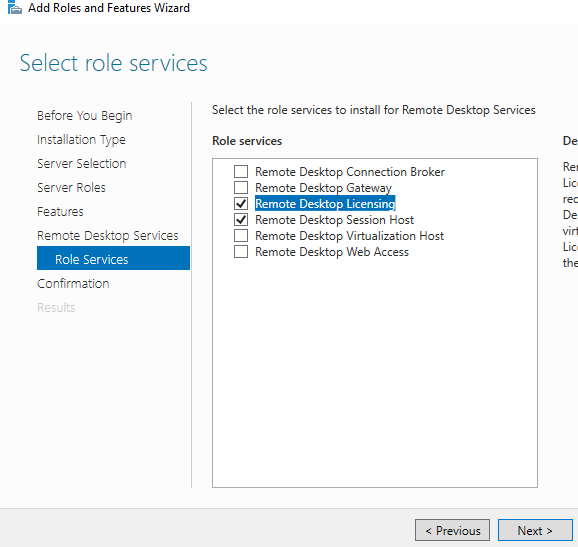
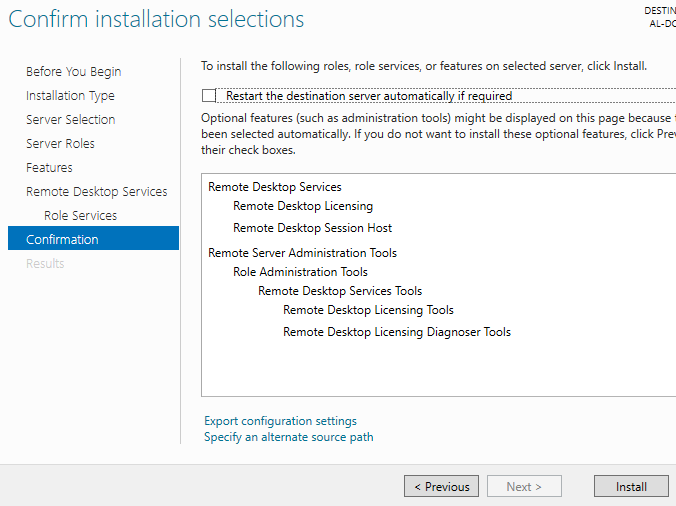
Select the role services for the RDS role. Choose and Remote Desktop Session Host. Click Next.
Review installation selections. Click Install.
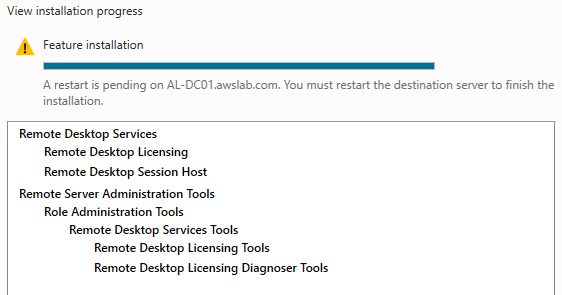
Restart the instance afterwards to complete installation.
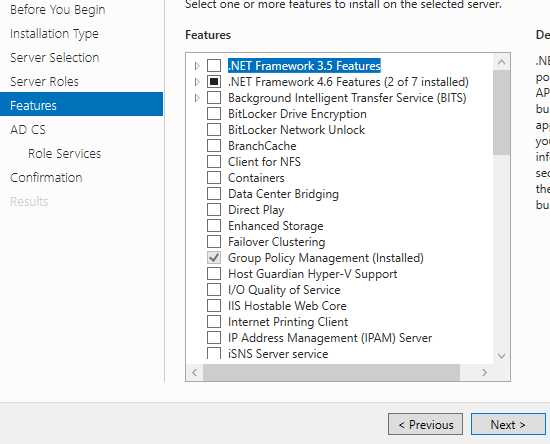
Install Certificate Services
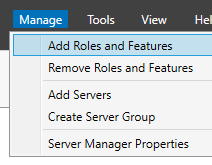
Launch Server Manager (servermanager.exe). Navigate to Manage>Add Roles and Features.
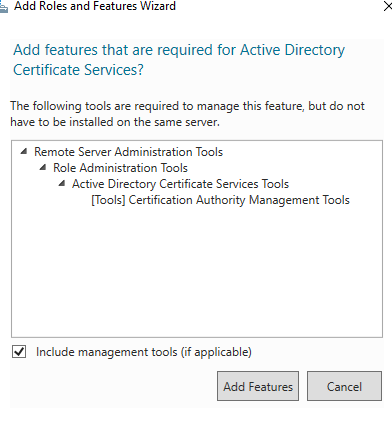
In the Server Roles section, select Active Directory Certificate Services.

Select Add Features to also install the prerequisite features.
Click Next on the Features page.
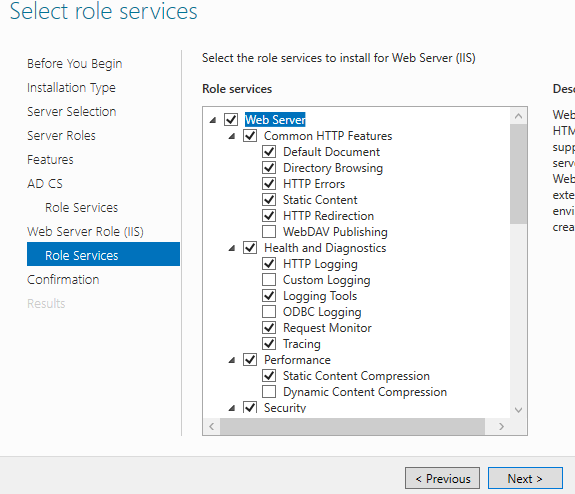
In the Role Services page, select Certification Authority and Certification Authority Web Enrollment. The web enrollment service will allow us to submit certificate requests to the server during our StoreFront setup. Click Next.

Add all needed IIS components. These should be pre-selected for you by the wizard. Click Next.
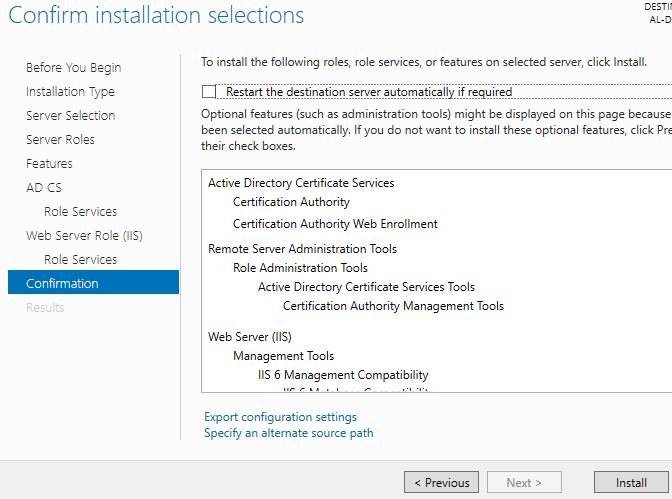
Review installation selections. Click Install.
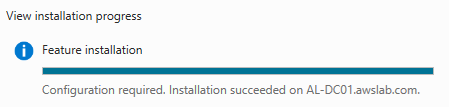
Installation progress will be displayed.
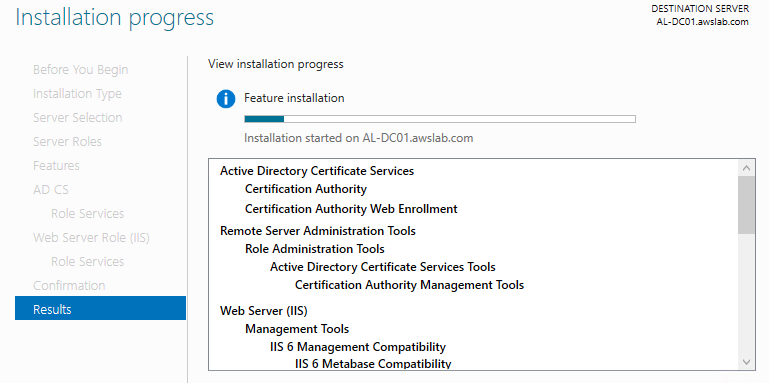
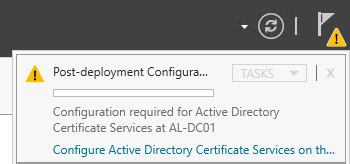
Once installation finishes, some additional configuration tasks will have to be performed. Close the wizard.
Navigate back to Server Manager. Click the notification flag in the top right corner. Select Configure Active Directory Certificate Services on the destination server.
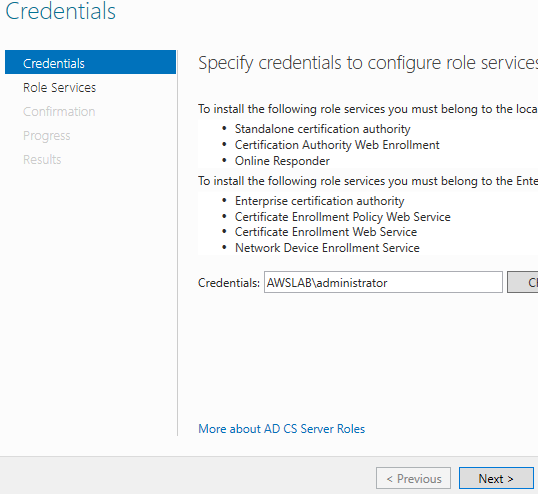
The AD CS Configuration Wizard will open. Specify your administrative credentials if needed. This should be pre-populated for you. Click Next.
Select the roles you wish to configure. These should be Certification Authority and Certification Authority Web Enrollment. Click Next.

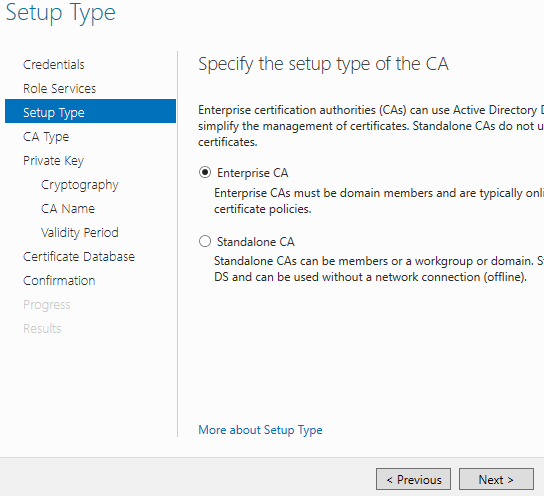
On the Setup Type page, select Enterprise CA. Click Next.
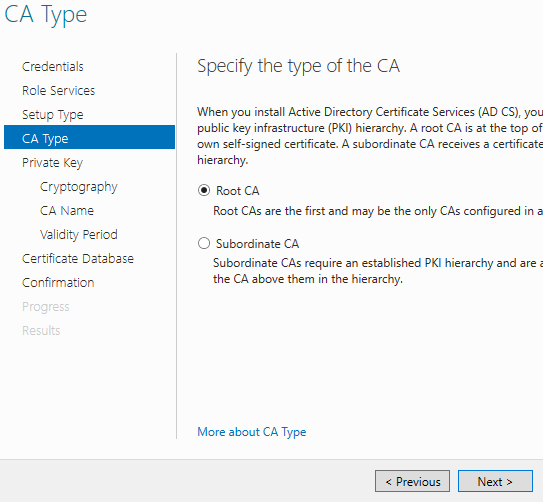
For the type of CA, choose Root CA. Click Next.
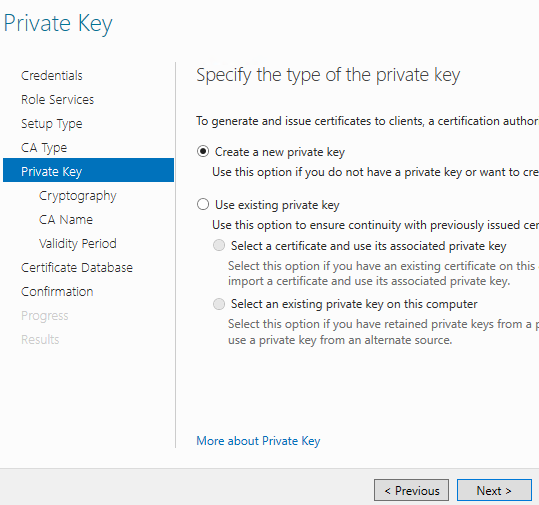
Next choose to Create a new private key. Click Next.
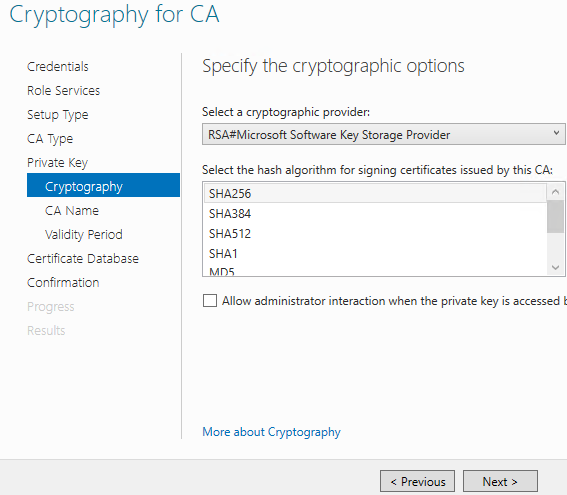
Select 2048 Key length and SHA256 Hash algorithm. Since this is just a POC, we will not need Strong Protection option for private key. Click Next.
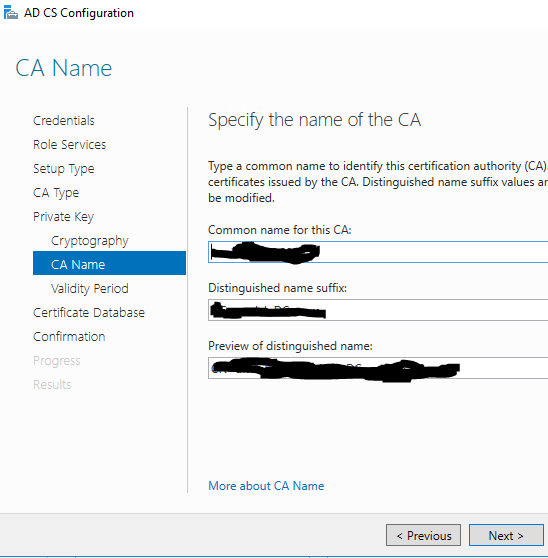
For CA Name page, review the Common Name and Distinguished Name should be pre-populated for you. Click Next.
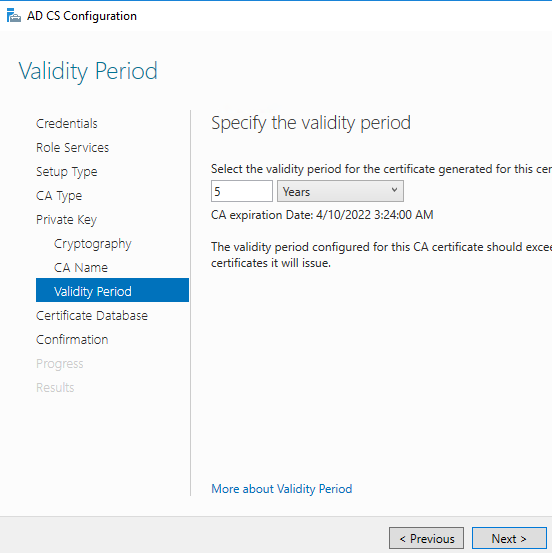
Select your validity period. The default 5 years should be sufficient for our POC.
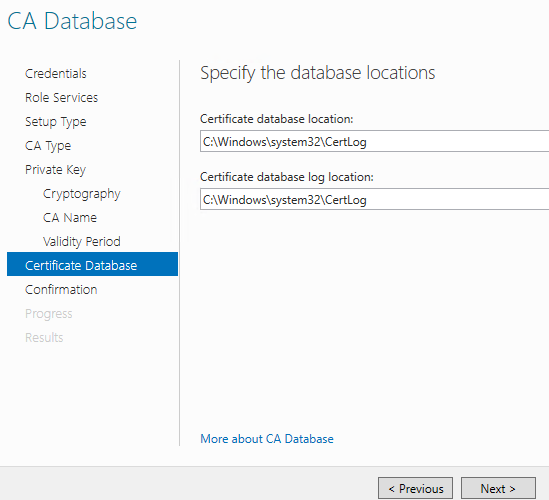
Leave the default locations for the CA database. Click Next.
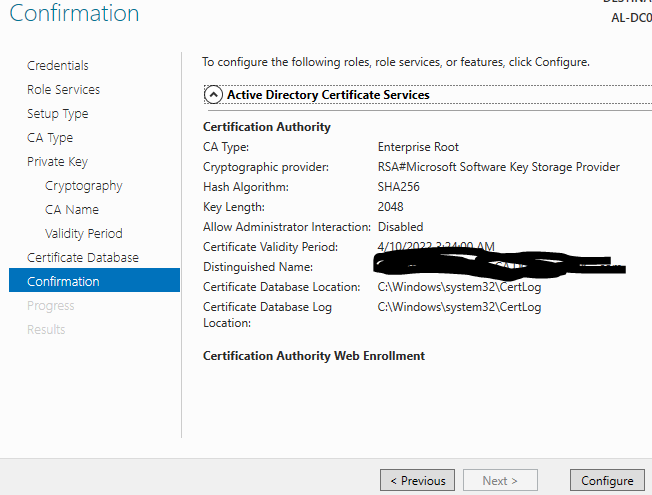
Review installation selections and click Configure.
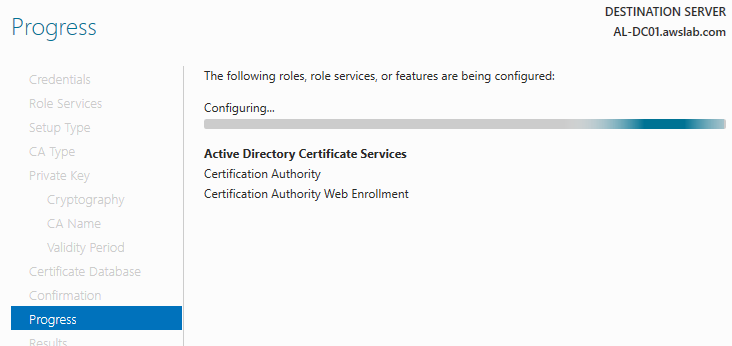
Configuration progress will be displayed.
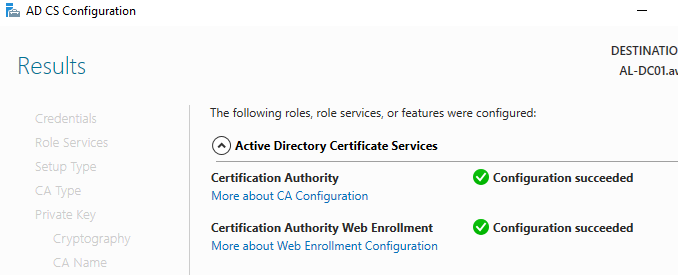
Close the wizard once configuration is complete.
Setup DNS
When launching instances into a default VPC, AWS provides public and private DNS hostnames for the public and private IPs for the instance. This saves us the trouble of setting up DNS on our Domain Controller, which is something we’d have to do on an on-premise lab. Since we launched our instance into an AWS pre-configured VPC, no further DNS configuration will be needed at this time. More information on DNS in AWS is available here: http://docs.aws.amazon.com/AmazonVPC/latest/UserGuide/vpc-dns.html
Regarding DNS, to join your other servers to the lab domain you will need to install the DNS role. This way you can point your instances to the DNS server. Your other servers may also need to be in the same subnet as your DNS server in order to join the domain unless you’ve setup the proper routing so that communication between the subnets is possible.