This setup assumes you already have Azure SAML with conditional access configured for NetScaler Gateway external access. This post will modify that existing setup to allow access to an internal Sharepoint site via Clientless VPN. NetScaler 13 and StoreFront 1912 are used in the examples.
Download Citrix MCS Plugin for Nutanix
Prerequisites – Equipment
- 4x Intel NUC (model BOXNUC8i3BEH1)4x Silicon Power Ace A55 Internal SSD
https://www.newegg.com/Product/Product.aspx?Item=N82E16820301378
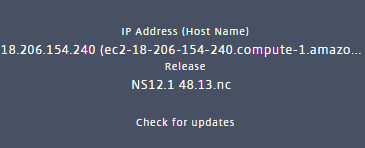
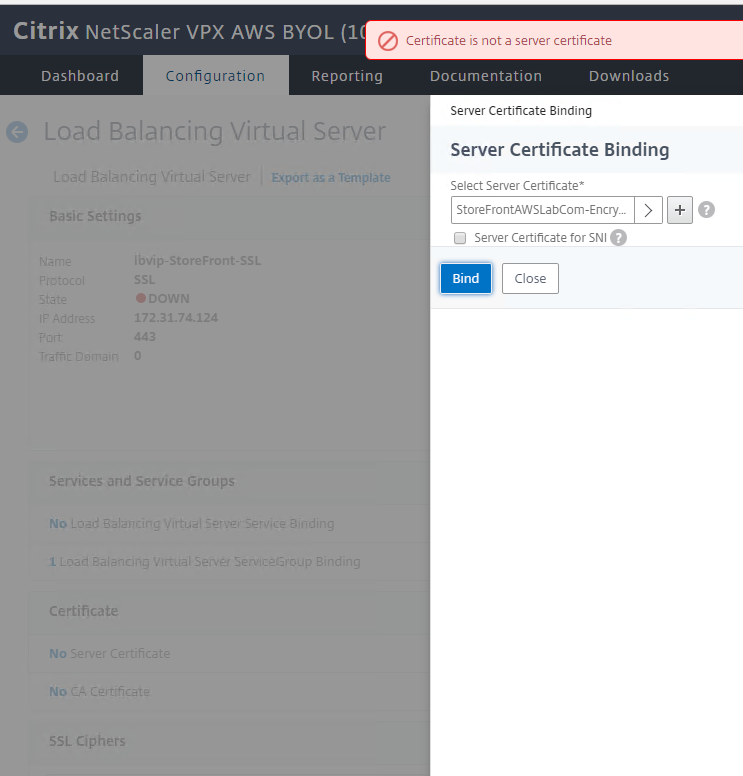
Workaround: Releases on NS12.0 53.22.nc or earlier seem to work fine for AWS Cloud NetScalers. Have not tested non-cloud VPXs at this time.
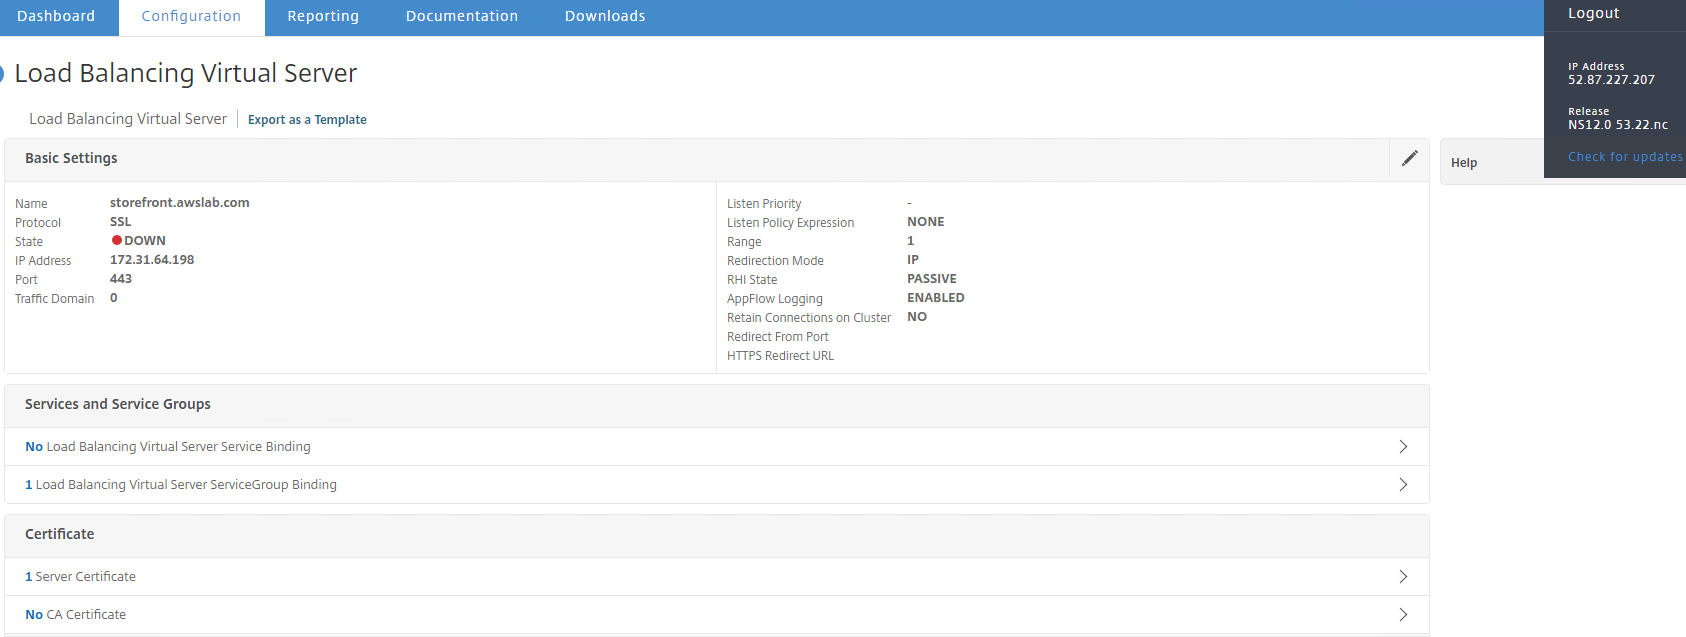
To launch different NS versions on AWS:
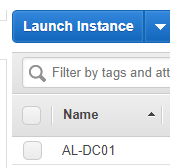
Navigate to AWS EC2>Instances
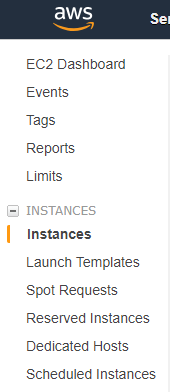
Select ‘Launch Instance’
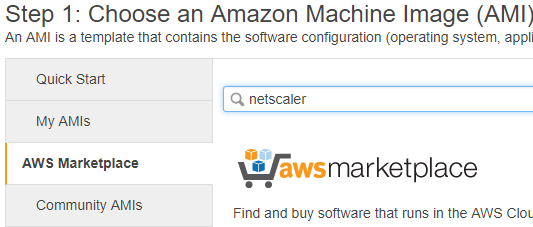
Navigate to the AWS Marketplace. Search ‘netscaler’
Scroll down to ‘NetScaler ADC VPX – Customer Licensed’. Select ‘Previous versions’

Select ‘Continue to Configuration’

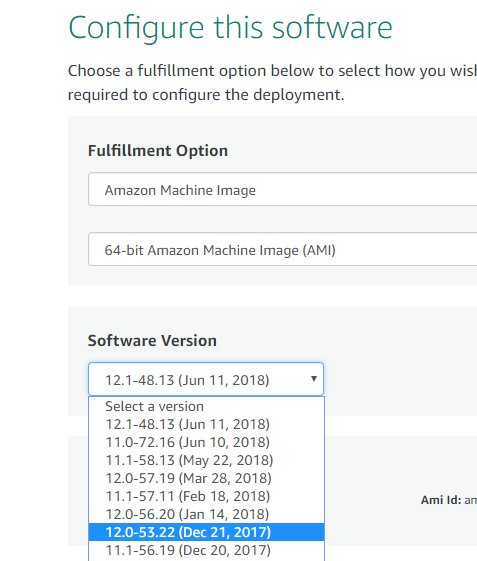
Under Fulfillment Option, choose ‘Amazon Machine Image’

Choose your NS firmware version.
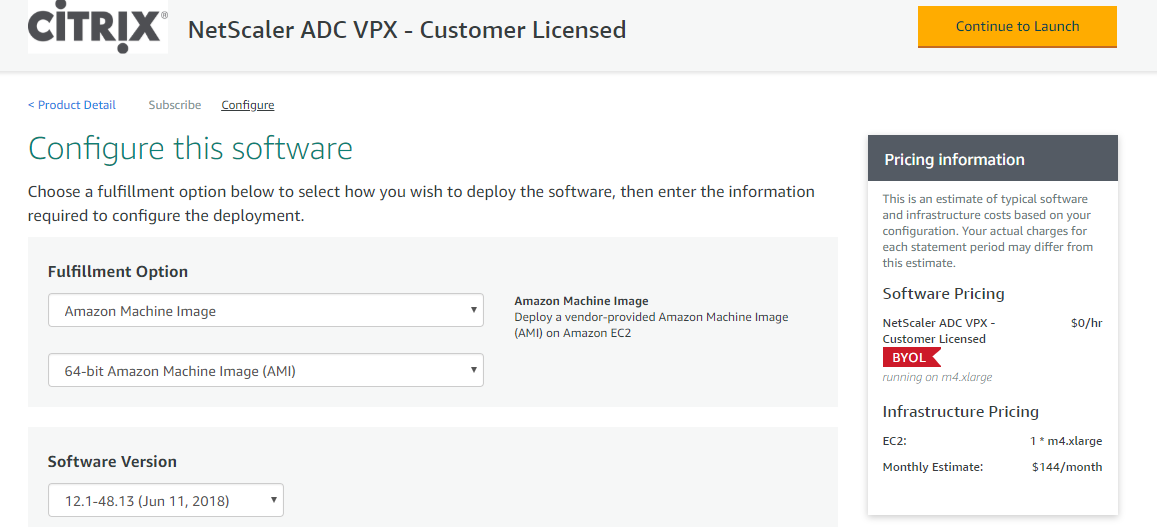
Click ‘Continue to Launch’
Under the Choose Action menu, choose to ‘Launch through EC2’. Click ‘Launch’
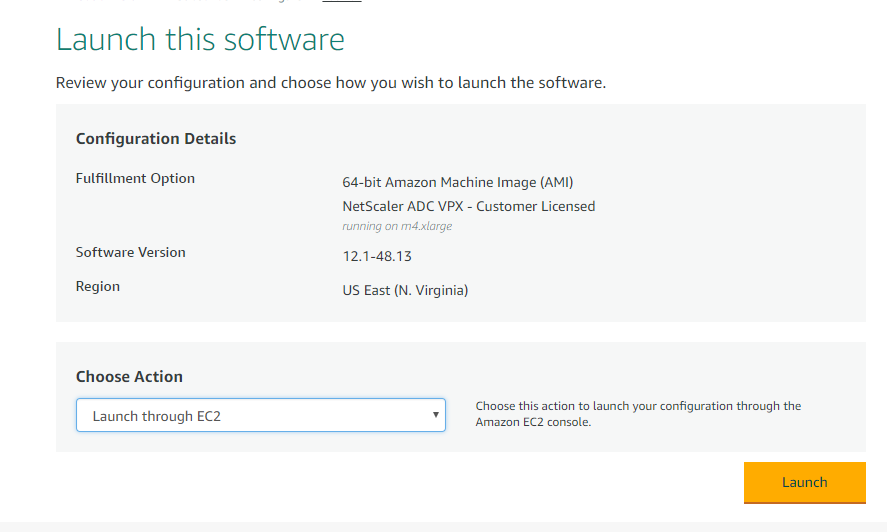
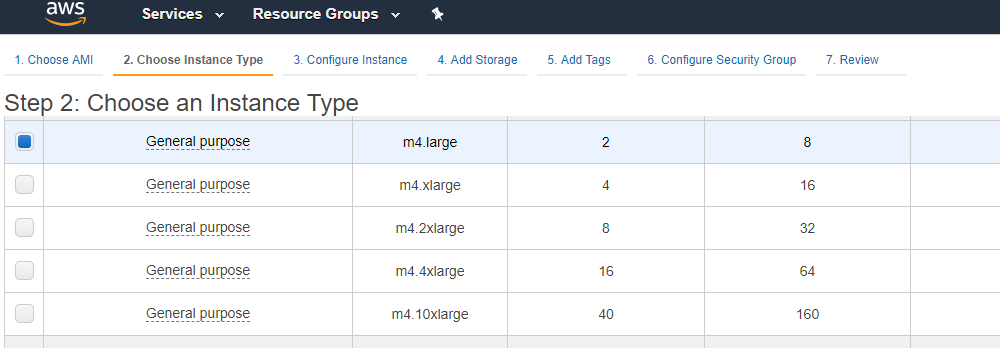
From here you will be able to choose your instance type, configure subnets, add storage, configure security groups as normal.
Background:
- Part 1: Intro and AWS Staging
- Part 2: Configuring Microsoft infrastructure
- Part 3: Installing Citrix Components
- Part 4: Configuring Citrix Components
- Part 5: Configuring External Access
If you plan on setting up your own testbed on AWS, please be mindful of your budget and the AWS free-tier limitations. You can reference the AWS free-tier at https://aws.amazon.com/free/.
Infrastructure:
Pre-requisities:
VMware vSphere (https://my.vmware.com/web/vmware/details?productId=491&downloadGroup=ESXI60U3)
OpenVPN VMware Server Appliance (
https://openvpn.net/index.php/access-server/download-openvpn-as-vm/469-deploying-openvpn-access-server-from-an-ovf-template-in-vmware-esxi-environment.html
Follow-up to the previous post where we performed Virtual Machine back-ups by exporting the files individually. This time we’ll export the whole VM into an OVF file which can be imported directly into vCenter.
Prerequisites:
- Access to vCenter
Steps:
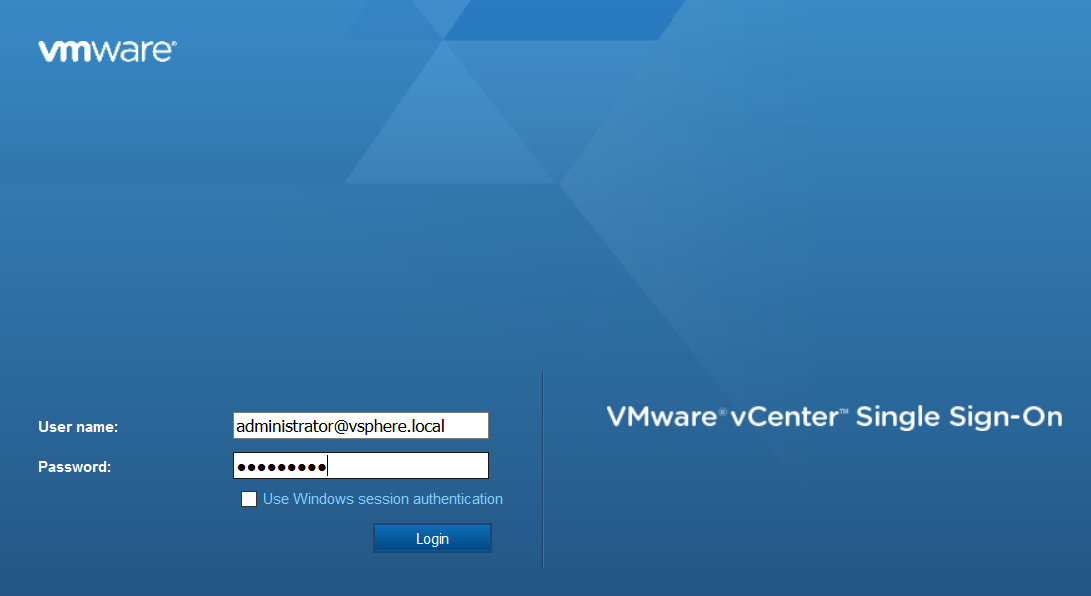
Log into vCenter with appropriate credentials
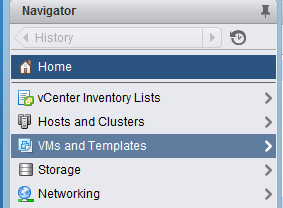
Navigate to VMs and Templates
Select your desired virtual machine. If it’s a template you will need to convert it back to a virtual machine before you can export the OVF.
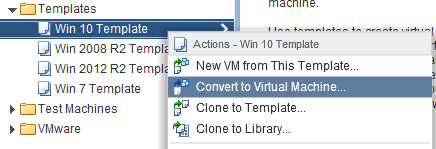
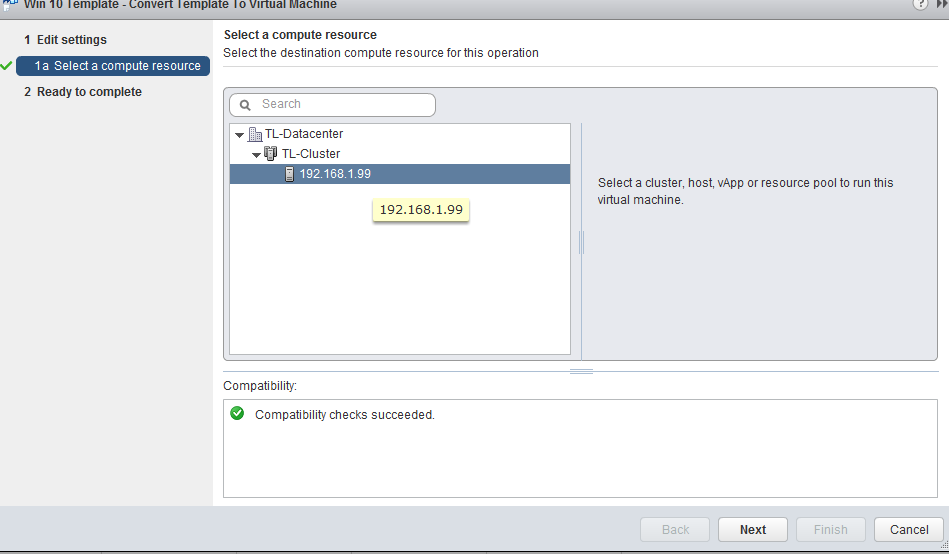
Select the cluster or host that your VM will reside on. Note if you choose a cluster, DRS mode will have to be enabled.
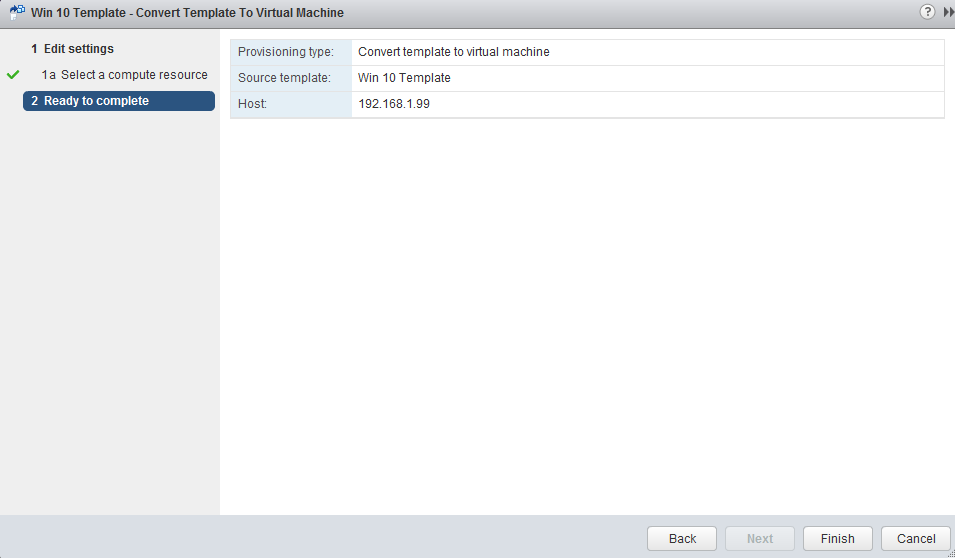
Confirm you settings than click Finish
Once the template has been converted to a VM, right-click it and choose Template>Export OVF Template

Choose a destination for the OVF. Click OK
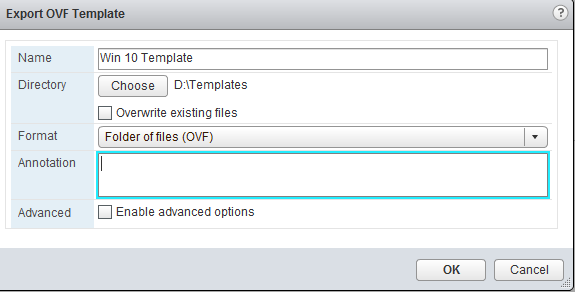
The progress of the export will be displayed at the bottom

Steps:
Logon to the vCenter Web Client using the appropriate credentials.
Navigate to the Storage tab.
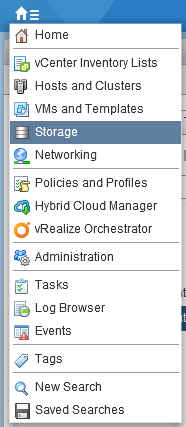
Select the datastore where your VM or template resides than the Manage tab.
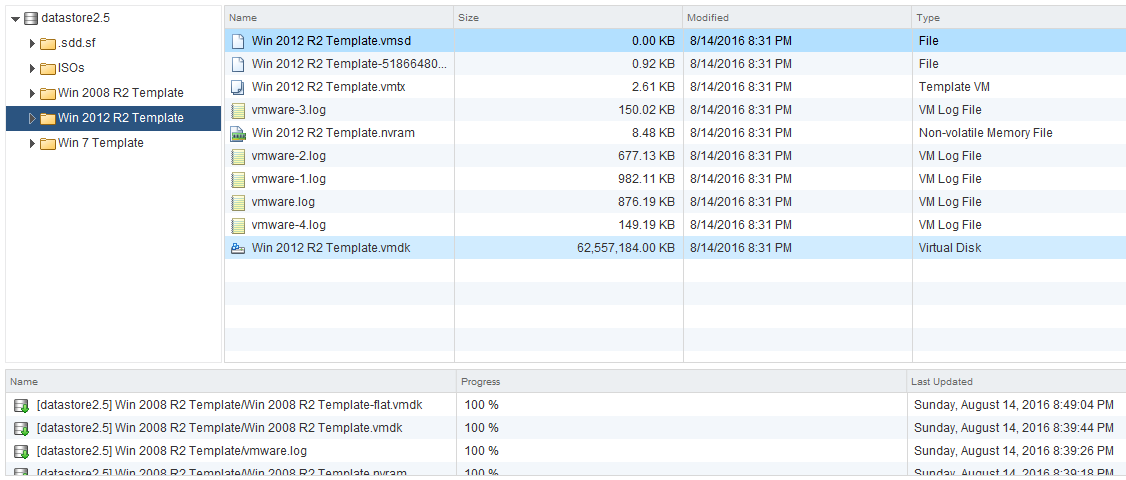
The VMs or templates within the datastore will be represented by folders.
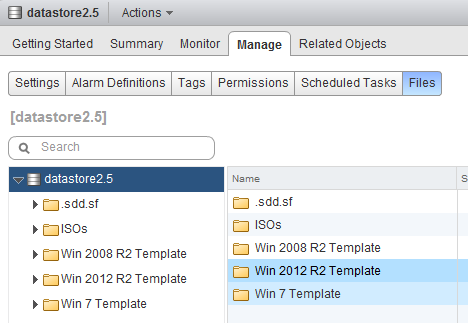
Double-click the folder to view the contents of the VM/template.
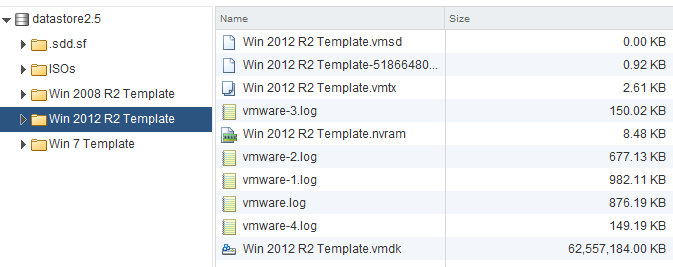
To back-up the contents to external media, right-click the files one-by-one and choose to Download from Datastore.
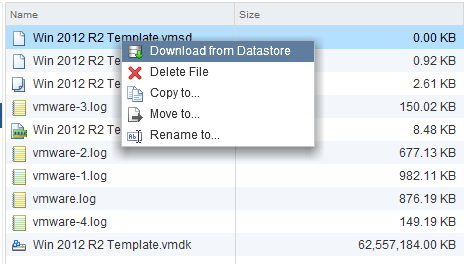
Select your location
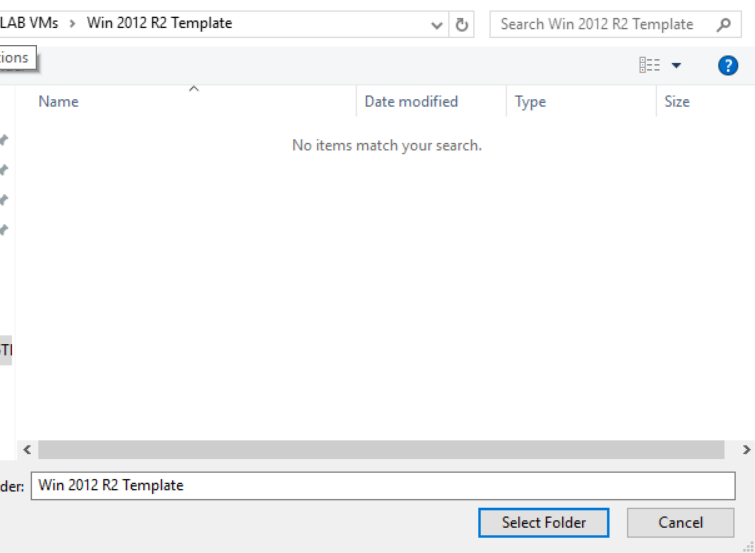
The file will be downloaded. Download all files to backup the VM/template to external media. The progress of the file transfer will also display in the vCenter Web Client on the bottom pane.
Background: In this part, we will configure settings for the Delivery Controller and StoreFront.
Prerequisites:
- Amazon EC2 instances provisioned via Part 1 of the series
- Microsoft Infrastructure configured via Part 2 of the series
- Citrix Infrastructure installed via Part 3 of the series
Steps: