Part 3 of the Citrix XA/XD 7.9 POC on AWS stand-up.
Background:
This will be the installation of the Citrix components on our all-in-one t2.medium EC2 instance. The instance will host the Desktop Delivery controller, StoreFront, SQL Express, and Citrix Licensing.
Prerequisites:
- Amazon EC2 Instances provisioned via Part 1 of the series
- Microsoft Infrastructure configured via Part 2 of the series
- Citrix XenApp/XenDesktop 7.9 installation media (available from www.citrix.com)
- Citrix Licensing Server 11.13.1.2 installation files (available from www.citrix.com)
Steps:
- Install Licensing Server 11.13.1.2
- Download the latest version of Licensing Server from www.citrix.com
- Unzip the files and launch the CTX_Licensing.msi
- Agree to the license agreement
- Leave the default installation directory
- Click Install, setup tasks will run.
- Click Finish.
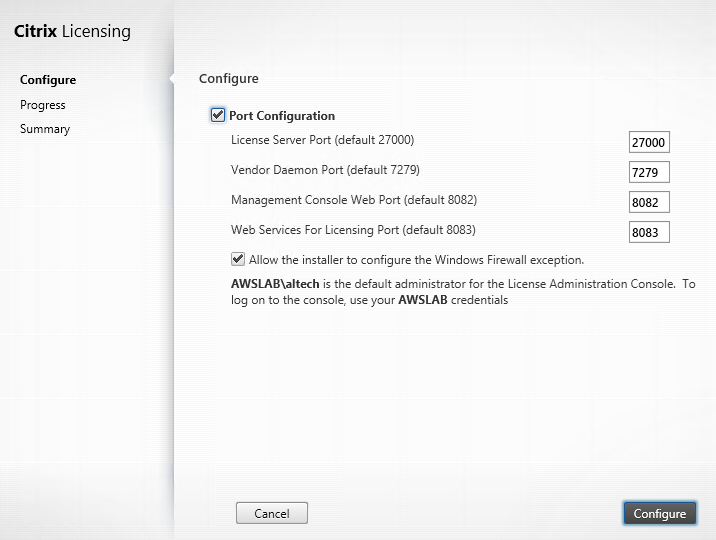
- Allow the installer to configure the necassary ports in Windows Firewall.
- If desired, you can choose to participate in the Citrix Customer Experience Improvement Program. Otherwise select No. You can join later.
- Click Finish
- A trial license can be obtained from Citrix for lab and testing purposes. Please visit www.citrix.com for more information.
- Once a trial license has been obtained, you can easily install it by copying the *.lic file into the MyFiles directory for the Citrix Licensing server (default installation directory is C:\Program Files (x86)\Citrix\Licensing\MyFiles).
- Once the *.lic file has been copied to the directory, reset the Citrix Licensing Service in the service console (services.msc).

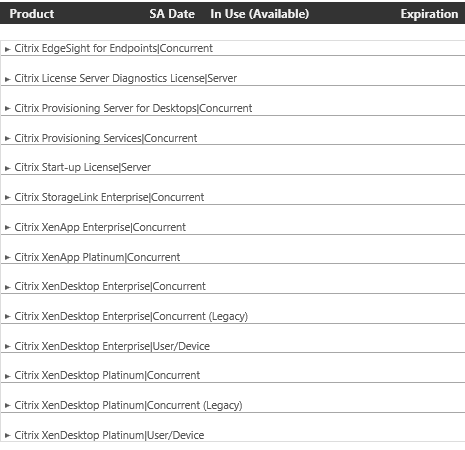
- Check the Citrix Licensing console afterwards (default https://localhost:8082) to ensure your license is registered.
- Install XA/XD 7.9 Delivery Controller, StoreFront 3.6, and SQL 2012 SP2 Express
- Download the Citrix XA/XD 7.9 Installation media from www.citrix.com
- Mount the iso and run AutoSelect.exe
- Because we want to deliver a test desktop and application, choose Start for XenDesktop Deliver applications and desktops.
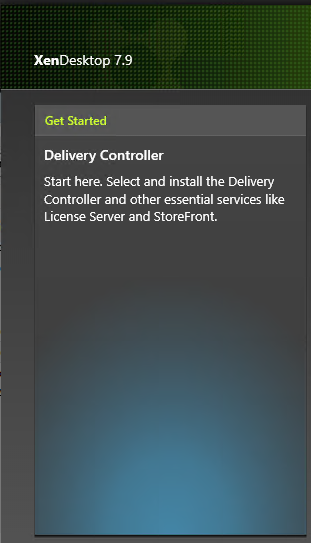
- Choose Get Started: Delivery Controller.
- I agree to the Software License Agreement and choose Next.
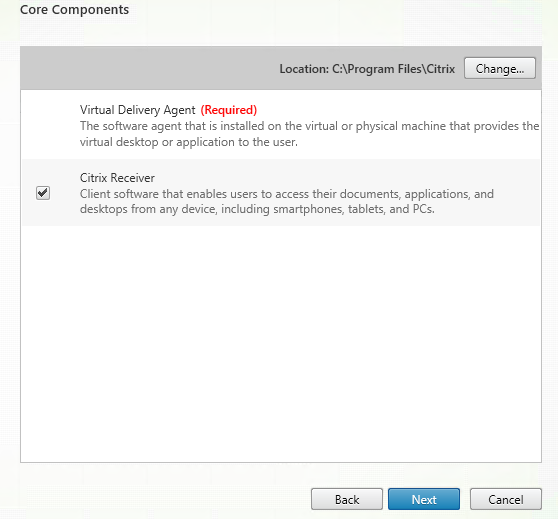
- Select all features for Core Components.
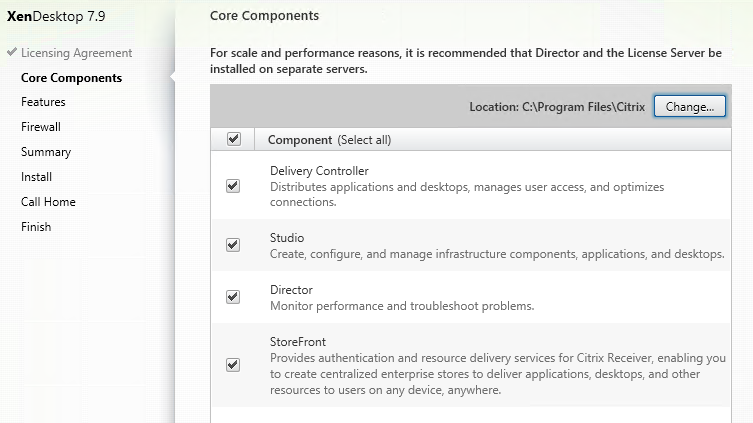
- Click Next
- Select all options for Features.
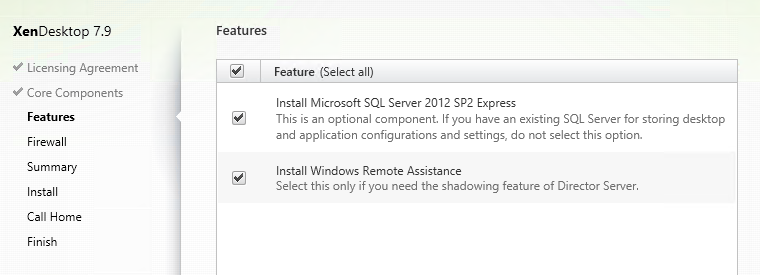
- Click Next
- Allow the Setup Wizard to open the necassary ports in Windows Firewall automatically.
-
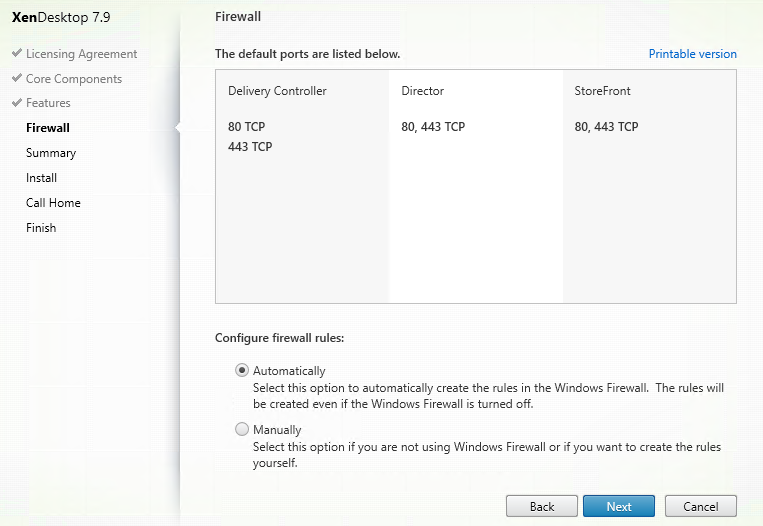
- Click Next
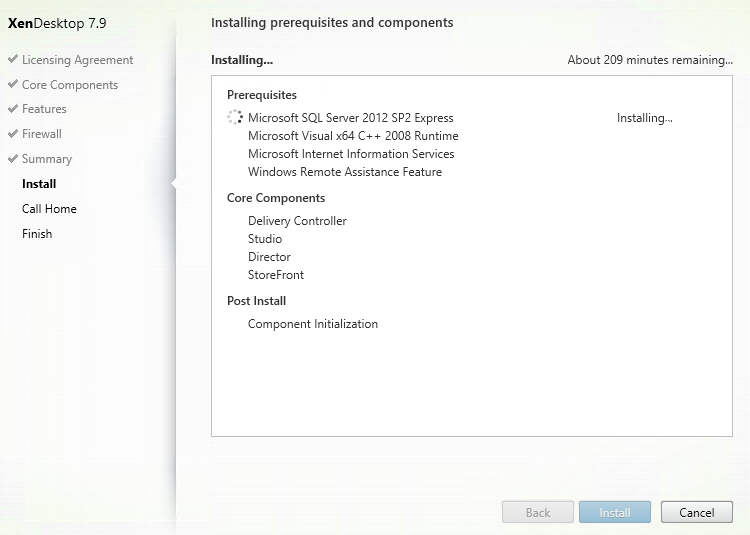
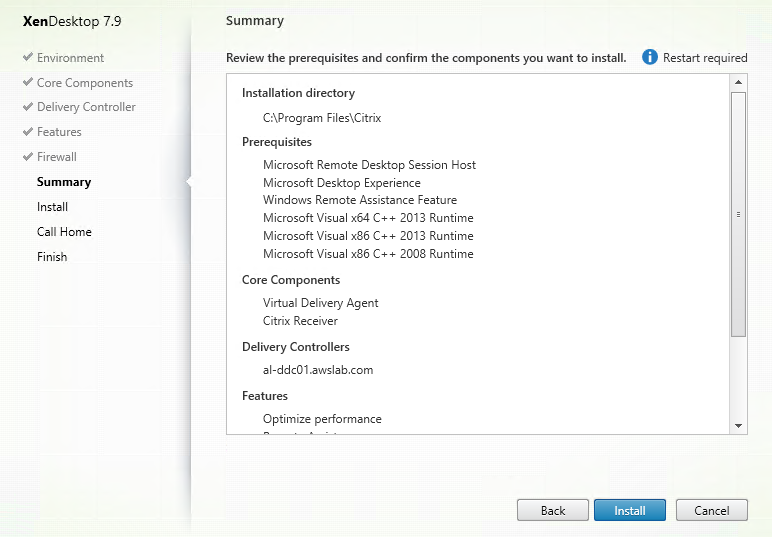
- Review Installation Summary and click Install.

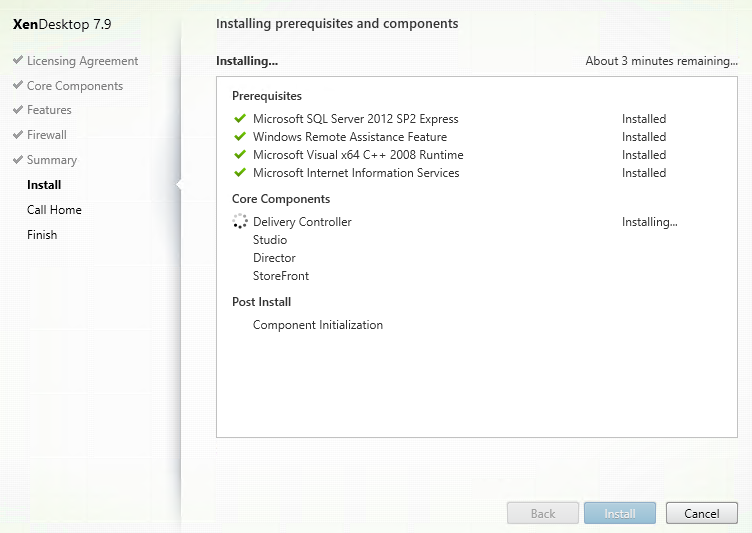
- Installation tasks will commence. Don’t be alarmed if the installation time initially displays an unusually high number. As the installation progresses this number will reduce to a more reasonable time.
- After installation of SQL Express, you will be prompted to reboot your AWS instance. Go ahead and do so at this time.
- When the instance powers back on. Log back in under the same account and you will be prompted for the XenDesktop installation media. Cancel the prompt.
- I had used Windows 2012 R2’s built-in ISO mounting functionality, which does not re-mount when the AWS instance is restarted. If you used 3rd party ISO mounting software this may or may not be an issue for you. I will have to test this in the future.
- Navigate to your Citrix XA/XD 7.9 installation ISO and remount it.
- Click the AutoSelect.exe.
- Choose to install XenDesktop: Deliver Apps and Desktops same as before.
- Choose to install Delivery Controller
- The Installation will pick back up where it left off.
- If desired, you can participate in Citrix Call Home. Otherwise choose to not participate.
- Click Next.
- Choose to Launch Studio by clicking Finish
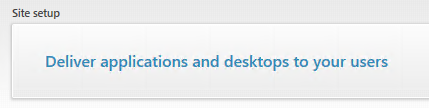
- Configure the Site by selecting Deliver applications and desktops to your users
- Choose An empty, unconfigured Site.
- Choose a Site Name
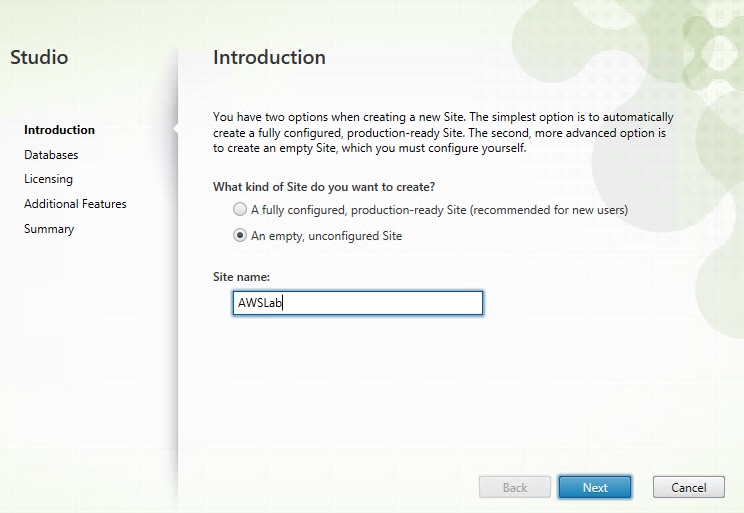
- Click Next
- The Site Setup Wizard will automatically split the databases into separate Site, Monitoring, and Logging DBs for you. This is sufficient for our proof-of-concept. You may change the DB names and locations if you wish. I will use defaults for this example.
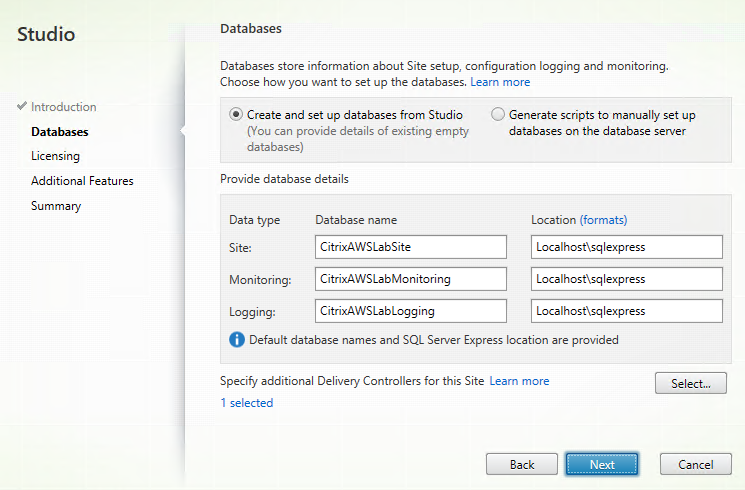
- Click Next
- The Site Setup Wizard will automatically detect itself as the License server and populate the License server address field with localhost:27000. If not you can specify the licensing server address with the format licensingserver:27000
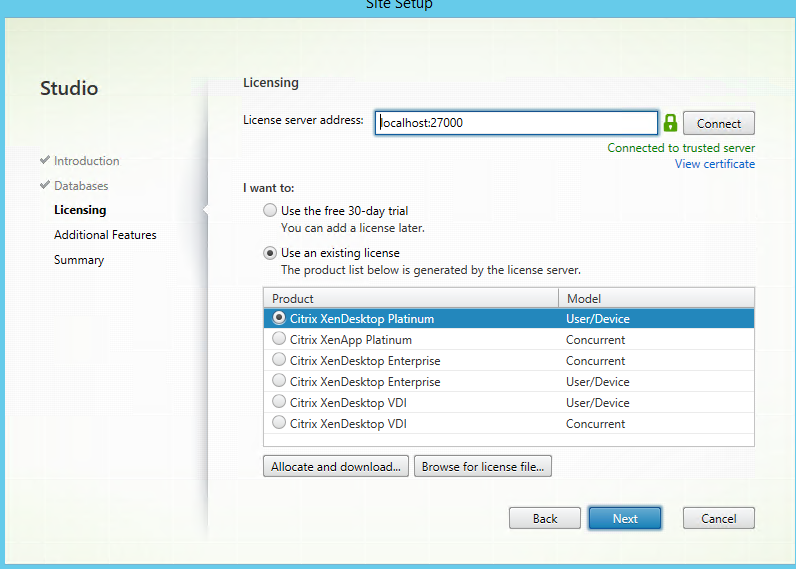
- Choose Citrix XenDesktop Platinum from your trial license. Click Next.
- Leave Additional Features unselected.
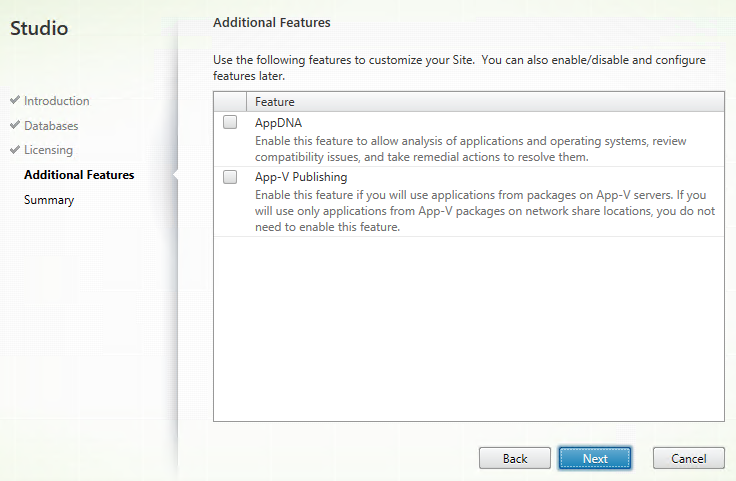
- Click Next
- Review settings
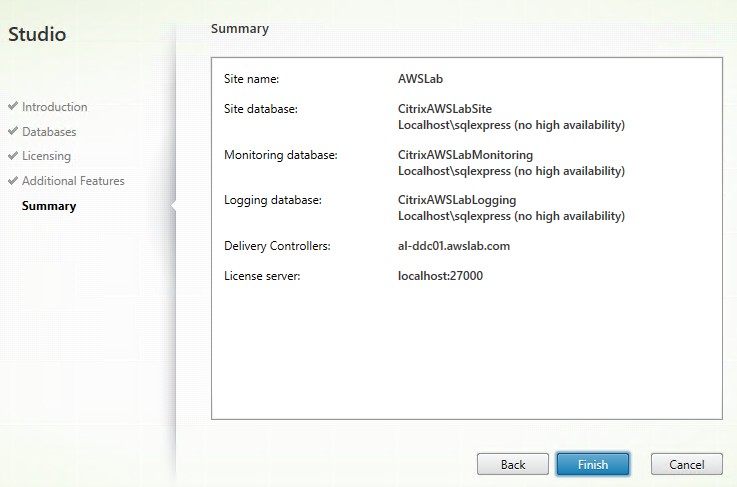
- Click Finish.
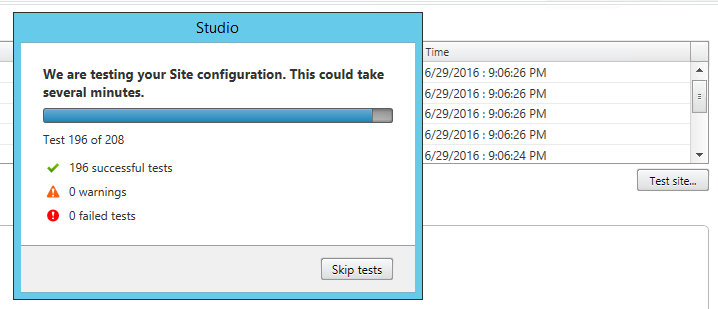
- After the Delivery Controller Components have been configured you will be returned to the main console.
- Click Test Site to ensure DDC components have been configured without issue.
- Install Virtual Desktop Agent
- Return to the Citrix XA/XD 7.9 installation media. Open AutoSelect.exe.
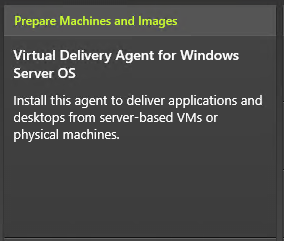
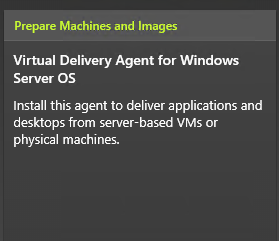
- Choose to install the Virtual Delivery Agent for Windows Server OS
- Select the option to Create a Master Image. In the future I will be scaling out this POC by utilizing MCS to provision a few test machines in AWS.

- Choose to install the Virtual Delivery Agent for Windows Server OS
- Click Next
- Virtual Delivery Agent and Citrix Receiver are preselected. Click Next.
- Enter Delivery Controller information. Choose to Do it manually and enter fully-qualified domain name. In our case this is the same server as our VDA.
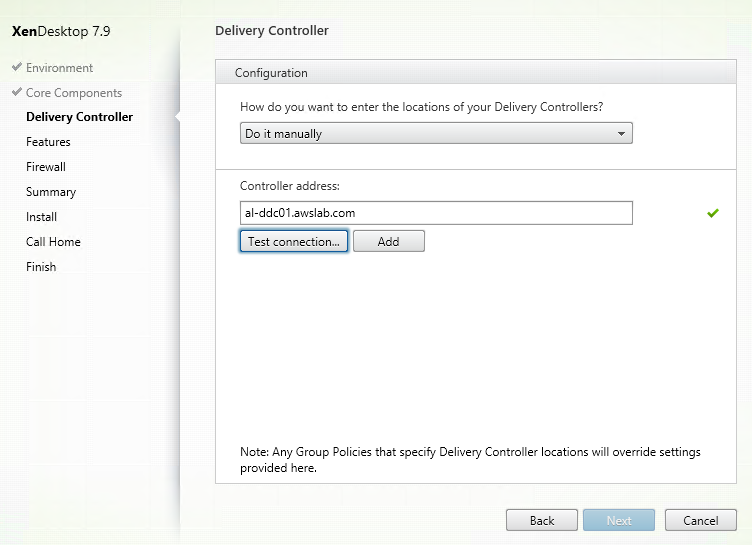
- Click Add to add the server to the VDA list of DDCs. Click Next.
- For Features, de-select options for Framehawk and Install Citrix App-V publishing components for now as these features won’t be utilized in our POC at the moment.
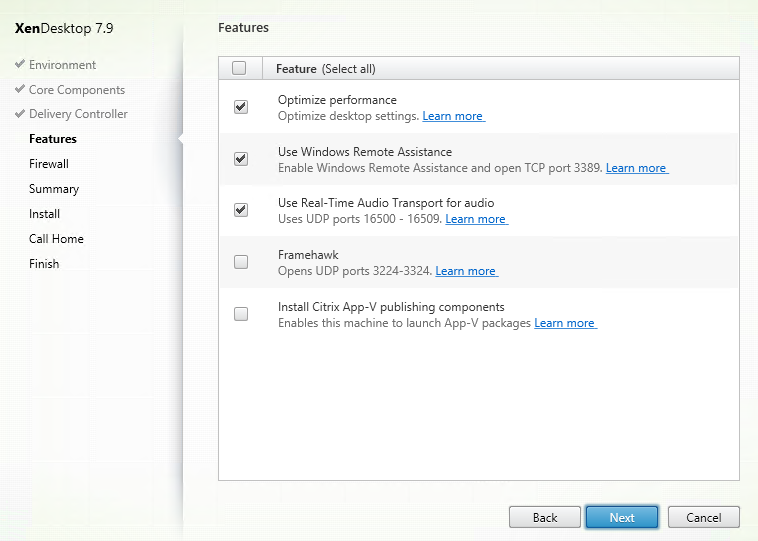
- Click Next
- Allow the wizard to configure the Windows Firewall ports automatically.
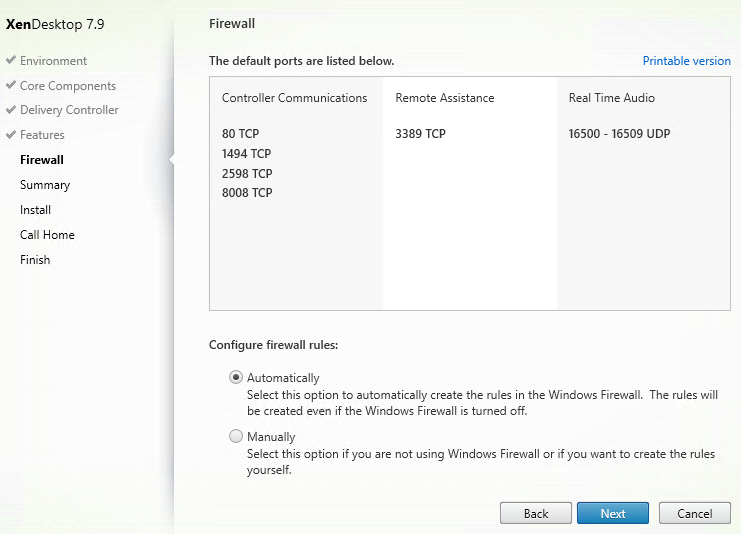
- Click Next
- Review Installation Summary and click Install
- You will be prompted to restart the machine before installation can continue.
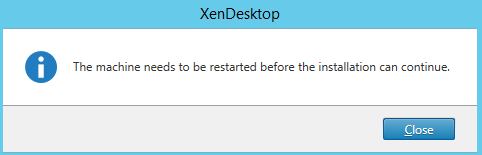
- Click Close to reboot the instance.
- When the AWS instance comes back online, log back in under the same installation account.
- Like before, upon relog, you will be prompted to provide the XenDesktop installation media because the ISO is dismounted on reboot. Click Cancel.
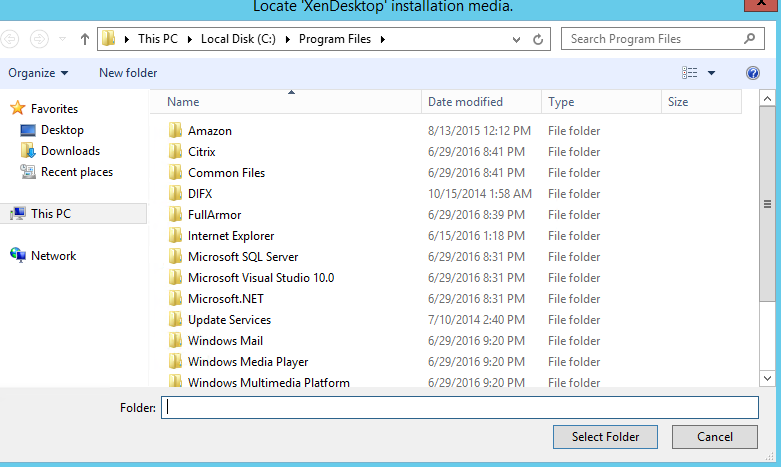
- Remount your XA/XD 7.9 install ISO. Open AutoSelect.exe.
- Choose Virtual Delivery Agent for Windows Server OS
- The installation will resume where it left off.

- When the VDA components have finished installing, you can choose to participate in Call Home. Make your selection and click Next.
- A reboot will be needed to finalize installation. Click Finish and reboot the instance.
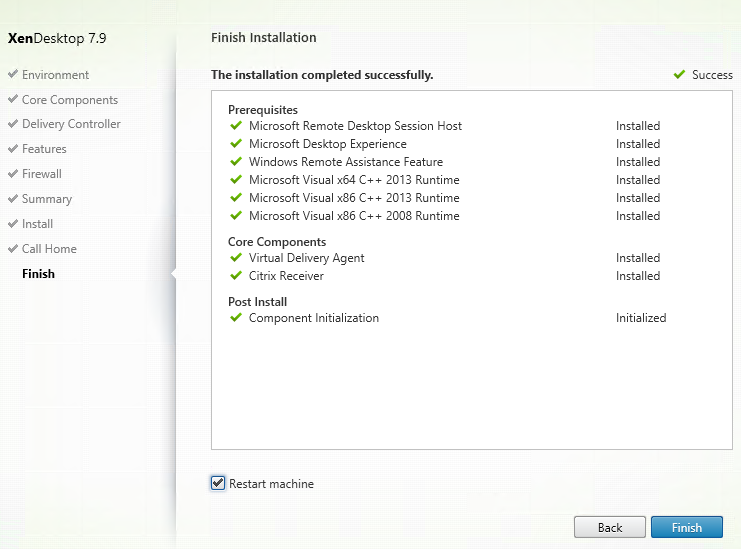
- Virtual Delivery Agent and Citrix Receiver are preselected. Click Next.
This concludes this portion of the article. In part 4 we will finish configuration of the Citrix Components.
Resources: