Part 4 of the Citrix XA/XD 7.9 POC on AWS, configuring the remaining Citrix components.
Background: In this part, we will configure settings for the Delivery Controller and StoreFront.
Prerequisites:
- Amazon EC2 instances provisioned via Part 1 of the series
- Microsoft Infrastructure configured via Part 2 of the series
- Citrix Infrastructure installed via Part 3 of the series
Steps:
- Configure Delivery Controller Machine Catalog
- Launch Citrix Studio
- Select Machine Catalogs
- Select Create Machine Catalog

- For Operating System choose Server OS
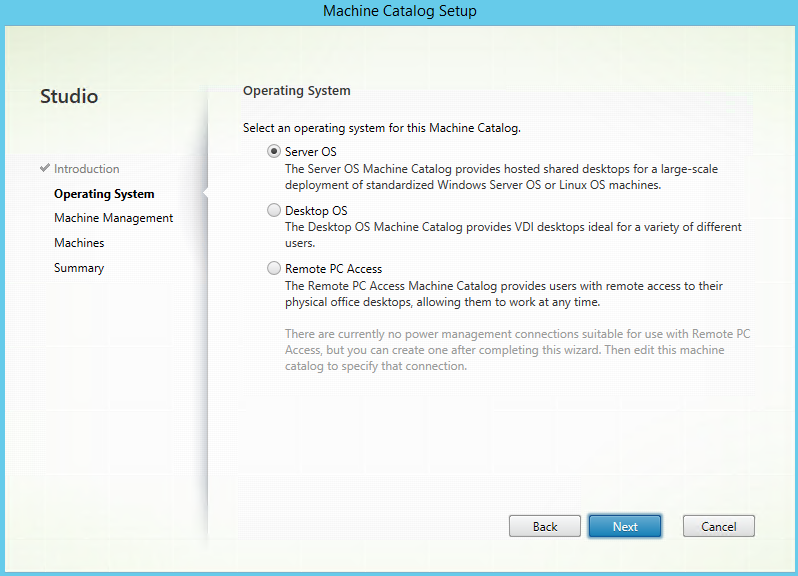
- Click Next
- For Machine Catalog Setup, since we will be using this server as the VDA and have not configured hosting yet, we will leave the options that are currently selected. Machines that are not powered managed and Deploy machines using: Another service or technology.
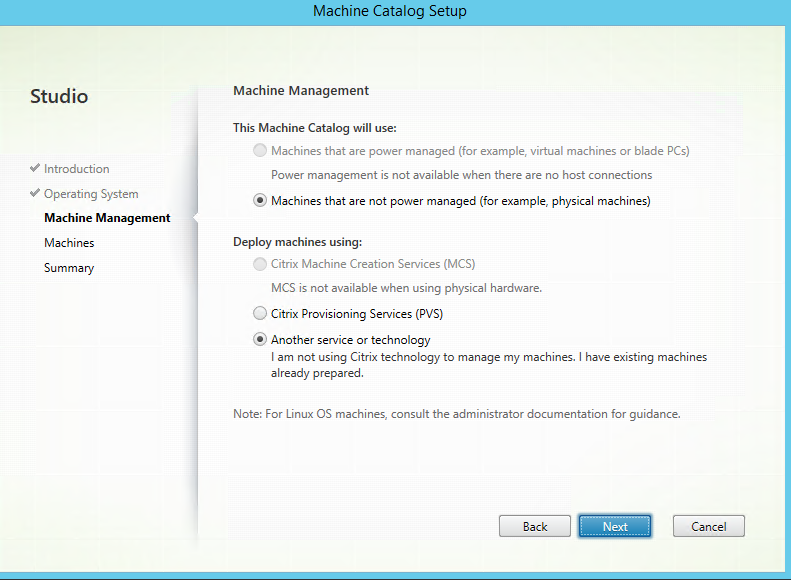
- Click Next
- Click Add computers

- Add the DDC by hostname and click Check Names to resolve it.
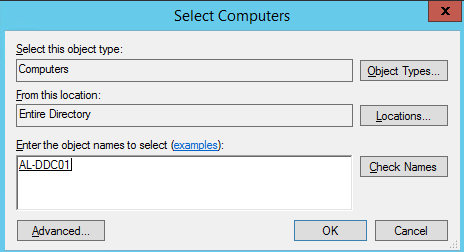
- Click OK.
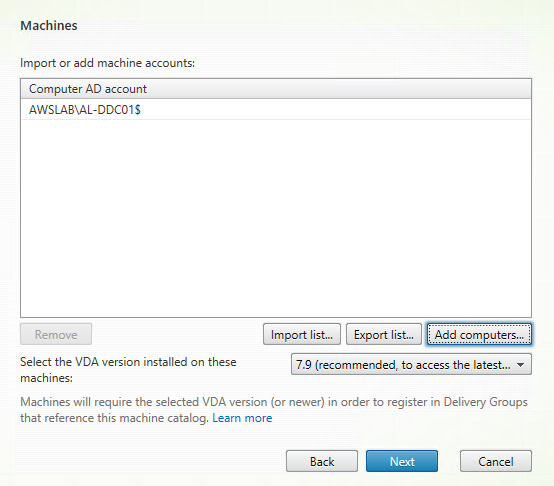
- Click Next
- Name the Machine Catalog and give a description for administrators.
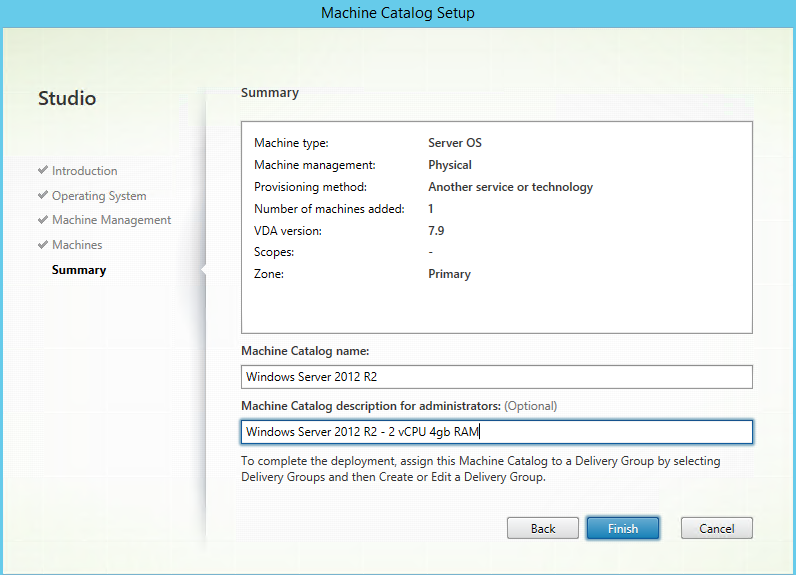
- Click Finish
- Configure Delivery Controller Delivery Group
- In Citrix Studio, select Delivery Group on the left
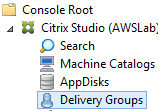
- Click Create Delivery Group in the window pane on the far right.
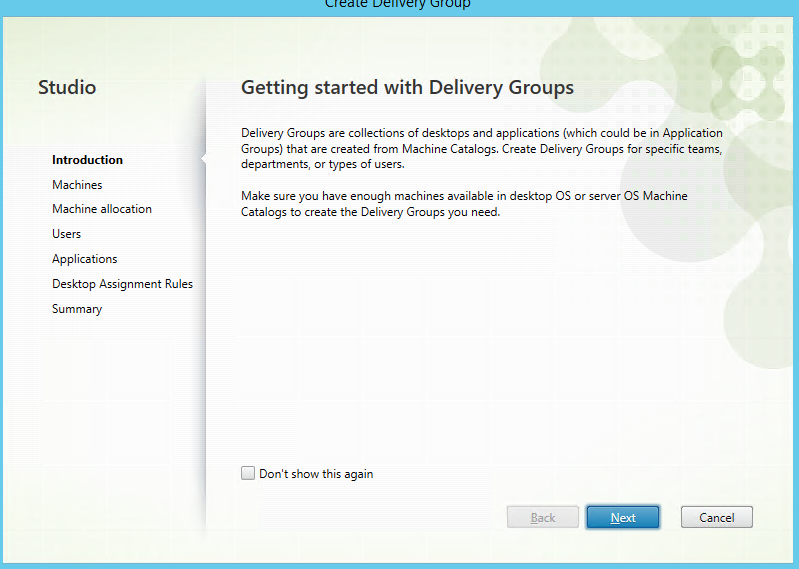
- Click Next on the intro
- Add your 1 machine from your 1 machine catalog to the Delivery Group by clicking the + sign. The number of machines will change from 0 to 1.
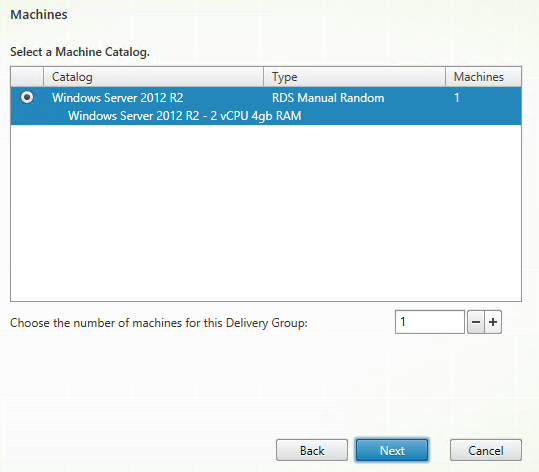
- Click Next
- Since this is just our proof-of-concept, a filter is not needed at this time. Go with the selection Allow any authenticated users to use this Delivery Group.
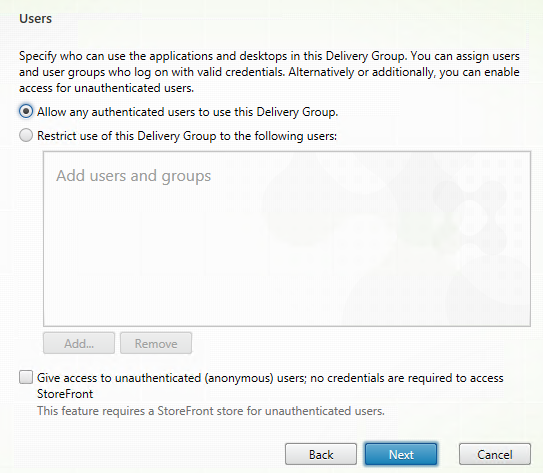
- Click Next
- For Applications tab click the Add button and choose From start menu
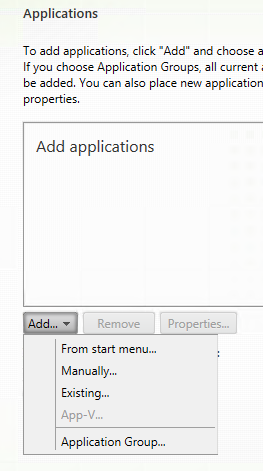
- Add Notepad and Calculator for testing purposes.

- Click Next
- Click the Add Button to setup a Desktop.
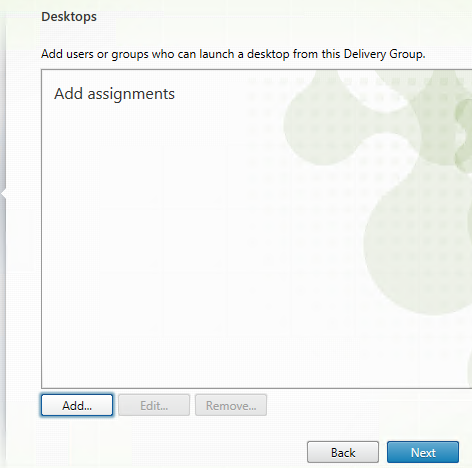
- Give the Desktop a Display name and Description. For testing purposes I will be setting a filter for the desktop so that it will enumerate for members of the Citrix Admins group only.
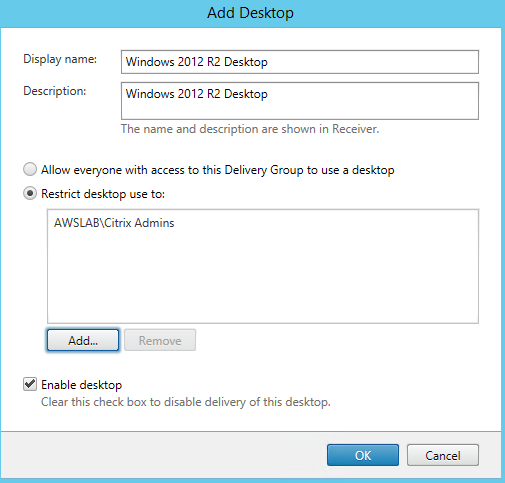
- Click OK
- Click Next
- Name the Delivery Group and give it a description.
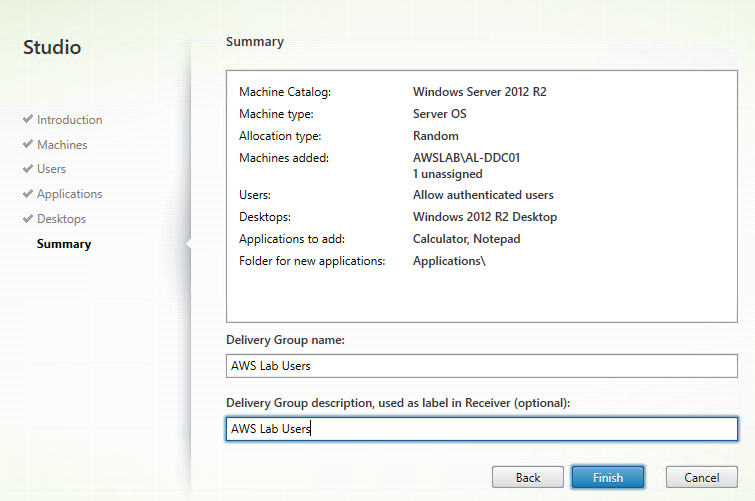
- Click Finish.
- In Citrix Studio, select Delivery Group on the left
- Configure Delivery Controller Administrators
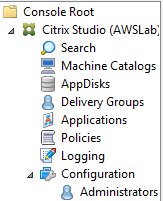
- Select Administrators in Citrix Studio.
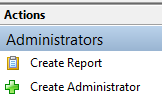
- Click Create Administrator on the right-hand pane.
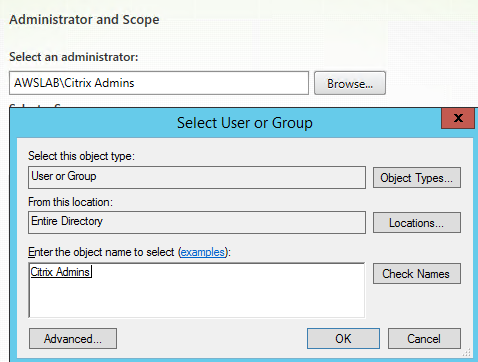
- Click Browse next to Select an administrator
- Add your Citrix Admins group and click OK
- Select All objects under Scope.
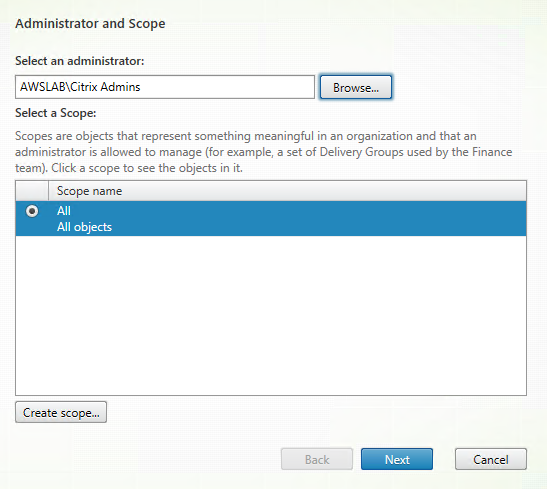
- I will be giving the Citrix Admins group Full Administrator rights in this POC.
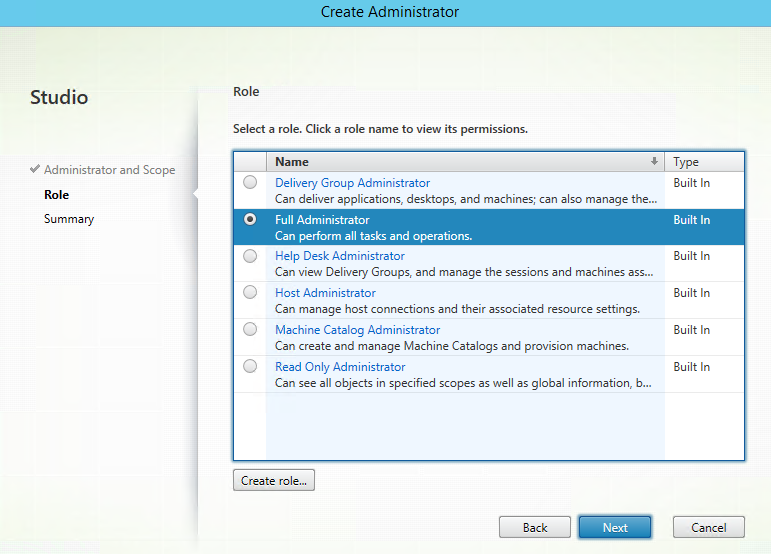
- Click Next.
- Click Finish
- Select Administrators in Citrix Studio.
- Configure StoreFront Store
- Obtain an SSL certificate for the StoreFront server. Because there are dozens of posts on this topic, I won’t go into too much detail here on this process. Be sure to export the SSL certificate that you receive in .pfx format as well as you will need it later while configuring external access via your NetScaler instance.
- Later on I plan on scaling out the deployment and adding a second StoreFront server. The SSL certificate will eventually be used for the load balancing VIP that will be used on our NetScaler. For now it will point to just the one StoreFront server
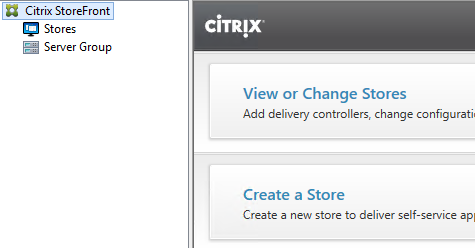
- Open the StoreFront console
- Choose to Create a Store
- Click Next
- Give your Store a name. Choose to Set this Receiver for Web site as IIS default.
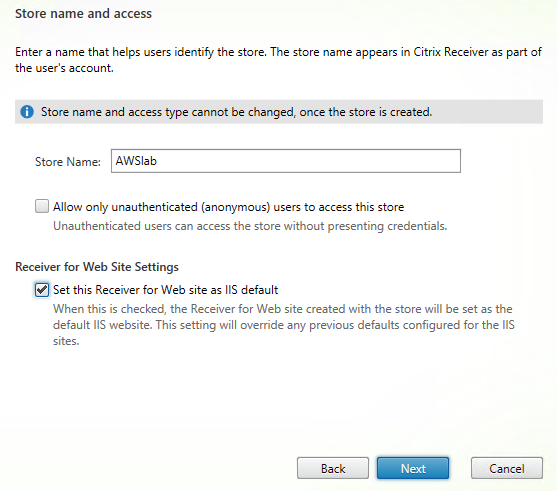
- Click Next
- Add your Delivery Controllers using FQDN
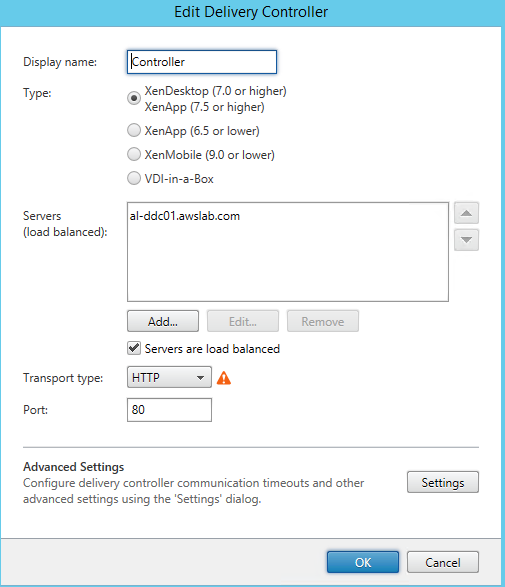
- Click OK
- Click Next
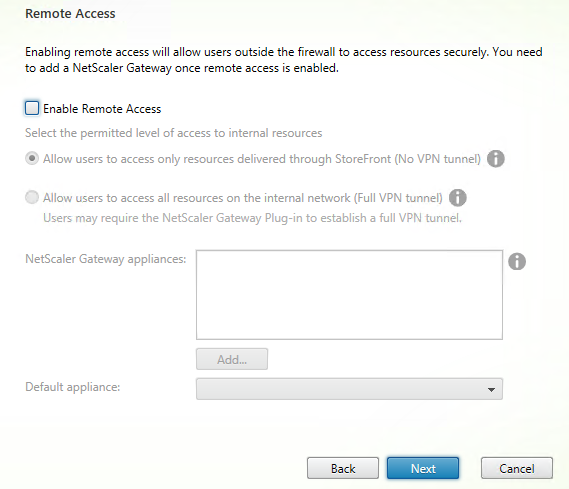
- We’re not configuring our NS appliance at the moment so click Next for the Remote Access tab.
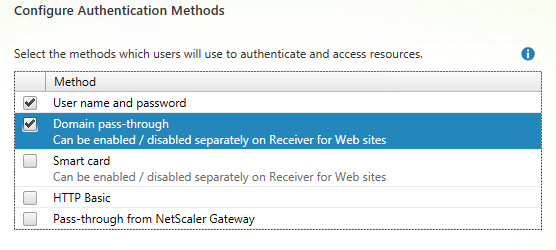
- Choose User name and password and Domain pass-through for Configure Authentication Methods.
- For XenApp Services URL, leave the 2 options checked.

- Click Create
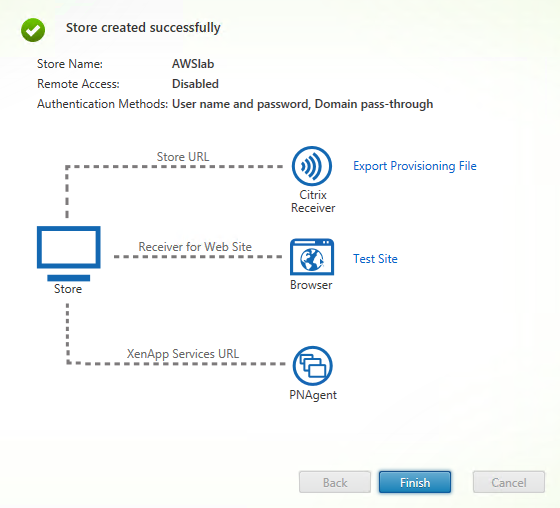
- Click Finish
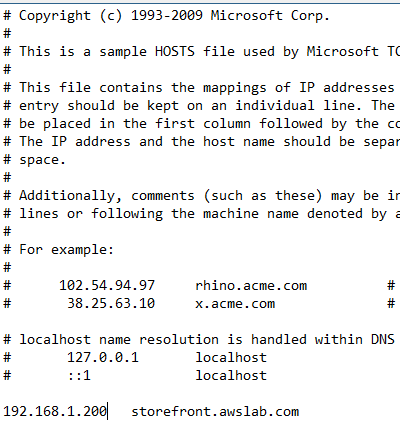
- Because our NS Load Balancing VIP is not yet setup, we need to edit our hosts file on the server so that web requests for our load balancing URL will resolve to the server IP. Navigate to c:\windows\system32\drivers\etc\hosts file. Open it with notepad and ensure your your load balancer FQDN is mapped to your StoreFront server IP like so:
- Go back to IIS Manager (inetmgr.exe) and ensure your HTTP Redirect at the Web Site level is correct. It should be pointing the load balancer URL.
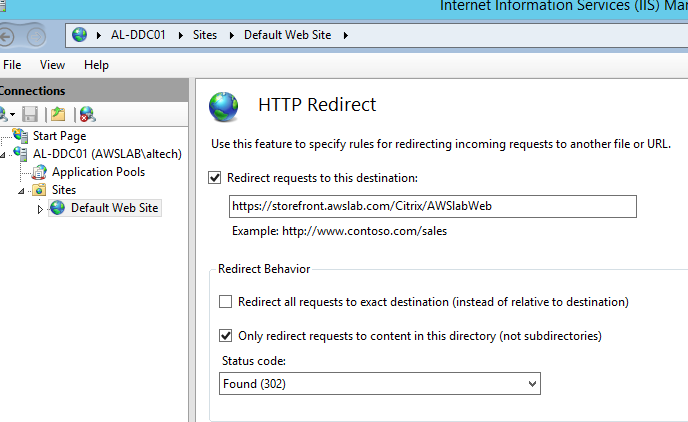
- Click Apply
- Run IISreset from an administrative command prompt.

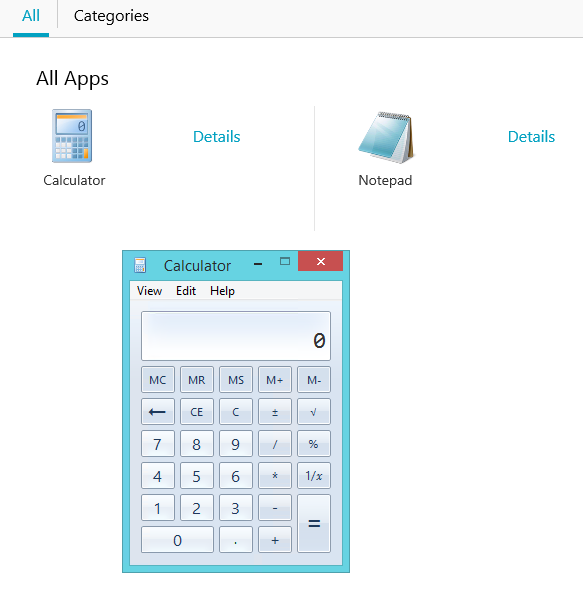
- Test desktop and app launch internally by typing in your load balancer URL into an internet browser
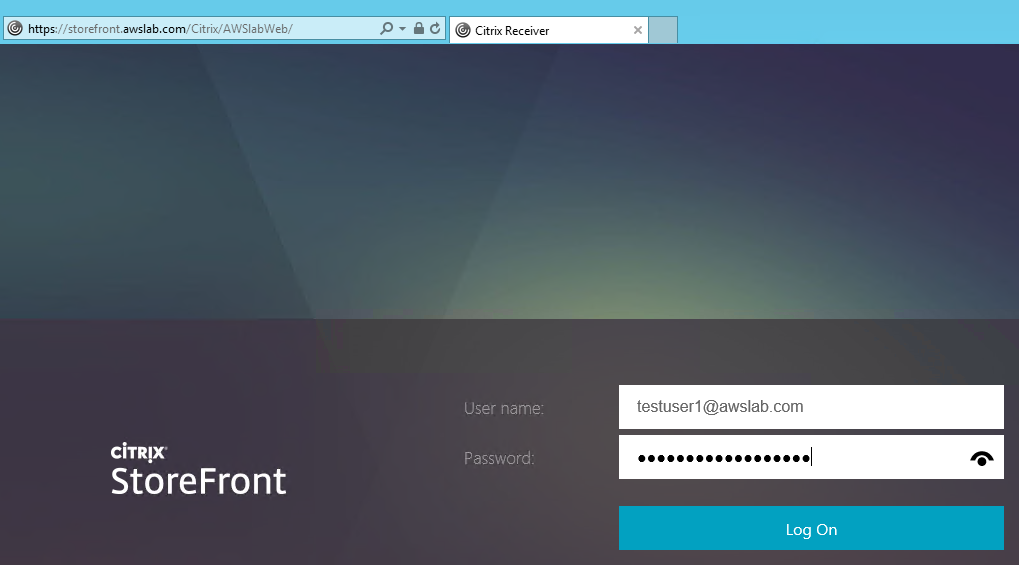
- Launch an app.
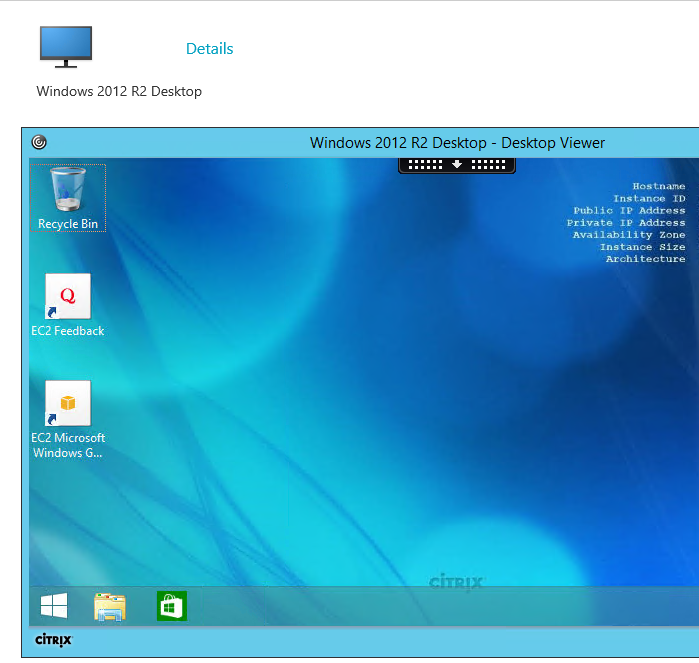
- Launch a Desktop
This concludes part 4 of the article. In part 5 we will configure external access by configuring our AWS NetScaler EC2 instance and adding some additional configurations for StoreFront.
References: