Download Citrix MCS Plugin for Nutanix
- Open a brower and navigate to https://next.nutanix.com/
- Login with your Nutanix Next account credentials.
- Once logged in, scroll down to the Nutanix Community Edition section and select Download Community Edition.
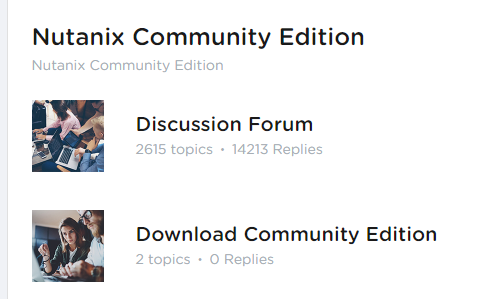
- Select the post Download & Getting Started with CE 5.10

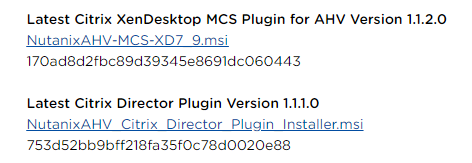
- Download the Citrix XenDesktop MCS Plugin and the Citrix Director Plugin.
Install Nutanix plugin to your Citrix Virtual Apps and Desktops environment
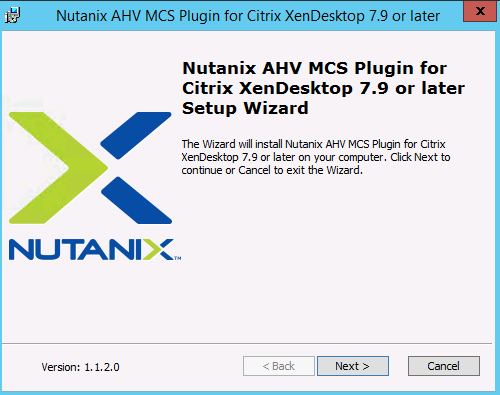
- Install the Nutanix MCS plugin on all Delivery Controllers

- Click Next
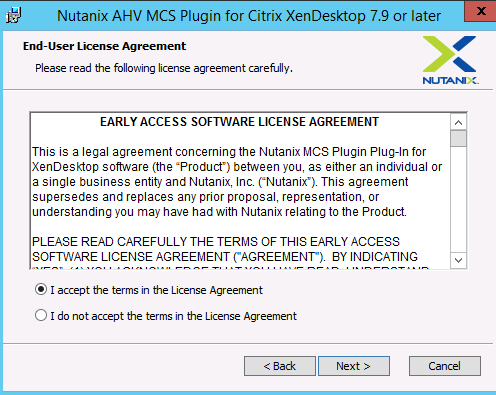
- Accept the End User License Agreement. Click Next
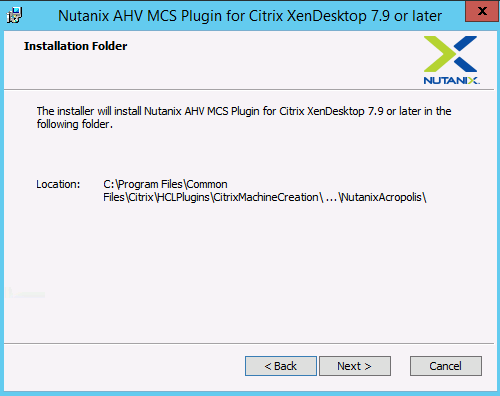
- The default installation is fine. Click Next
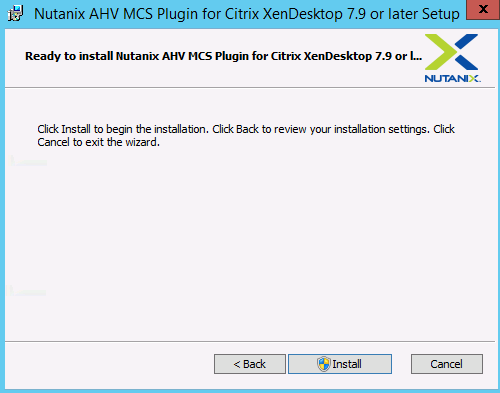
- Select Install to begin.
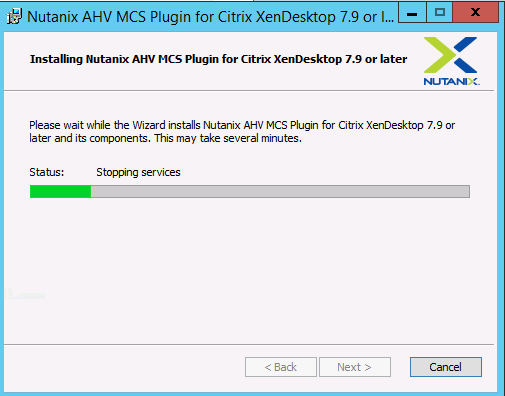
- Wait for the installation to finish.
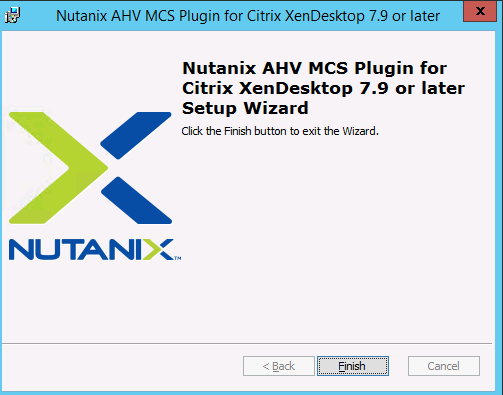
- Click Finish.
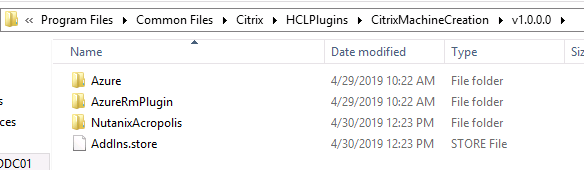
- Verify a Nutanix Acropolis folder has been created in C:\Program Files\Common Files\Citrix\HCLPlugins\CitrixMachineCreation\v1.0.0.0
- Register the Nutanix plugin by running the command C:\Program Files\Common Files\Citrix\HCLPlugins\RegisterPlugins.exe -PluginsRoot “C:\Program Files\Common Files\Citrix\HCLPlugins\CitrixMachineCreation\v1.0.0.0”
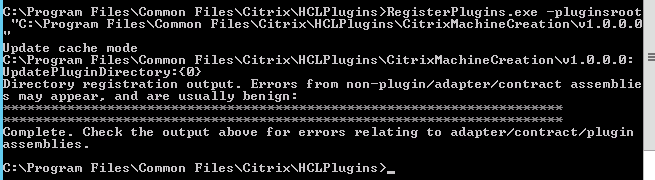
- Restart the Citrix Host Service, Citrix Broker Service, and Citrix Machine Creation Service.
- Verify the Nutanix Acropolis plugin has been registered with the following commands:
- asnp Citrix*
- Get-HypHypervisorPlugin

Create hosting connection to your Nutanix ClusteR
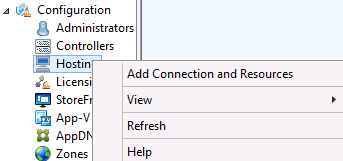
- Launch Citrix Studio.
- Navigate to Configuration>Hosting. Right click Hosting and choose Add Connection and Resources
- Select Nutanix AHV for Connection Type. Fill out the rest of the fields as follows:
- Connection address: Nutanix Cluster IP Address
- User Name: Service Account with Cluster Admin permissions on your Nutanix Cluster
- Password: Password for above service account
- Connection name: Name for your hosting connection.
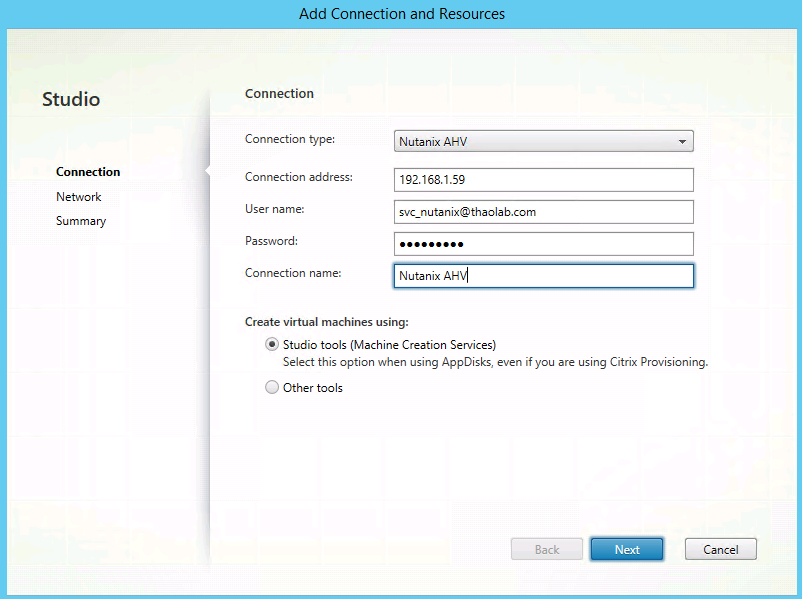
- Click Next.
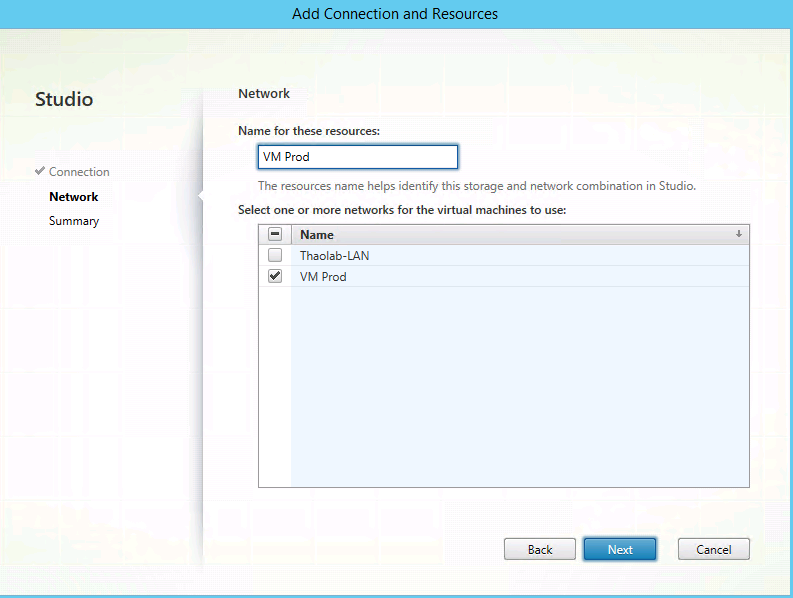
- Select Network pool where your machines will be provisioned. Add a name for the resources. Click Next.
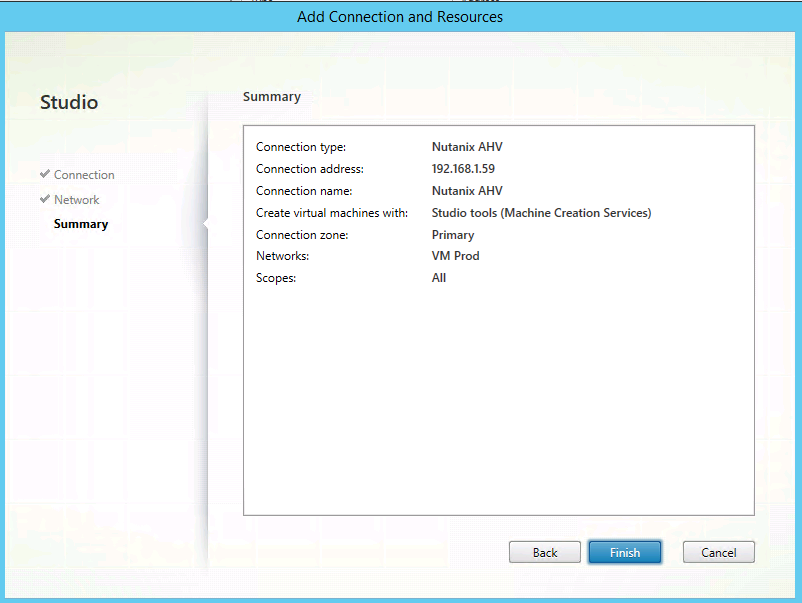
- Review settings and click Finish.
- Your hosting connection should appear in the list.

Create a machine catalog and Delivery Group
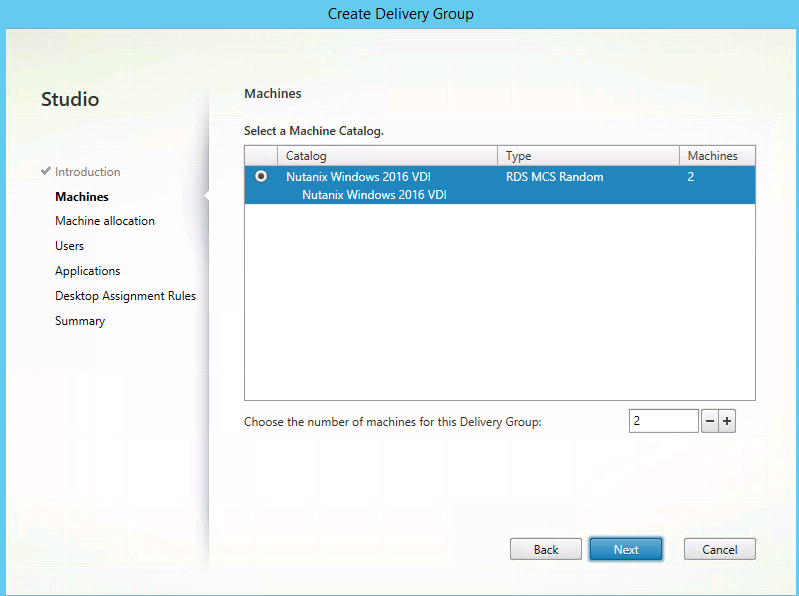
- Launch Citrix Studio. Navigate to Machine Catalogs. Select Create Machine Catalog.
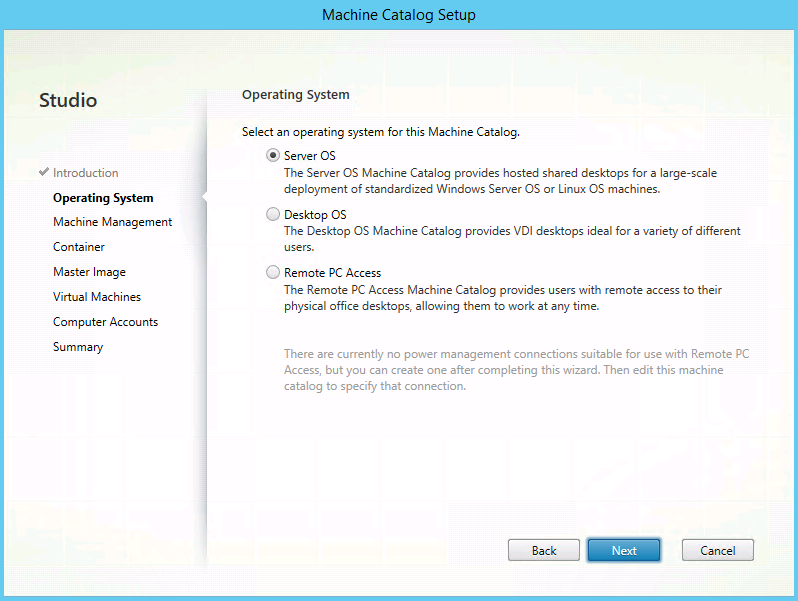
- Select Server OS. Click Next.
- Choose Machines that are power managed and Citrix Machine Creation Services (MCS). Click Next.

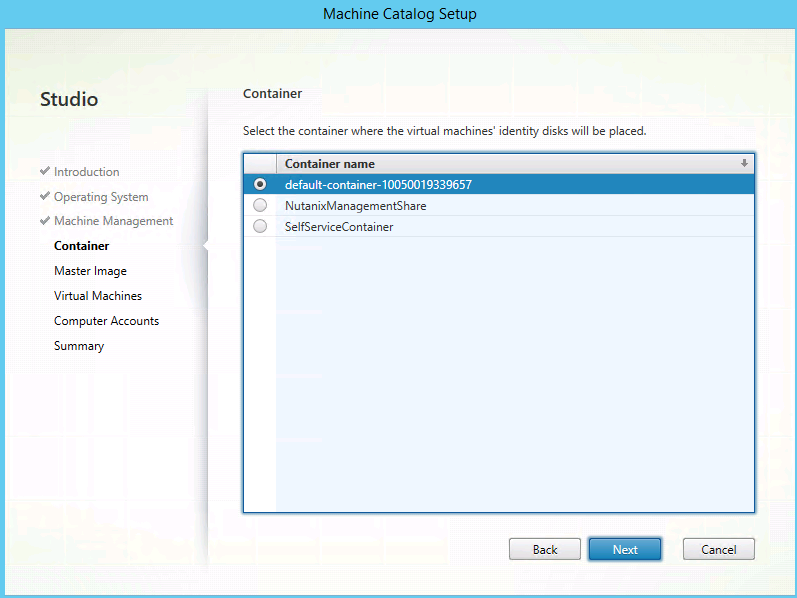
- Select the container where the VDA identity disks will be placed. In my case I will just select the default container.
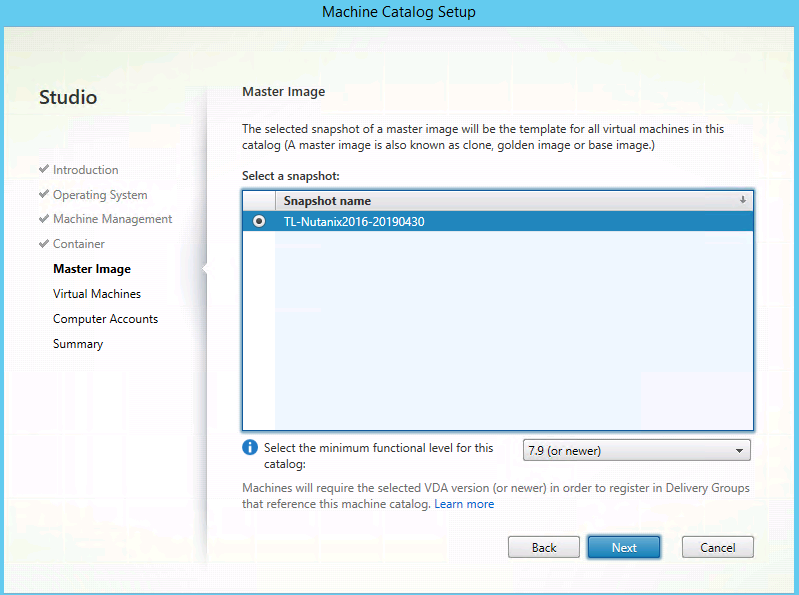
- Select a snapshot for the Master Image. Choose the functional level of the catalog and click Next.
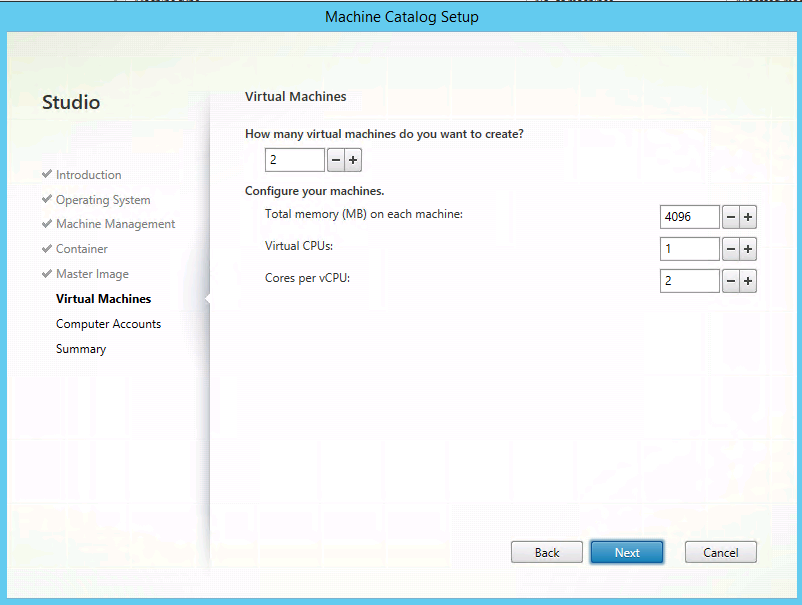
- Select how many virtual machines you would like to create initially and the resources of the machines. The VDAs should share the same vCPUs and memory as the master VM.
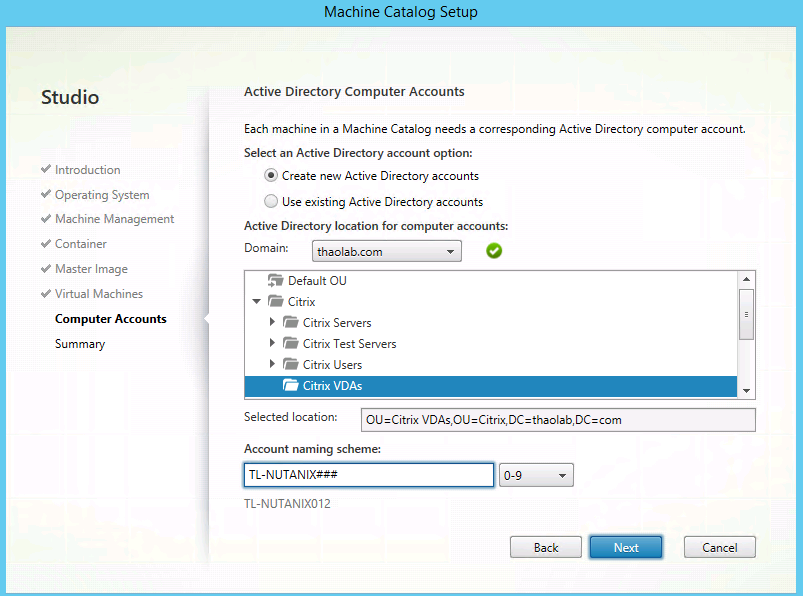
- Select the OU where the computer accounts for the new VDA’s will be created. Specify a naming scheme.
- Specify a Machine Catalog name and description. Click Finish.

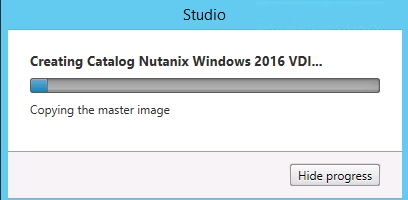
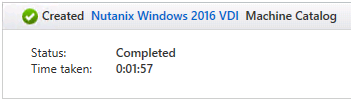
- The new VDA’s will be provisioned.
- In the Prism Element you should see the preparation VMs created. Once the new VDAs are provisioned, the status will update in Citrix Studio
- In Citrix Studio, navigate to Delivery Groups. Select Create Delivery Group.
- Add the two newly created VDAs to the Delivery Group.

- For the purposes of the lab we will allow any authenticated users to use the VDI/applications available to this Delivery Group. Click Next.
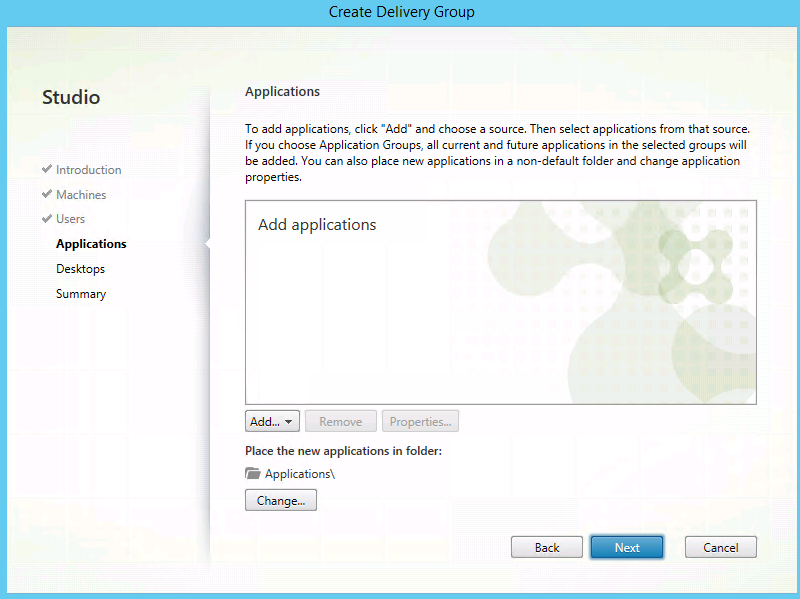
- Click Next on the Applications page.
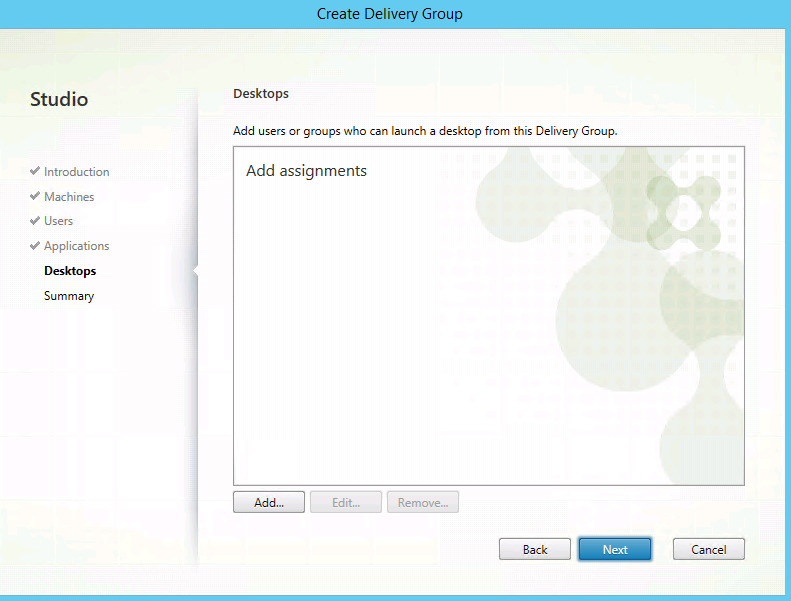
- To add a VDI Desktop, click Add…
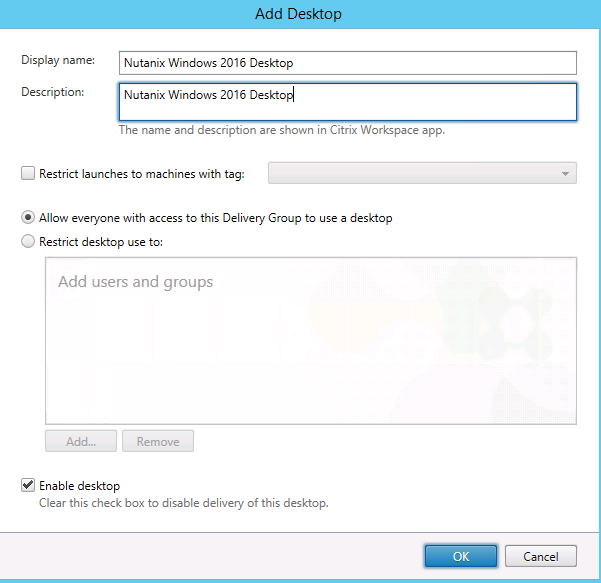
- Add a name and description to the desktop. Click OK.
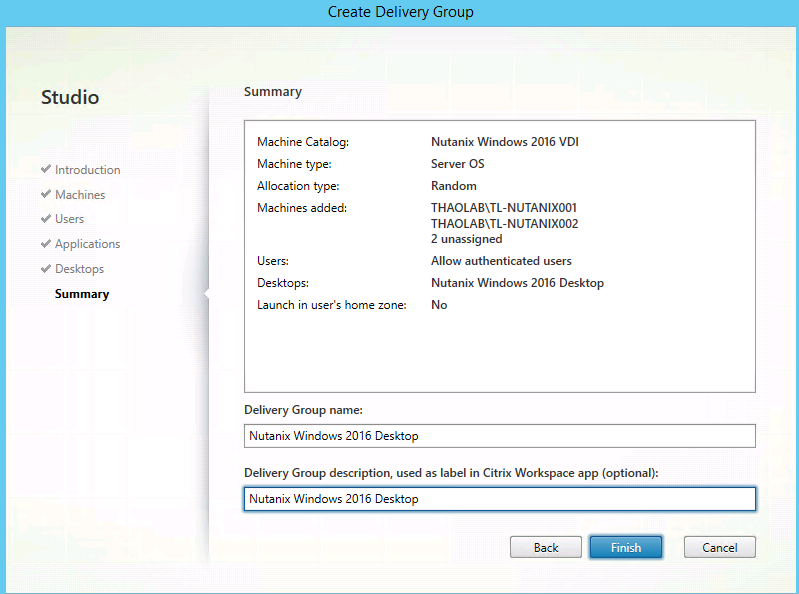
- Review Delivery Group settings. Add a Delivery Group name and description. Click Finish.
- Verify VDA registration after the Delivery Group has been created.
