Background: I will be setting up a small proof-of-concept Citrix Environment on Amazon Web Services for testing purposes. This particular POC will be completely on AWS and utilize a combination of free tier and paid on-demand instances. Eventually, I hope to integrate additional features such as autoscaling, a XenMobile component, and integrating it with an on-premises infrastructure for a hybrid environment. I will be breaking up this article into different parts:
- Part 1: Intro and AWS Staging
- Part 2: Configuring Microsoft infrastructure
- Part 3: Installing Citrix Components
- Part 4: Configuring Citrix Components
- Part 5: Configuring External Access
If you plan on setting up your own testbed on AWS, please be mindful of your budget and the AWS free-tier limitations. You can reference the AWS free-tier at https://aws.amazon.com/free/.
Infrastructure:
- AL-DC01.awslab.com – t2.micro – Domain Controller, DNS, RDS Licensing
- AL-DDC01.awslab.com – t2.medium – Delivery Controller, StoreFront, SQL Server Express, VDA for publishing apps and desktops, Citrix Licensing
- NS1.awslab.com – m4.large – NetScaler VPX for external access
Steps:
- AL-DC01 – t2.micro
- Log into AWS console
- Select EC2
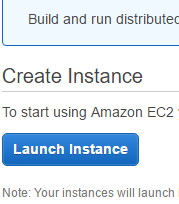
- Choose to Launch Instance
- Under the 1. Choose AMI tab, select the Free tier Microsoft windows Server 2012 R2 Base – ami-79dc1b14

- Under 2. Choose Instance Type tab, leave the default of the Free tier eligible t2.micro
- Under 3. Configure Instance, specify your instance details. I’m going to use the defaults.

- Under 4. Add Storage, leave the defaults. Note if you changed the default size to more than 30 gb or the Volume Type to Provisioned IOPS, you will incur additional charges.

- Under 5. Tag Instance, add a tag if you wish. Tags serve the same purpose as labels in vSphere or XenServer and are mostly for descriptive purposes.

- Under 6. Configure Security Group, select a security group. This is used to control the traffic to your instance. The default security group allows unrestricted communication between instances in your VPC. However you will need to create a new Security Group so that you can RDP to your instances from your home or wherever you are performing your testing.
- In the EC2 Dashboard, navigate to Network & Security>Security Groups.
- Choose to Create Security Group
- Give your Security Group a name and description.
- Under the Inbound tab, choose Custom TCP Rule, Port 3389 and specify source IP. If you want to be able to access your AWS instances from anywhere, choose the Anywhere option under Source. Otherwise you can select My IP and it will fill in your public IP. I plan on only accessing this lab from home so I will choose My IP.
- Navigate back to Instances in the EC2 Dashboard.
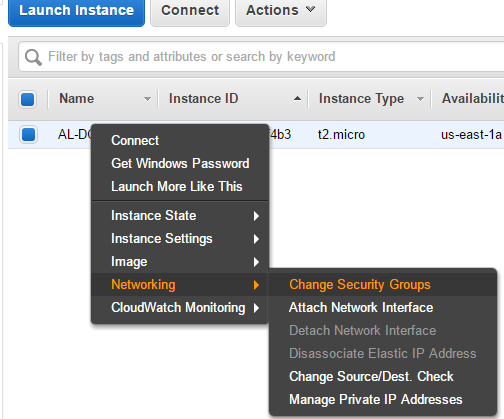
- Right-click your instance and choose Networking>Change Security Groups
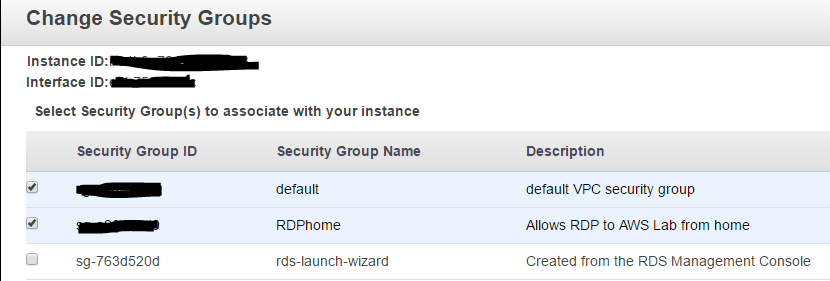
- Add the RDP Security group to your instance.
- Under 7. Review, double-check your settings and click Launch to create your instance.
- AWS will provision your instance and after a short waiting period, you can access your instance.
- To access your instance, right-click it from the EC2 dashboard and choose Connect.
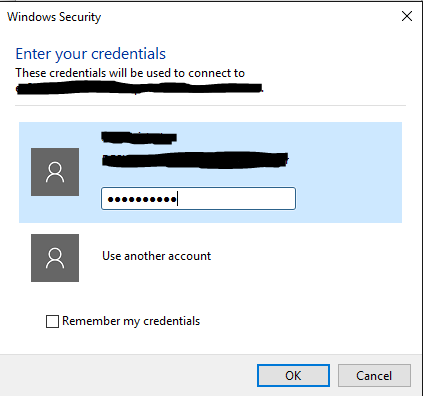
- You will be provided with the Public DNS name, user name, and password for you instance. Note you will need access to your AWS account key pair to get the password.
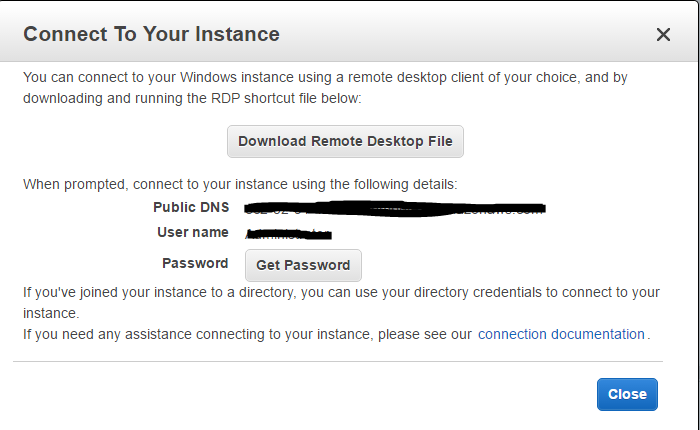
- Once you have this information, use it with your RDP client of choice to connect to your instance.
- AL-DDC01 – t2.medium
- Launching the second instance will be a similar process to the first.
- Navigate to the EC2 Dashboard and choose to Launch Instance
- For 1. Choose AMI, select the Microsoft Windows Server 2012 R2 Base – ami-79dc1b14
- For 2. Choose Instance Type, select t2.medium. This is (as of June 2016) the cheapest option with at least 2 vCPU and 4 gb ram. Please check Amazon’s instance pricing regularly at https://aws.amazon.com/ec2/pricing/. A 3rd party tool is also provided on http://www.ec2instances.info/ that displays the instance types along with their pricing information in a sortable spreadsheet.
- For 3. Configure Instance, select the same Network and Subnet options you selected for the previous instance.
- For 4. Add Storage, I will be using 60 gb of General Purpose SSD (GP2).
- For 5. Tag Instance, add tags if you wish.
- For 6. Configure Security Group, add your default Security Group and the RDP Security Group created previously for the 1st instance. The default Security Group will allow the servers in your VPC to communicate with eachother. The RDP Security Group will allow you to access your instances via Remote Desktop from your home or wherever you need.
- For 7. Review. You will be notified that this instance is not eligible for the Free Usage Tier. I am willing to accept this so I click Launch.

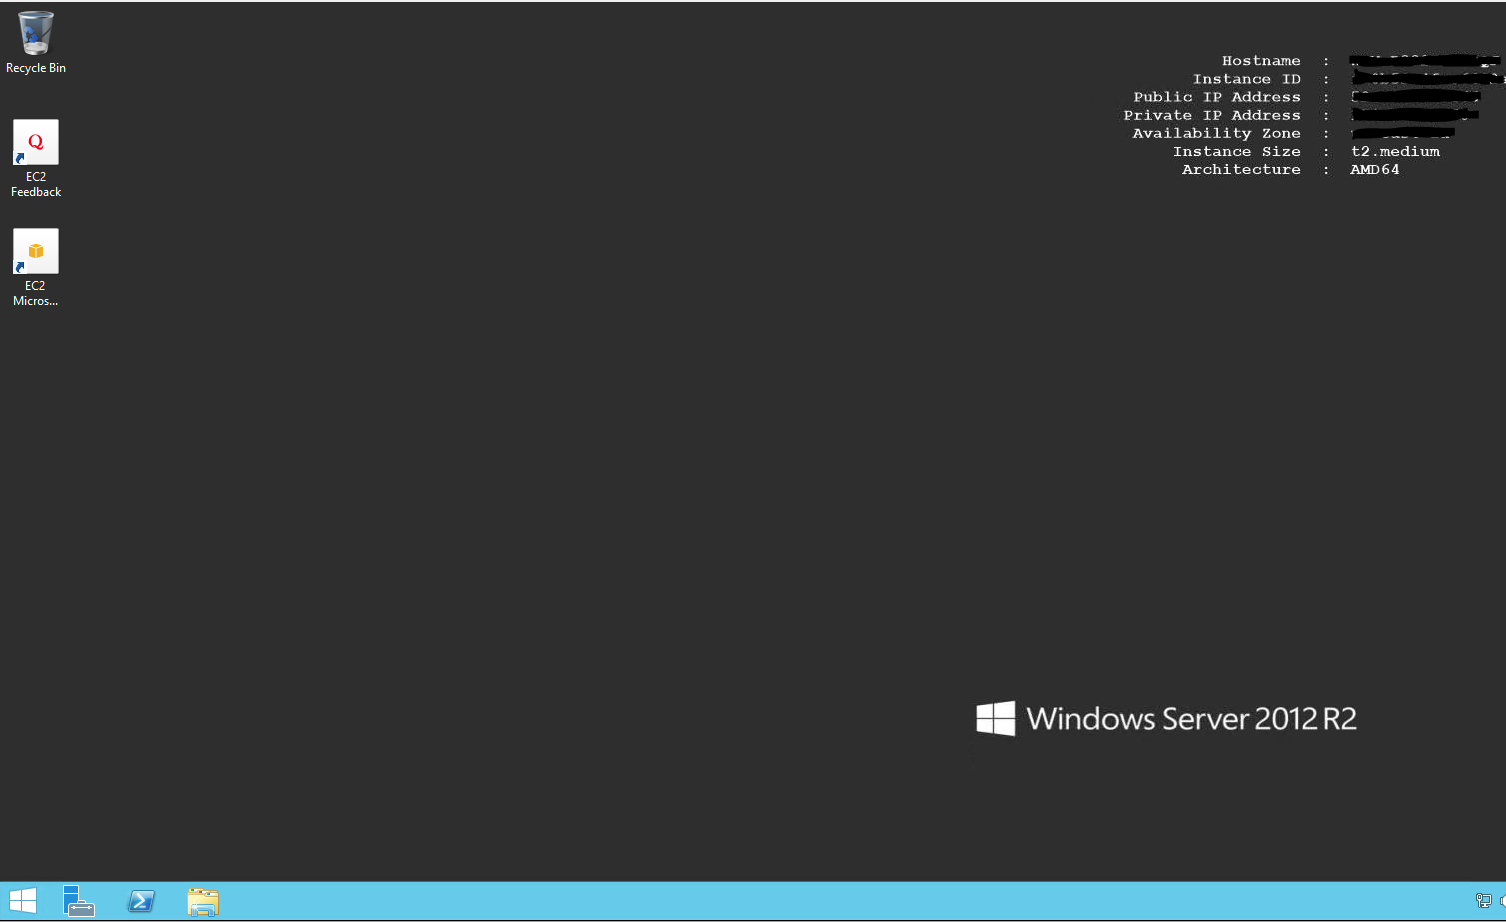
- Test the instance by logging in.
- NS1
- Navigate to the EC2 Dashboard and choose Launch Instance
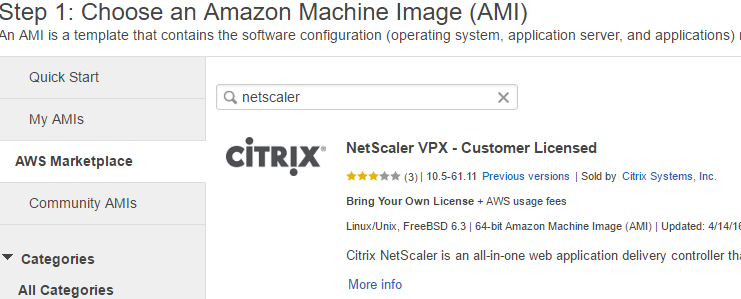
- For 1. Choose AMI Navigate to AWS Marketplace and search for netscaler.
- Select NetScaler VPX – Customer Licensed (we will be using our own trial license from Citrix)
- For 2. Choose Instance Type, the NetScaler is limited to certain instance types (unavailable instance types will be greyed out). The m4.large is our cheapest option at $0.12 USD per hour (as of June 2016) per https://aws.amazon.com/ec2/pricing/ so this will be my selection.

- For 3. Configure Instance, I will be using the same Network and Subnet as the other 2 instances.
- For 4. Add Storage, I will be leaving the defaults.
- For 5. Tag Instance, label your instance with tags if you wish.
- For 6. Configure Security Group, AWS auto-creates a new Security Group that opens the needed ports for you. We will use this Security Group for now and create some additional rules later on if needed. Note that using this Security Group opens the SSH, HTTP, HTTPS ports needed to access the NetScaler appliance for configuration, this is the most important thing for us at the moment. The other ports can be closed for the time being if you don’t intend to use them. For a list of Citrix ports and their functions, please refer to http://support.citrix.com/content/dam/supportWS/kA460000000Cc9tCAC/Ports_Used_by_Citrix.pdf.
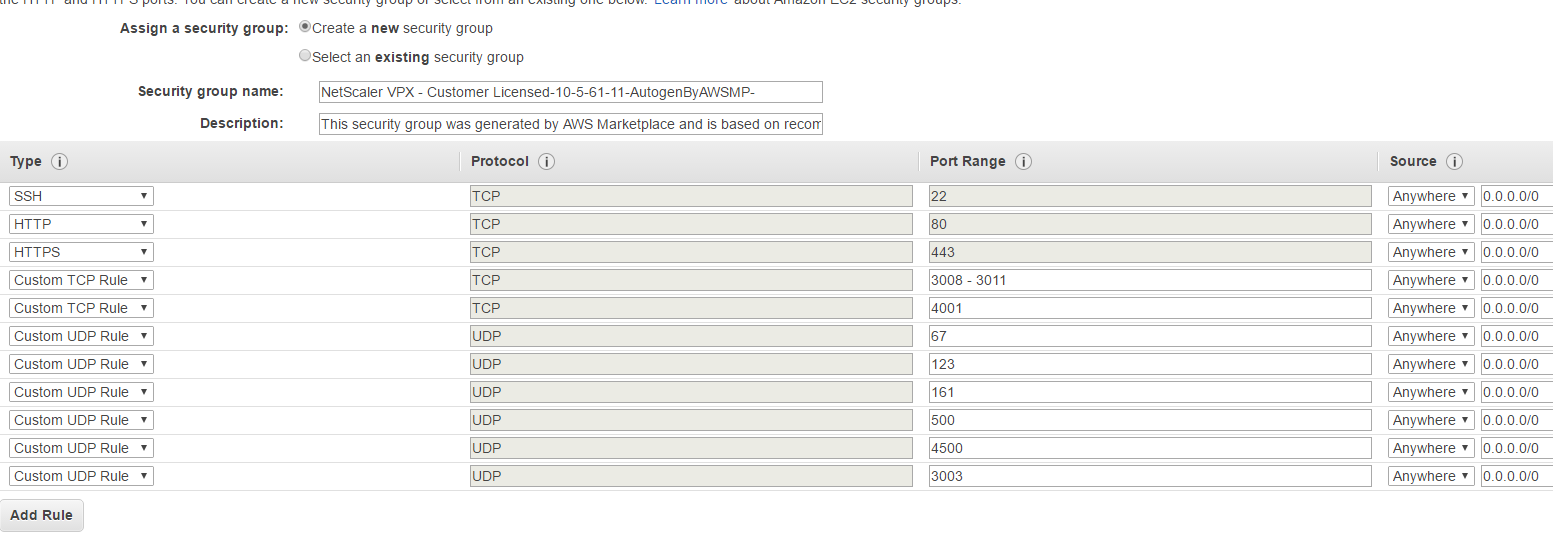
- For 7. Review, review your settings and click Launch
- After the NetScaler instance has been provisioned, ensure you can access it via an SSH client. Steps for accessing the NSVPX instance via SSH are outlined on this AWS article: https://docs.aws.amazon.com/AWSEC2/latest/UserGuide/putty.html?icmpid=docs_ec2_console
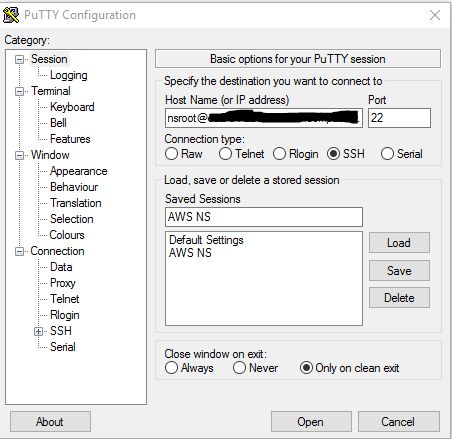
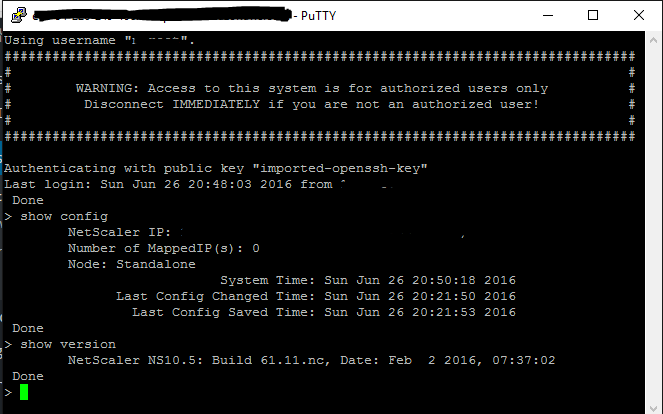
Later on we will setup the Microsoft infrastructure in Part 2.
Additional Notes:
- Amazon provides an excellent article to help avoid unexpected charges and manage your AWS costs. You can get to it at http://docs.aws.amazon.com/awsaccountbilling/latest/aboutv2/checklistforunwantedcharges.html
- Turn off your instances when they are not being used to minimize your costs.
References:
- https://aws.amazon.com/free
- https://aws.amazon.com/ec2/purchasing-options
- http://docs.aws.amazon.com/awsaccountbilling/latest/aboutv2/checklistforunwantedcharges.html
- https://docs.aws.amazon.com/AWSEC2/latest/UserGuide/putty.html?icmpid=docs_ec2_console
- http://www.ec2instances.info/
- https://www.citrix.com/blogs/2014/05/29/q-and-a-on-implementing-xenapp-and-xendesktop-7-5/
- http://support.citrix.com/content/dam/supportWS/kA460000000Cc9tCAC/Ports_Used_by_Citrix.pdf
Excellent write-up, thank you for sharing. Looking for part 2 which appears to be missing?
Thank you – CMR